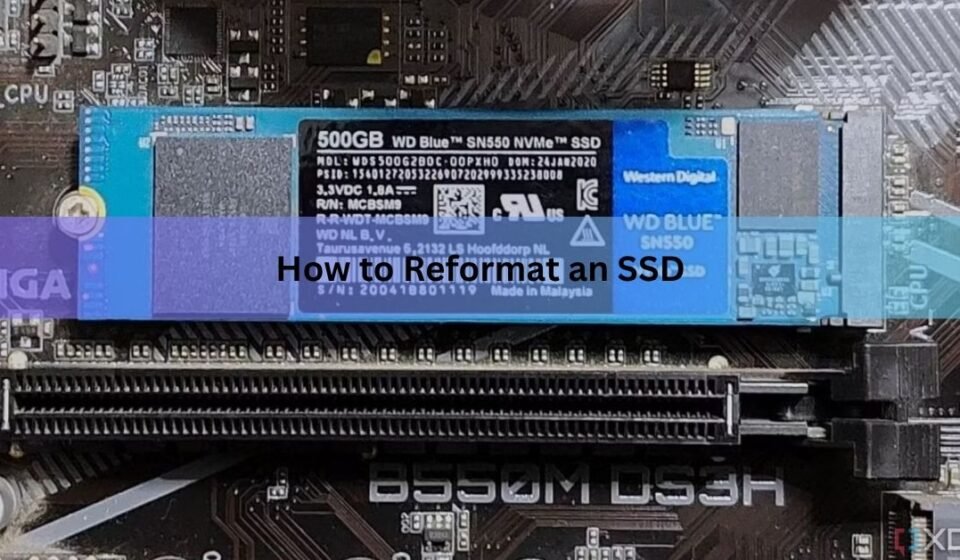

To reformat an SSD, open your disk tool, select the right drive, run a quick format, and pick a file system. On Windows that is File Explorer or Disk Management. On a Mac it is Disk Utility. The whole job takes a few seconds once you have the correct drive selected.
The one thing that trips people up is fear of wearing out the drive. You can relax. A quick format writes only a few megabytes, so it puts almost no strain on the SSD. Below is the exact method for every common situation, plus how to know which type of format you actually need and which file system to choose.
Jump to the part that matches you. If the drive already has a letter in Windows, start with the File Explorer steps. If it is brand new or shows as unallocated, go to Disk Management. If it holds the copy of Windows you are using right now, you need the Windows Setup route. Mac users have their own short path in Disk Utility. And if you are handing the drive to someone else, skip formatting and use secure erase.
What reformatting an SSD actually does
Reformatting rebuilds the file system on the drive, the index your computer uses to keep track of files. After a format the SSD looks empty and is ready for fresh use. It is how you clear a drive for a new purpose, fix a drive your computer no longer reads cleanly, or prepare a spare SSD for a fresh copy of Windows.
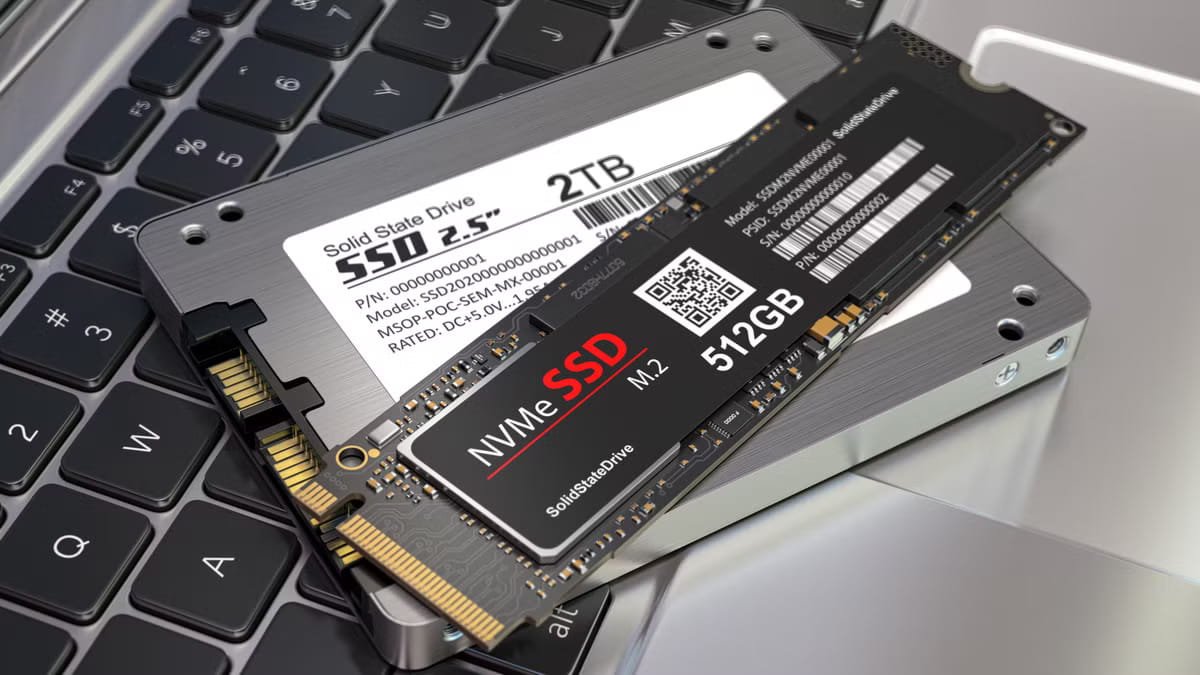
An SSD stores data in flash memory cells rather than on spinning platters, and that changes how a format behaves. When you delete or format, the drive marks the affected cells as free. A background feature called TRIM then tells the controller it can clear those cells, and the controller does so on its own schedule. This is why a simple quick format on an SSD often clears the old data at the hardware level within minutes, with no extra effort from you.
Here is the part worth knowing before you rely on it for privacy. A standard format removes the file index, not every trace of the files. Some data can still sit in the memory cells, including hidden spare areas the operating system never sees, and can sometimes be pulled back with recovery software until the drive overwrites it. For a drive staying with you, that does not matter at all. For a drive leaving your hands, it does, and there is a separate method for that further down.
Before you start: back up and pick a file system
Formatting erases everything on the drive, and there is no undo button. Copy anything you want to keep to another drive or the cloud first. Double-check the copy opens before you go on.
You also choose a file system during the format. This decides which devices can read the drive and how large a single file it can hold. Pick the one that matches how you will use the SSD.
| File system | Best for | Notes |
|---|---|---|
| NTFS | Internal drive on a Windows PC | The default for Windows. Handles huge files. Not fully writable on a Mac. |
| APFS | Internal drive on a modern Mac | Apple’s format, built for SSDs. Use this for Mac system or storage drives. |
| exFAT | An external SSD shared between Windows and Mac | Reads and writes on both. No single-file size limit worth worrying about. |
| FAT32 | Old devices, cameras, some consoles | Widely supported but caps single files at 4 GB. Avoid for modern use. |
One extra note on the allocation unit size, sometimes called cluster size. This is the smallest chunk of space the drive hands out for a file. For almost everyone the Default is correct, and you should leave it alone. You would only change it for a specialized job, such as a drive holding nothing but very large video files. Guessing at it usually makes performance worse, not better.
Quick rule: internal Windows drive, choose NTFS. Internal Mac drive, choose APFS. A portable SSD you plug into both, choose exFAT.
Quick format vs full format vs secure erase
There are three ways to clear an SSD, and most people only ever need the first. Here is what each one does and when it fits.
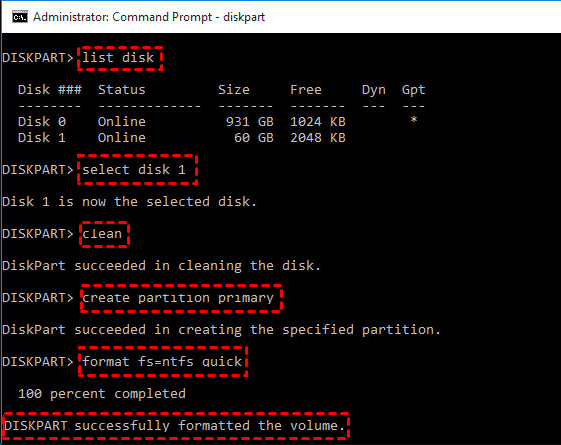
Quick format (use this by default)
A quick format wipes the file index and takes seconds. On an SSD it also fires TRIM commands, which tell the drive’s controller that the old cells are free. The controller then clears those cells on its own, usually within minutes. So a quick format on a modern SSD does the practical work of a wipe without hammering the drive. It is the right choice for reinstalling an operating system, reusing a drive, or clearing space.
One useful side effect: because a quick format does not physically overwrite anything by itself, files stay recoverable for a short window right after. On an SSD that window is small, since TRIM clears the cells fast, but if you format the wrong drive by accident, stop using it immediately and there is a chance recovery software can save your files.
Full format (only if you suspect a problem)
A full format also scans every block for errors and, on Windows Vista and later, writes zeros across the whole drive. That means one full write pass over every cell, which is unnecessary wear when you are simply reusing the SSD. Reach for it only when a drive is throwing read or write errors and you want the bad-sector check.
Secure erase (only before the drive leaves you)
A secure erase sends a firmware command straight to the SSD’s controller, which resets every cell, including hidden spare areas that a normal format never touches. This is the one method that reliably makes old data unrecoverable on an SSD. Use it before you sell, donate, or recycle a drive. For anything else it is overkill.
| Method | Speed | Drive wear | Use it when |
|---|---|---|---|
| Quick format | Seconds | Almost none | Reusing or reinstalling. Your default. |
| Full format | Minutes to hours | One full write pass | The drive shows errors and needs a scan. |
| Secure erase | Seconds to minutes | Minimal, firmware reset | You are giving the drive away. |
How to reformat an SSD on Windows (File Explorer)
If the SSD already shows a drive letter like D: or E:, this is the fastest route.
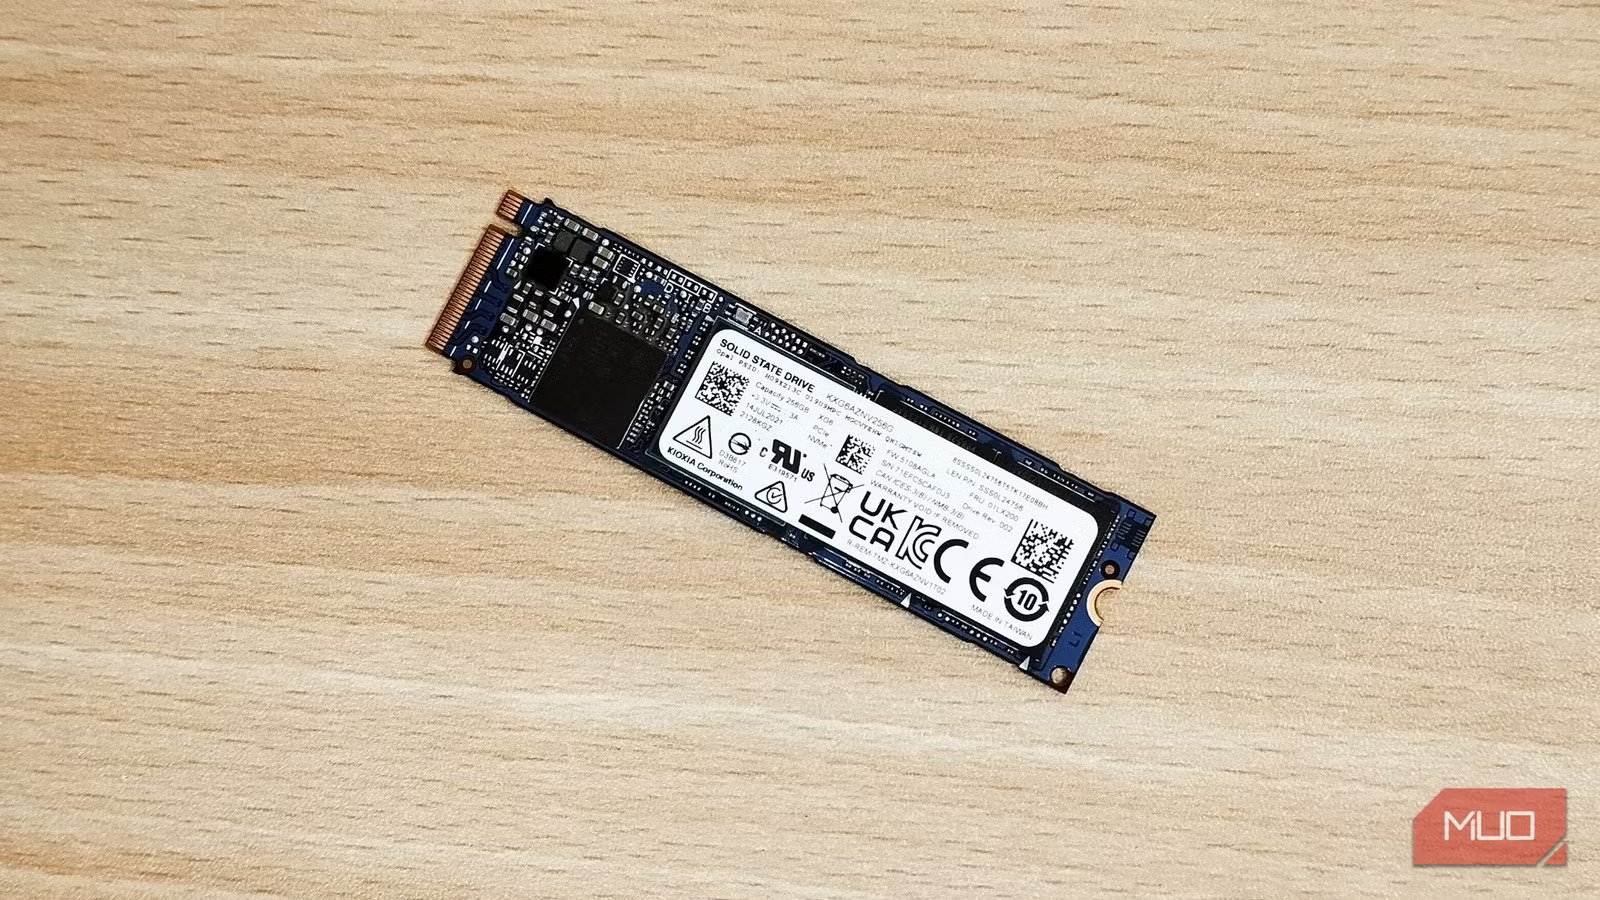
- Open File Explorer and click This PC so you can see every drive.
- Right-click the SSD’s drive letter and choose Format.
- Set File system to NTFS for an internal Windows drive, or exFAT if you share the drive with a Mac.
- Leave Allocation unit size on Default.
- Keep Quick Format checked, type a volume name if you like, then click Start and confirm.
It finishes in seconds. When it is done the drive opens empty and ready. If Windows does not show a Format option, or the drive has no letter at all, use Disk Management next.
You will see two other checkboxes in that Format window. Leave Quick Format on unless you have a reason to run the slower error scan. And ignore the compression option, since it does nothing useful on an SSD and can slow it down.
Confirm the drive first. Check the capacity and disk number match your SSD before you click Start. Formatting the wrong drive is the one mistake you cannot walk back.
When the drive has no letter: Disk Management
A brand-new SSD, or one that shows as Unallocated, Not Initialized, or Offline, will not appear in File Explorer yet. Disk Management handles these.
- Press Windows + X and choose Disk Management.
- Find your SSD in the lower pane, for example Disk 1. If it reads Offline, right-click the disk label and choose Online.
- If prompted to initialize, select the SSD and choose GPT as the partition style. GPT is the modern standard for any drive over 2 TB and for booting.
- Right-click the unallocated space and choose New Simple Volume. Keep the default size to use the whole drive.
- Assign a drive letter, set the file system (NTFS or exFAT), keep Quick Format checked, and finish the wizard.
The drive now shows up in File Explorer, formatted and ready.
If the initialize step asks you to choose between GPT and MBR, pick GPT unless you are pairing the drive with a very old computer. GPT supports large capacities and is what modern Windows expects. MBR is a legacy format that caps out at 2 TB and mainly exists for older hardware.
Reformatting the drive Windows runs on
You cannot format the drive that Windows is currently running from while it is running. To wipe your system SSD and start clean, do it from Windows installation media instead.
- Create a bootable USB with the Media Creation Tool from Microsoft, then restart and boot from that USB.
- In Windows Setup, choose a custom install when asked about install type.
- Select each partition on the target SSD and delete it until the drive shows as a single block of unallocated space.
- Select that unallocated space and let Setup install Windows. It creates fresh partitions and formats the drive for you.
This gives you a clean system drive and a fresh copy of Windows in one pass, which is exactly what most people mean by “start over.”
How to reformat an SSD on a Mac
On a Mac you use Disk Utility for any external or secondary SSD. Apple explains each option in its Disk Utility support guide, and the steps are short.
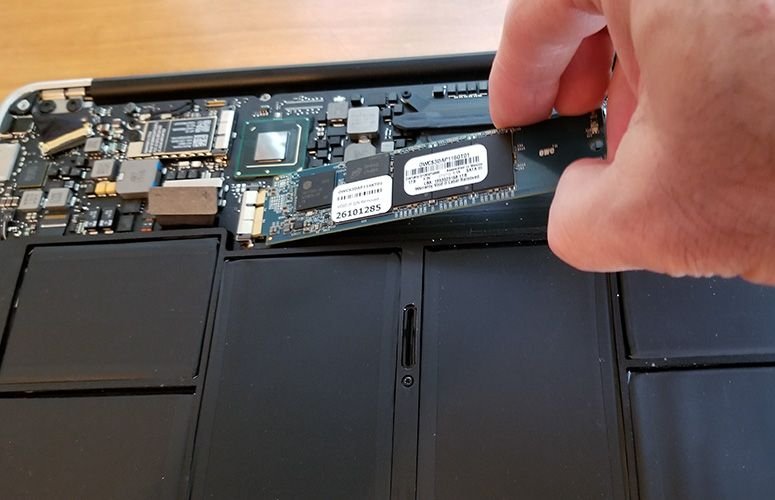
- Open Disk Utility from Applications, then Utilities. In the sidebar, click View and choose Show All Devices.
- Select the SSD (the top-level device, not a volume beneath it), then click Erase.
- Give it a name, and set Format to APFS for a Mac-only drive or ExFAT for a drive you share with Windows.
- If asked about a Scheme, choose GUID Partition Map, then click Erase.
Note that Disk Utility does not offer secure-erase passes on an SSD, because they do not work the way they do on an old hard drive. If you are keeping the Mac drive, turn on FileVault encryption instead, which makes the stored data unreadable without your password.
If you are wiping the internal drive on a Mac to sell the whole machine, do not use Disk Utility on its own. On modern Macs, use Erase All Content and Settings from System Settings, which resets the machine and its encryption keys together, so the old data is gone and the Mac is ready for its next owner.
Securely wiping an SSD before you sell it
Because a normal format leaves recoverable data behind, use the drive maker’s own tool to wipe an SSD you are passing on. These tools send a firmware-level erase command that clears every cell.
Samsung drives use Samsung Magician, Crucial has Storage Executive, and Western Digital, Kingston, and others ship similar utilities. The pattern is the same across brands:
- Download the maker’s tool for your exact SSD and update the drive’s firmware first.
- Open the tool and find the Secure Erase option.
- You cannot secure-erase the drive your system is running on. For a system drive, the tool builds a bootable USB so you can erase it from outside the operating system; for a secondary drive you can often run it directly.
- Confirm the correct drive, run the erase, and reinitialize the drive afterward in Disk Management or Disk Utility.
Encryption is the easy alternative. If your SSD was encrypted all along (BitLocker on Windows, FileVault on Mac), the leftover data is already scrambled, so a plain format is enough before you hand it over.
Fixing an SSD that won’t format
Sometimes a drive refuses to cooperate. A few common causes and fixes:
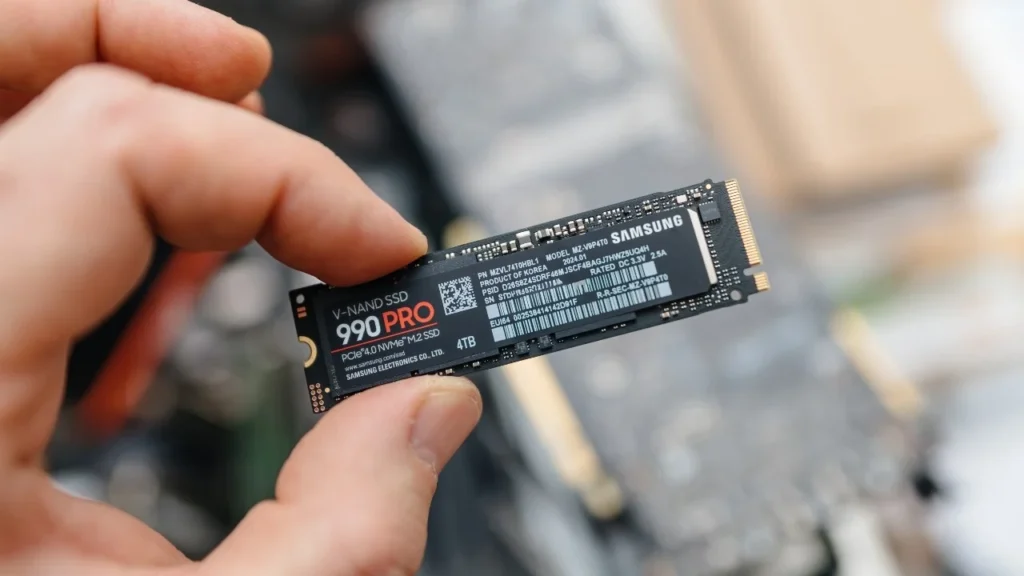
- The drive does not appear at all. Open Disk Management or Disk Utility rather than File Explorer or Finder, since a raw or offline drive only shows there. Set it Online and initialize it.
- A secure-erase option is grayed out. The drive is in a “frozen” state. Put the PC to sleep and wake it, then try again.
- Windows can’t format it. Boot from a USB Linux drive or Windows installation media and format it from there, away from the running system that is locking the drive.
- It still shows the wrong size or old partitions. Delete every partition on the drive in Disk Management so it becomes one unallocated block, then create a new volume.
- Windows says the drive is write-protected. Open a command prompt as administrator, run diskpart, select the disk, and clear the read-only attribute with the attributes disk clear readonly command before you try again.
If none of these work and the drive still will not format from any tool or any computer, the SSD itself may be failing. Check its health in the maker’s utility, which reports remaining life and any warnings, before you spend more time on it.
Frequently asked questions
Does reformatting an SSD damage it or shorten its life?
No. A quick format writes only a few megabytes, so the wear is tiny. Even a one-off full format is fine. You would need to format constantly, thousands of times, to make a dent in a modern SSD’s lifespan.
Is a quick format enough, or do I need a full format?
A quick format is enough for reusing or reinstalling. It clears the file index and TRIM handles the rest. Use a full format only if the drive shows errors and you want its bad-sector scan.
Can someone recover my files after I format an SSD?
Sometimes, yes. A normal format leaves data in the cells until it is overwritten. If you are selling or donating the drive, use the maker’s secure erase tool instead, which clears every cell for good.
Which file system should I pick for my SSD?
Choose NTFS for an internal Windows drive, APFS for an internal Mac drive, and exFAT for an external SSD you use with both. Avoid FAT32 for modern drives because it caps single files at 4 GB.
How do I format the SSD that Windows is installed on?
You can’t format it from inside Windows. Boot from a Windows installation USB, choose a custom install, delete the partitions on that drive, and install Windows onto the unallocated space.
Conclusion
For almost every job, reformatting an SSD means picking the right drive in your disk tool and running a quick format with the file system that fits your use: NTFS for Windows, APFS for Mac, exFAT to share between both. A good result is a drive that shows up empty and ready in seconds, with no needless wear. Save full format for error checks, and reach for the maker’s secure erase only when the drive is leaving you.
Related Post:
Can You Recover Data From an SSD? What Actually Works
How to Partition an SSD: Windows, Mac, and When to Skip It
What to Do After Installing a New SSD
SSD Showing as Unallocated? What It Means and How to Fix It Safely
How to Copy an SSD to a Larger SSD Without Reinstalling Windows