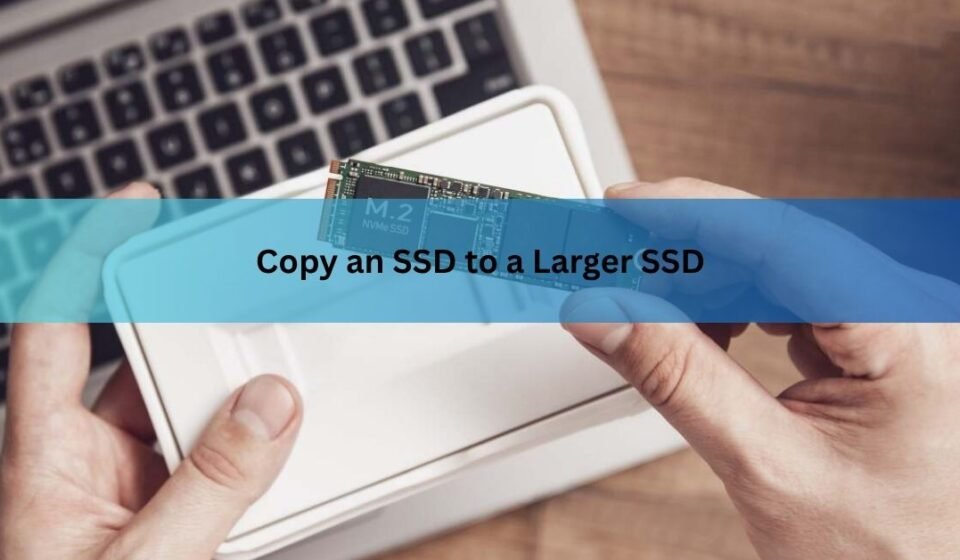

The short version: you copy an SSD to a larger SSD by cloning it, which makes a full working copy of your current drive, Windows and all, on the new one. Then you stretch the main partition to fill the extra room and tell your PC to start from the new drive. Copying to a bigger SSD is the easy direction, because everything from the old drive fits with space to spare. No fresh Windows install, no reinstalling apps, no signing back into everything.
Here is exactly how to do it, what to prepare first, and how to fix the two things that trip people up most.
Cloning vs copying: what actually moves
Dragging your files onto the new SSD in File Explorer moves the files and nothing else. It leaves behind Windows itself, your installed programs, your settings, and the small hidden partitions that let the drive start up. Boot from that drive and nothing happens.
Cloning is different. It copies every part of the old SSD, sector for sector or file for file, including those hidden boot and recovery partitions. The result is a drive that behaves exactly like the original, so your PC can start from it as if nothing changed. That is why cloning, not copying, is the right tool when you want to keep Windows and your whole setup.
Cloning overwrites the target drive. Everything currently on the new SSD gets erased during the clone, so if it already holds files, move them off first.
What you need before you start
A few minutes of checking here saves an hour of frustration later. Run through this list before you download anything.
- A new SSD that fits your PC. Confirm the shape and connection match what your machine takes: a 2.5-inch SATA drive, an M.2 SATA stick, or an M.2 NVMe stick. A laptop with one M.2 slot needs a different plan than a desktop with open bays.
- Enough room on the new drive. Since you are moving to a larger SSD, this is almost always fine. The only rule that matters is that the used space on the old drive fits on the new one, and a bigger target clears that easily.
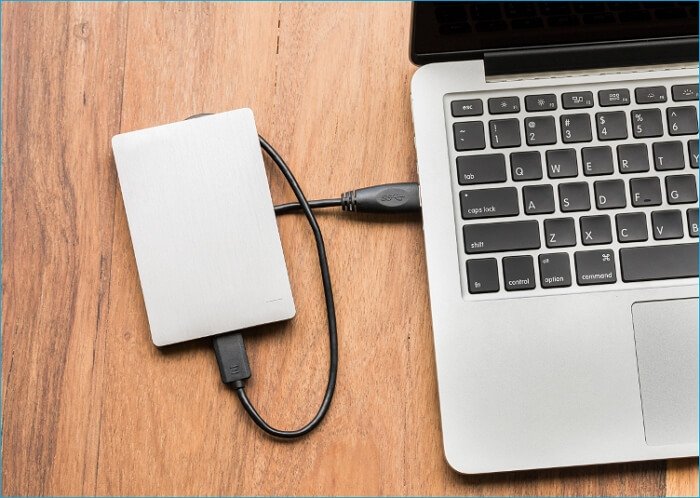
- A way to connect both drives at once. Desktops usually have a spare SATA port or M.2 slot. Laptops and mini PCs with a single slot need a cheap USB-to-SATA cable or an M.2 enclosure so the new drive can sit outside the machine during the clone.
- A backup of anything you can’t lose. Cloning is reliable, but it is still a disk operation. Copy your irreplaceable photos, documents, and work files to a separate drive or the cloud as a safety net.
- Your BitLocker recovery key, if encryption is on. If your drive is encrypted, find the recovery key before you start (it is saved to your Microsoft account by default). Some clone tools stumble on a locked drive, and you may need to pause encryption first.
- Time and, for laptops, the charger. A few hundred gigabytes over a direct connection often finishes inside an hour. Over USB, or with close to a full terabyte, it takes longer. Keep a laptop plugged in so it doesn’t sleep partway through.
Which cloning method should you use?
Windows has no built-in “clone this disk to that disk” button, so you will use a separate tool. There are three broad types, and the right one depends on your drive brands and how much your current Windows is misbehaving.
| Method | Best for | Watch out for |
| SSD brand tool (e.g. Samsung Magician) | Your new drive matches the tool’s brand and you want a simple, tested wizard | Usually refuses to run unless the target drive is that brand |
| Third-party clone software | Mixed brands, or you want to resize partitions during the clone | Free tiers are shrinking; some resizing features are paid |
| Bootable USB tool | The old Windows won’t boot, or the drive has errors | More technical screens, easier to pick the wrong disk |
For most people upgrading a healthy PC, the choice is simple. If your new SSD is a Samsung, its free companion app is the path of least resistance.
Samsung folds its cloning feature, once a separate download called Samsung Data Migration, into the Samsung Magician software. Point it at your old drive as the source and the new Samsung SSD as the destination, and it walks you through the rest. The catch with any brand tool is that it will only clone to a drive of its own brand, so it is no help if you bought a Crucial, WD, or Kingston SSD.
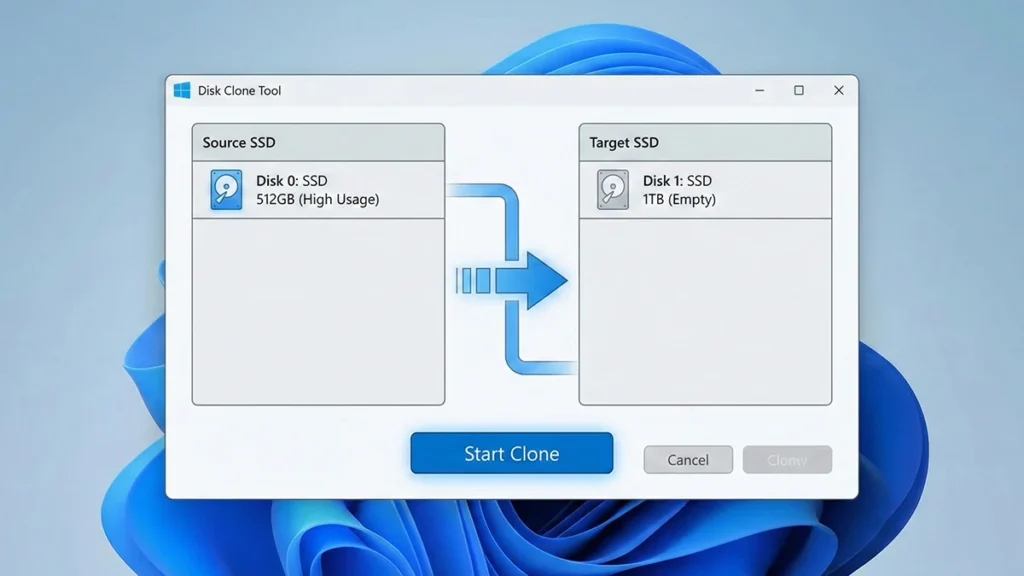
If your drives are a mix of brands, reach for third-party clone software instead. One thing worth knowing: the free options have thinned out lately. Macrium Reflect retired its free edition on January 1, 2024, and it has since reached end of life, so it is no longer a free route. Several tools still offer a free tier that handles a one-time system move, but partition-resizing during the clone is sometimes reserved for the paid version. Read what the free edition actually includes before you commit.
Keep the bootable USB tools in reserve. If your current Windows still starts normally, you do not need them. They shine when the old install is broken or the drive has bad sectors, because they run in their own offline environment. The trade-off is a more technical screen where it is easier to mix up the source and target disks.
How to copy your SSD to a larger SSD, step by step
The screens differ from tool to tool, but the logic is always the same: connect the new drive, pick source and target, resize, run, then boot from the new one.
1. Connect the new SSD and confirm Windows sees it
- Shut down the PC. If it is a desktop, unplug the power cable before you open the case.
- Fit the new SSD. Seat a 2.5-inch SATA drive with both its data and power cables, or slide an M.2 stick into the slot at an angle and secure it with the small screw. If your machine has only one slot, put the new drive in a USB enclosure or adapter instead.
- Power on and open Disk Management (right-click the Start button, then choose Disk Management).
- Check that the new SSD appears in the list. If Windows offers to initialize it, pick the same style, GPT or MBR, as your current system drive so the clone matches.
2. Install your clone tool and pick the drives
- Install the brand tool or third-party software you chose. Close other heavy programs so nothing fights the clone for the drive.
- Open the tool and look for Clone Disk, Disk Clone, or Migrate OS to SSD.
- Select your current SSD as the source. You can usually recognize it by its size and model name.
- Select the new, larger SSD as the target. Check this twice. The target gets wiped, so picking the wrong disk erases the wrong drive.
3. Set the layout so the extra space isn’t wasted
This is the step that matters most when moving to a bigger drive, and it is the one people skip. If you clone without touching the layout, the tool often copies the old partition sizes exactly and leaves the extra capacity sitting empty at the end of the disk as unallocated space. Your shiny 1TB drive then behaves like the old 256GB one.
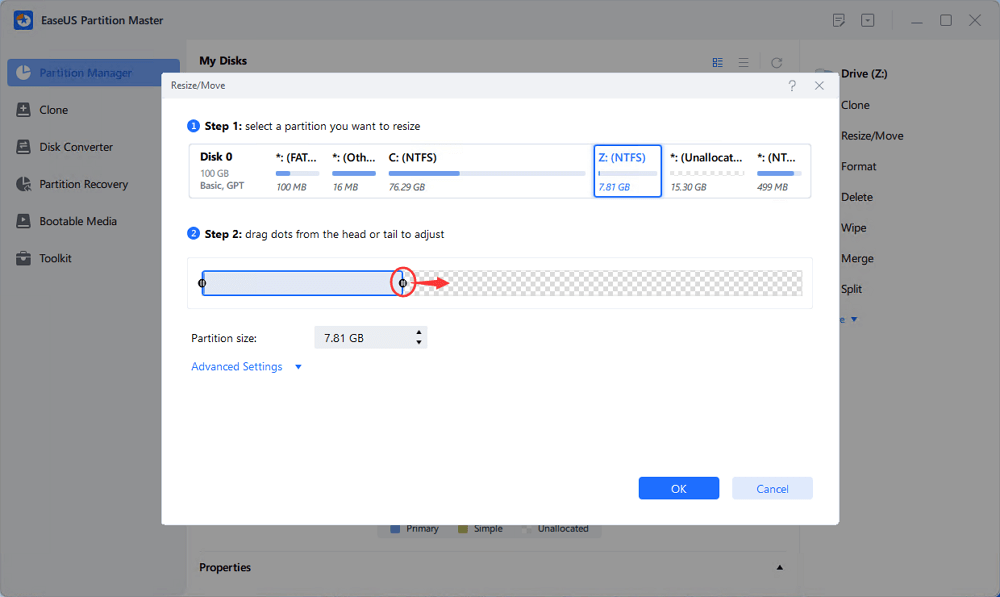
- Look for an option named something like “fit partitions to the whole disk” or “add unused space to all partitions.” Turning it on lets the tool expand the main partition automatically.
- If the tool shows a layout you can drag, pull the right edge of your main (C:) partition so it fills most of the free space, leaving the small recovery partitions where they are.
- Some tools tuck this behind an Edit Partitions button or a paid feature. If yours won’t resize during the clone, don’t worry, you can still fix it afterward (see the next section).
4. Run the clone and wait
- Start the clone and leave the PC alone for heavy tasks while it works.
- Keep a laptop on its charger so it doesn’t sleep. Expect the progress bar to crawl in places where large files are being copied; that is normal.
- When the tool reports success, close it and shut the PC down.
5. Boot from the new SSD
- If both drives are still installed, restart and open the BIOS/UEFI setup. The key is usually F2, F10, F12, or Delete, tapped as the PC starts.
- In the boot order settings, set the new SSD as the first boot device, then save and exit. Windows should now start from the new drive.
- If your machine has room for only one drive, shut down after the clone, physically swap the old SSD for the new one, and power on. The clone boots just like the original did.
Making the extra space usable
If you resized during the clone, your new drive already shows its full capacity and you can skip ahead. If the clone left a block of unallocated space at the end, Windows can claim it in a couple of clicks, no extra software needed.
Open Disk Management, right-click your main partition, and choose **Extend Volume**, then follow the wizard to absorb the free space. There is one condition: the unallocated space has to sit immediately to the right of the partition you are extending, or the option is greyed out. Microsoft explains the rule and the workarounds on its Extend a basic volume page. If a recovery partition sits between your C: drive and the empty space, a free partition tool can move it aside, or you can re-run the clone with resizing turned on.
After the clone: checks worth two minutes
Once the new SSD boots, a quick look confirms everything landed and the drive is set up to run well.
- Check your files and apps. Sign in and open a few programs and folders. They should look exactly as they did before.
- Confirm the full size shows. In Disk Management, the new drive should report its full capacity with the partitions you expect, not the old drive’s size.
- Check activation. Windows ties its license to your motherboard, not the drive, so it usually stays activated. If it briefly shows as not activated, sign in with your Microsoft account and run the activation troubleshooter under Settings, System, Activation.
- Confirm TRIM is on. TRIM keeps an SSD fast over time. Open Command Prompt as administrator and run fsutil behavior query DisableDeleteNotify. A result of DisableDeleteNotify = 0 means TRIM is active. Modern clone tools also align partitions for SSDs automatically, so there is rarely anything to adjust.
You do not need to defragment the new SSD. Windows already runs the right light maintenance for solid-state drives on its own, and old-style defragging just adds needless writes.
When the new SSD won’t boot, and other fixes
Most clones just work. When one doesn’t, the cause is usually one of a short list, and each has a quick answer.
The new SSD won’t start
Almost always this is the boot order, or a boot partition that didn’t copy. Go back into BIOS/UEFI and make sure the new SSD is first. If both drives have Windows on them, unplug the old one and try again; a machine that boots with only the new drive attached confirms the clone is good and the issue was just which drive the PC reached for first. If it still won’t start, re-run the clone and make sure every system and boot partition is included, not just C:.
The drive shows less space than it should
This is the unallocated-space situation from earlier. Open Disk Management, find the black Unallocated bar, and use Extend Volume on your main partition to claim it. If Extend Volume is greyed out, something is sitting between the partition and the free space; move it with a partition tool or re-clone with auto-resize on.
The clone freezes or reports read errors
Freezing partway or throwing read errors usually points to bad sectors or file-system damage on the old drive. Run a disk check (chkdsk) and your SSD maker’s diagnostic tool on the source. If it reports errors, a bootable USB clone tool handles rough sectors more gracefully than an in-Windows one. If errors keep coming, a clean Windows install plus copying your files by hand may be safer than fighting the clone.
Windows or an app asks to reactivate
A hardware change can make Windows or a licensed program think it moved to a new machine. For Windows, the Microsoft account sign-in and activation troubleshooter fix it. For paid apps that balk, just follow their prompt to sign in or reactivate on the cloned system.
Frequently asked questions
Do I need to format the new SSD before cloning?
No. The cloning software wipes the target and builds a fresh layout for you. The only setup a brand-new drive needs is a one-time initialize prompt in Disk Management when Windows first detects it.
Will cloning to a new SSD deactivate Windows?
Usually not. On most PCs the license is tied to the motherboard, so Windows stays activated after the clone. If it does reset, signing in with your Microsoft account and running the activation troubleshooter restores it.
How long does it take to copy an SSD to a larger SSD?
A few hundred gigabytes over a direct SATA or NVMe connection often finishes within an hour. Cloning over a USB enclosure, or moving close to a full terabyte, takes longer. Data amount and connection speed matter more than the drives themselves.
Why does my new SSD still show the old, smaller size?
The clone copied the old partition sizes and left the extra room as unallocated space. Open Disk Management and use Extend Volume on your main partition to absorb it, or re-run the clone with the “fit to disk” resize option turned on.
Can I keep the old SSD as a backup after cloning?
Yes, and it is a smart move for a week or two. Leave it untouched as a fallback in case the clone hides a problem. Once you are sure the new drive is stable, reformat the old one and reuse it for storage or wipe it before selling.
Conclusion
Copying an SSD to a larger SSD comes down to three moves: clone the old drive with disk-cloning software, expand the main partition so the new drive shows its full size, and set your PC to boot from it. Moving to a bigger drive is the forgiving direction, so as long as you pick the right target disk and claim the extra space, you keep Windows, your apps, and every setting, and end up with a faster machine and room to grow.
Related Post:
How to Tell What SSD You Have (Windows and Mac)
Macrium Reflect “Data Error (Cyclic Redundancy Check)” on an SSD: What It Means and How to Fix It
What to Do After Installing a New SSD
How to Tell If Your SSD Is Failing: 7 Warning Signs and How to Check
How to Clone an SSD to a Bigger SSD (2026): A Step-by-Step Guide