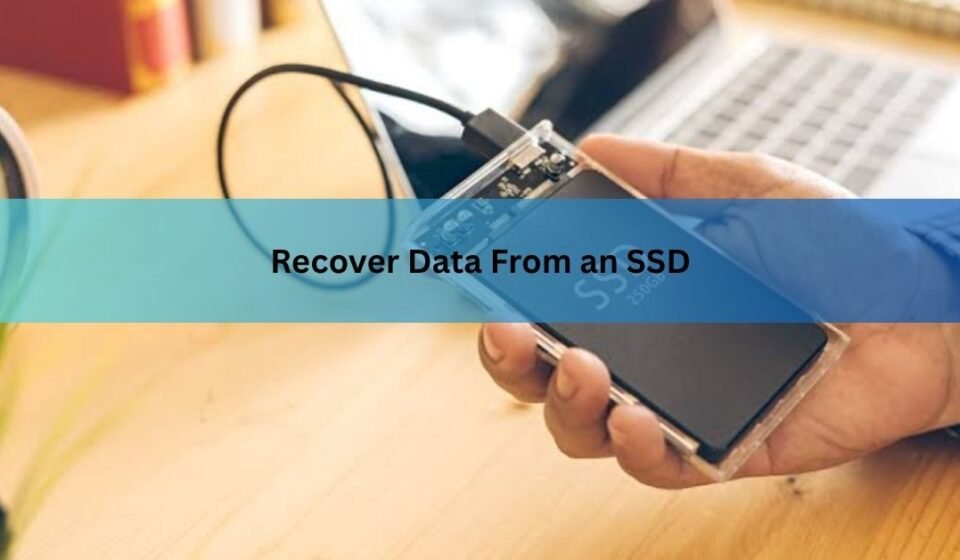

Yes, in most cases you can recover data from an SSD, but the odds depend on one thing more than any other: whether TRIM has already erased the space your files used to occupy. If TRIM hasn’t run yet, or the drive uses a file system TRIM doesn’t reach, recovery software can often pull your files back in minutes. If TRIM has run, or the SSD has failed electronically, software can’t help, and the only path left is a professional lab that works at the chip level.
That single fact changes everything about how you should react right now, and it’s why SSD recovery follows a different playbook than the one people learned for hard drives. Here’s what determines your odds, what to do in the next five minutes, how to try recovery yourself, and what a lab actually charges when software isn’t enough.
Can you actually recover data from an SSD?
Recovery is possible when the SSD still powers on, the file system is intact enough to read, and TRIM hasn’t already zeroed out the deleted blocks. That covers a large share of real-world cases: accidental deletion, a quick format, a lost or deleted partition, a corrupted file system that shows the drive as “RAW,” and files lost after a crash or bad update.
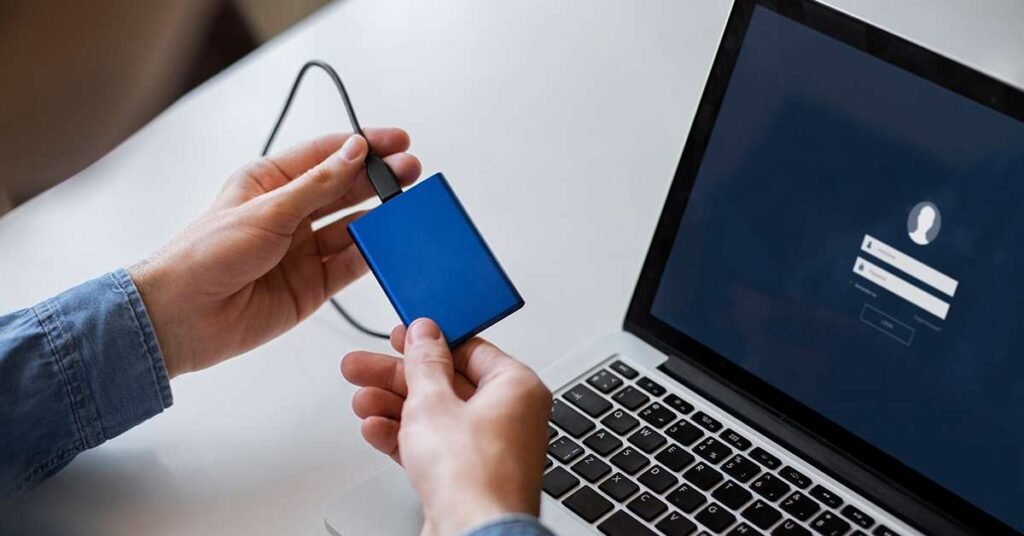
Recovery gets far harder, or becomes impossible for software, when the SSD isn’t detected at all. That points to a dead controller, failed firmware, or physical damage to the memory chips, and it needs lab equipment rather than an app on your desktop.
A few situations sit in between and are worth knowing upfront. A deleted partition, as opposed to deleted files, often survives longer than you’d expect, because TRIM targets specific blocks marked as free inside a live file system, and a removed partition can leave those blocks untouched until you create a new one over the same space. A drive that suddenly reports the wrong capacity, or a fraction of its real size, usually points to firmware trouble rather than lost files, and sending more writes at it tends to make things worse. A drive that still works but reads painfully slowly is often flagging early NAND wear; treat that as a signal to back up now, while it still cooperates, rather than as data loss on its own.
Quick gut check: if the drive still shows up in Disk Management (Windows) or Disk Utility (Mac) and just looks empty or shows the wrong files, your odds are good. If the drive doesn’t appear at all, or shows 0 bytes, stop trying software and read the section on undetected drives below.
Why SSD recovery is not the same as HDD recovery
A hard drive writes files to fixed spots on a spinning platter. Delete a file, and the operating system just removes the pointer to it; the actual data sits untouched until something else happens to land on that same spot, which can take weeks or months. That’s why old-school “undelete” tools work so reliably on HDDs.
An SSD behaves nothing like that, for three reasons.
- Wear leveling: the controller spreads writes across the whole drive so no single memory cell wears out first. Your file’s pieces are scattered in a pattern only the controller knows, not laid out in one block.
- TRIM: as soon as you delete a file, Windows or macOS tells the SSD which blocks are free, and the drive proactively wipes them in the background, often within seconds, so the next write is faster. On a hard drive, deleted data waits around; on an SSD with TRIM enabled, it can be gone before you’ve even opened a recovery tool.
- Built-in encryption: many SSDs encrypt everything by default, with the decryption key stored on the controller chip. If the controller dies, the raw memory chips read back as scrambled data even though nothing on them was physically damaged.
| Factor | Hard drive (HDD) | SSD |
| Deleted file layout | Stays in one place until overwritten | Scattered by wear leveling |
| How long deleted data survives | Weeks to months, often | Seconds to minutes if TRIM runs |
| Typical failure mode | Mechanical: heads, motor, platters | Electronic: controller, firmware, NAND wear |
| Lab technique for physical failure | Cleanroom head swap | Chip-off NAND extraction or board repair |
What to do the moment you notice missing files
Every extra minute the SSD stays active is a minute TRIM or normal disk activity can use to overwrite the data you’re trying to save. Move fast and in this order.
- Stop using the drive immediately. Don’t open more files, install anything, or even browse folders on it. Every write operation, including the OS writing its own logs, can land on the space you need.
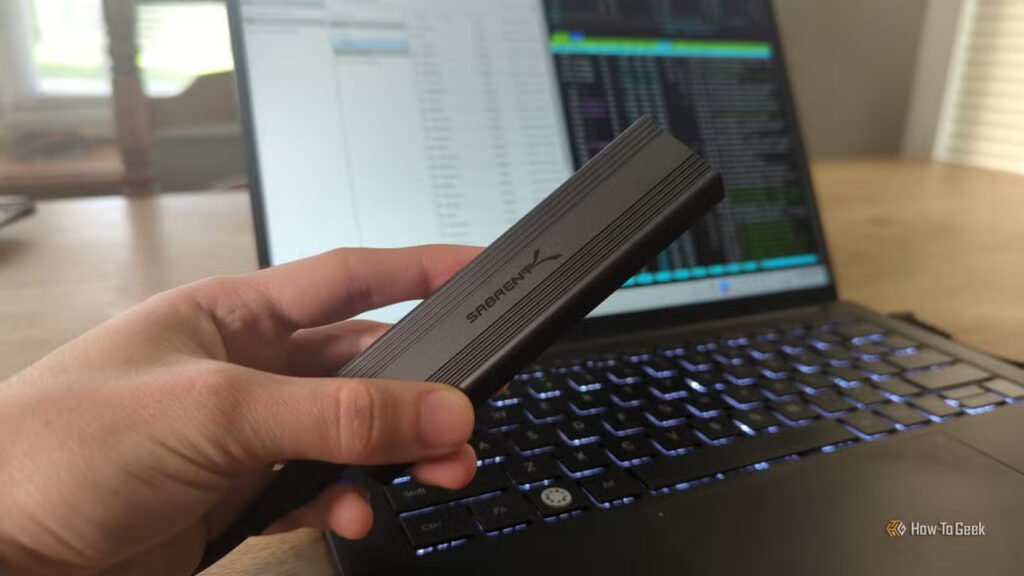
- If it’s an internal SSD in a desktop, shut down and pull it out if you can, then connect it to another computer through a USB enclosure. If it’s soldered into a laptop and can’t be removed, skip to the next step instead.
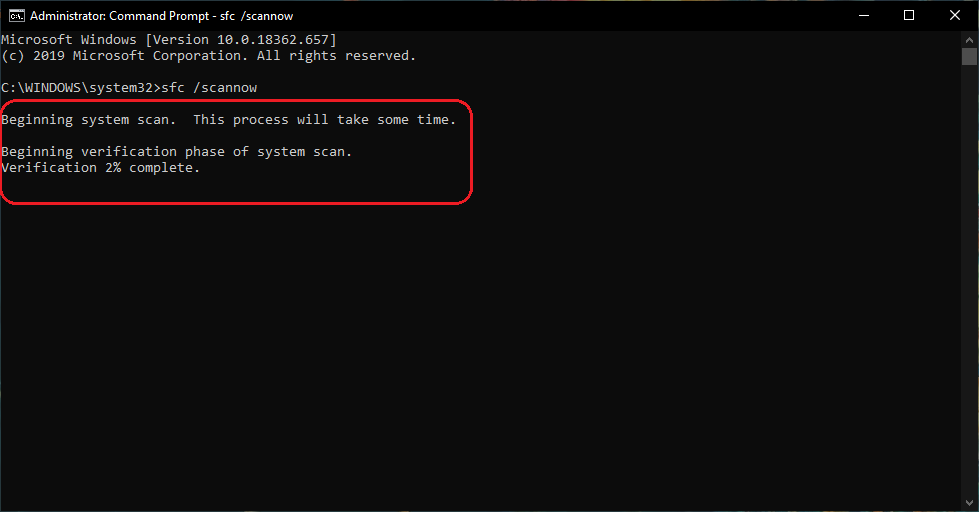
Make the drive read-only before you do anything else. On Windows, open an elevated Command Prompt, run diskpart, then list disk, select disk #, and attributes disk set readonly, using Microsoft’s own DiskPart attributes disk command reference if you need the full syntax. On a Mac, use Disk Utility or the diskutil command with the -readonly mount option. This step matters most for internal SSDs, since TRIM is far less likely to fire over a USB connection.
- Don’t reformat, don’t run “repair,” and don’t install recovery software onto the same drive. Installing anything writes new data, and that new data can land right on top of the files you’re trying to get back.
- If the files matter more than the cost of a new drive, clone the SSD to another drive first and run your recovery attempt on the clone. That way, a failed attempt doesn’t cost you a second chance.
How to recover deleted or lost files from an SSD yourself
If the drive is still detected by your computer and you haven’t reformatted it with a new file system on top, a DIY attempt is worth trying before you spend money on a lab. This works for accidental deletion, quick formats, lost partitions, and drives that show up as RAW or unreadable.
- Connect the SSD to a different computer if possible, so the drive isn’t the same one running the recovery software and the operating system that might still write to it.
- Install a recovery tool that supports SSDs specifically, such as Disk Drill, Recuva, or DMDE, onto your system drive, never onto the SSD you’re recovering from.
- Run a scan. Start with a quick or standard scan for recently deleted files; if that comes up short, run a deep or signature-based scan, which looks for recognizable file patterns even when the file system’s own records are gone.
- Preview files before recovering them. A file that still previews cleanly is intact; one that previews as garbled or won’t open at all has likely already been partly overwritten or hit by TRIM.
- Recover everything you need to a different physical drive, not back onto the SSD. Writing recovered files onto the same drive can overwrite other files you haven’t gotten to yet.
If the scan finds nothing at all where you expected hundreds of files, that’s usually TRIM, not a bug in the software. It means the space was already reused or zeroed, and no amount of scanning will bring it back.
A couple of details change the outcome more than people expect. If the SSD is protected by BitLocker or FileVault, most recovery software needs the drive unlocked with your password or recovery key before it can scan anything meaningful; scanning a still-locked drive just returns encrypted noise. And if you’re recovering from an external SSD or a USB-connected internal drive, use a USB adapter or enclosure that supports the drive’s native interface (SATA or NVMe) rather than a cheap generic one, since a flaky connection during a long scan can interrupt reads partway through and corrupt files that were otherwise intact.
What if the SSD doesn’t show up at all?
When a computer can’t see the drive in Disk Management, Disk Utility, or even the BIOS, software can’t reach it, no matter how good the tool is. That points to a hardware problem: a failed controller chip, corrupted firmware, a damaged circuit board, or (rarer) NAND chips that have physically degraded.
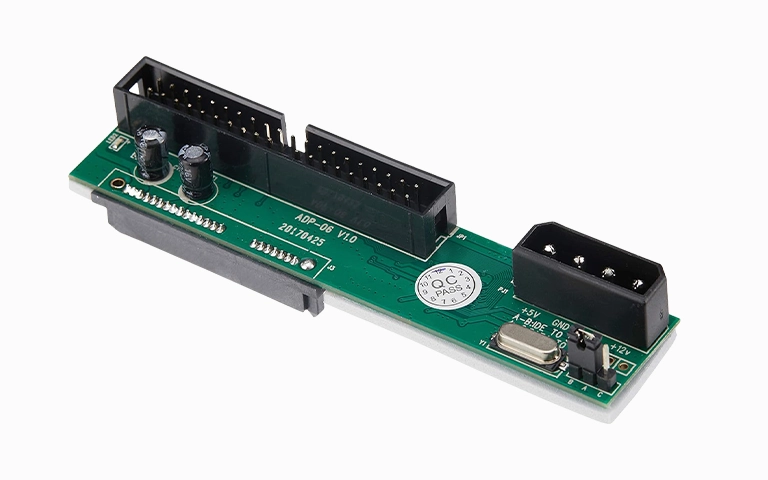
A professional lab handles this differently depending on what actually failed:
- Firmware corruption: the drive is detected with the wrong capacity or won’t mount. A technician can often reconstruct the firmware using specialized diagnostic hardware without opening the drive.
- Electrical or board damage: the drive looks completely dead. A technician repairs or replaces the damaged component on the circuit board under a microscope.
- Controller or NAND failure: this is the most involved case, requiring the memory chips to be physically removed from the board and read directly, then reassembled using the controller’s original data-mapping logic.
None of this is something to attempt at home. Opening an SSD, reheating a chip, or reflashing firmware with the wrong tool can destroy data that a lab could otherwise have recovered.
How much does professional SSD data recovery cost?
Price is set by what failed, not by how many gigabytes are on the drive or how much data you want back. Across labs publishing current rates, SSD recovery in 2026 typically breaks down like this.
| Failure type | Typical cost range |
| Logical: deleted files, formatting, corruption, drive still detected | $300 – $1,000 |
| Firmware corruption: wrong capacity, not mounting | $600 – $1,500 |
| Electrical or board damage: drive won’t power on | $700 – $1,800 |
| Chip-off / NAND extraction: dead controller, physical damage | $1,200 – $2,500+ |
A few things are worth checking before you commit to any lab. Look for a firm quote that only follows a hands-on diagnostic, a published “no data, no fee” policy so you don’t pay for a failed attempt, and a price list that separates the labor fee from any donor part cost. NVMe drives generally cost more than SATA SSDs to recover, since their controllers are denser and often add hardware encryption tied to that specific chip. If your drive uses full-disk encryption such as BitLocker or FileVault, keep your recovery key or password on hand; a lab can restore the hardware, but only you can supply the key that unlocks what’s on it. Apple explains how that recovery key works on its own support page for encrypting a Mac’s startup disk.
How to keep this from happening again
A recovered drive is a warning, not a fix. Once you’ve got your files back, put a real backup habit in place so the next SSD failure is an inconvenience instead of an emergency.
- Keep at least one backup that isn’t on the same physical drive: an external SSD, a NAS, or a cloud backup service, ideally more than one.
- Check your SSD’s health periodically using the S.M.A.R.T. monitoring built into most drive management tools; a rising reallocated sector or wear-leveling count is an early warning.
- Before you delete anything in bulk or reformat a drive, pause and double-check the target. Most SSD data loss isn’t hardware failure; it’s a fast click on the wrong drive letter.
- If you use full-disk encryption, store the recovery key somewhere other than on the encrypted drive itself, since a locked drive with a lost key is unrecoverable even with perfectly healthy hardware.
Frequently asked questions
Can data be recovered from an SSD after a factory reset?
Sometimes, if TRIM hasn’t fully processed the freed space yet. A factory reset that runs a full or “secure” wipe is designed to trigger TRIM across the whole drive, which usually makes recovery impossible for those files.
Why does my recovery software show file names but the files won’t open?
The file system’s record of the name and location survived, but the actual data blocks were already reused or zeroed by TRIM. The listing is a leftover pointer, not proof the content is still there.
Is it worth trying free data recovery software before paying for a lab?
Yes, as long as the SSD is still detected by your computer. It costs nothing but time, and a successful scan can save you the price of a professional recovery entirely.
Does disabling TRIM help after data is already lost?
Only if TRIM hasn’t run yet. Disabling it stops future automatic erasure, but it can’t restore blocks that have already been zeroed.
Can a professional lab recover data from an encrypted SSD?
A lab can repair the hardware and pull the raw data off a controller-encrypted or BitLocker/FileVault drive, but reading the actual files still requires your password or recovery key; without it, the data stays scrambled.
Conclusion
SSD data recovery works often, but it lives and dies on speed and TRIM status. Stop using the drive the moment you notice a problem, set it read-only, and try recovery software first if the drive is still detected. If it’s not detected at all, that’s a hardware failure, and it needs a professional lab rather than another app. Either way, a good outcome means all your files come back intact, verified by preview, and saved to a separate drive before you touch the original again.
Related Post:
SSD Not Detected by BIOS: How to Find and Fix the Real Cause
How to Partition an SSD: Windows, Mac, and When to Skip It
What to Do After Installing a New SSD
SSD Showing as Unallocated? What It Means and How to Fix It Safely
How to Copy an SSD to a Larger SSD Without Reinstalling Windows