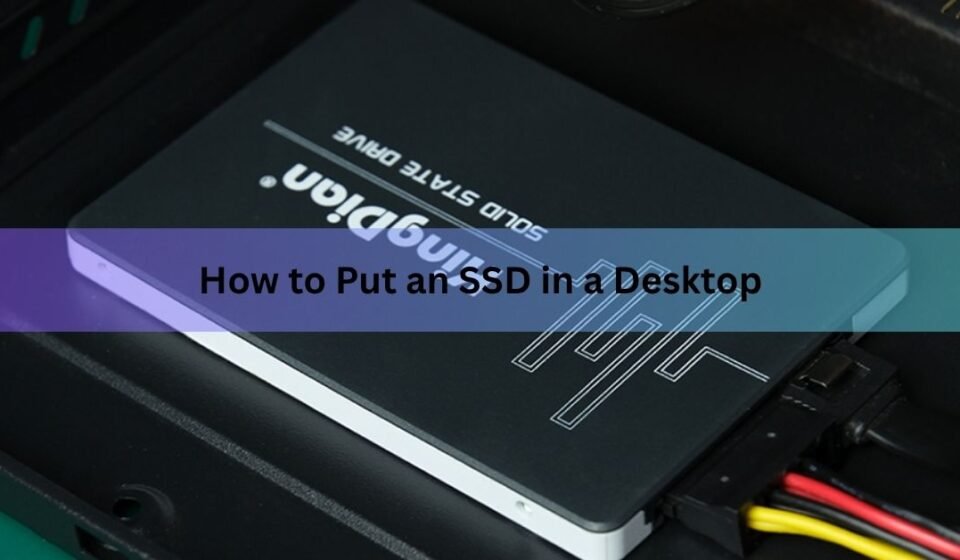

Installing an SSD in a desktop takes about 15 minutes and needs one screwdriver. Power the PC off, unplug it, open the side panel, then either slide an M.2 drive into a slot on the motherboard or bolt a 2.5-inch drive into a bay and run two cables to it. Close the case, boot up, and format the new drive in Windows.
The hard part is not the install. It is buying the right shape of drive for your machine, so start there.
Which type of SSD does your desktop take?
Desktop SSDs come in one of two shapes: an M.2 stick that lies flat on the motherboard, or a 2.5-inch box that sits in a drive bay and connects with two cables.
M.2 NVMe drives are the faster and tidier option, and most desktops built since about 2016 have at least one M.2 slot. The 2.5-inch SATA drives are slower but cheaper per gigabyte, and they work in almost any tower, including older ones with no M.2 slot at all.
Find your motherboard model, which is printed on the board itself and also shown in Windows under System Information, then download its manual. The manual tells you how many M.2 slots you have, what speed each one runs at, and which drive lengths fit.
| M.2 NVMe SSD | 2.5-inch SATA SSD | |
|---|---|---|
| Where it goes | Flat on the motherboard | In a drive bay or tray |
| Cables needed | None | SATA data plus SATA power |
| Typical read speed | 3,500 to 14,000+ MB/s by generation | Around 550 MB/s |
| Fixing | One small screw or a plastic latch | Four case screws or a toolless clip |
| Best for | Boot drive, games, big file work | Cheap bulk storage, older towers |
Most M.2 drives sold for desktops are labelled 2280. That means 22 mm wide and 80 mm long, and it is the size nearly every desktop slot is built around.
A newer drive in an older slot still works. Put a Gen 5 SSD in a Gen 4 slot and it runs at Gen 4 speed. Nothing gets damaged, you just paid for headroom you cannot use.
The PCIe generation only sets the ceiling on speed. Across the PCIe SSD generations, Gen 3 drives read at around 3,500 MB/s, Gen 4 drives pass 7,000 MB/s, and Gen 5 drives go beyond 14,000 MB/s. The jump you actually feel in daily use is the one from a hard drive or a SATA SSD up to any NVMe drive, not the one from Gen 4 to Gen 5.
What to get ready before you open the case
You need a number 2 Phillips screwdriver for the case, and a smaller one for the M.2 screw, which is about the size of a grain of rice and very easy to lose. A magnetic tip helps. Good light helps more.
Back up anything you care about first. Adding a drive does not delete anything, but if you plan to swap the boot drive or reinstall Windows, a copy of your files on an external disk or in the cloud saves you a bad evening.
Static electricity is the one real risk to the parts. Shut the PC down, switch the power supply off at the back, pull out the power cable, then hold the metal frame of the case for a second before you touch a drive. Working on a table rather than on carpet is enough for most people. Hold drives by the edges and keep them off the packaging bag they came in.
How to install an M.2 NVMe SSD
- Shut down Windows, flip the power supply switch off, and unplug the power cable. Press the case power button once to drain the leftover charge.
- Lay the tower on its side and take off the side panel. Most cases use two thumbscrews at the back.
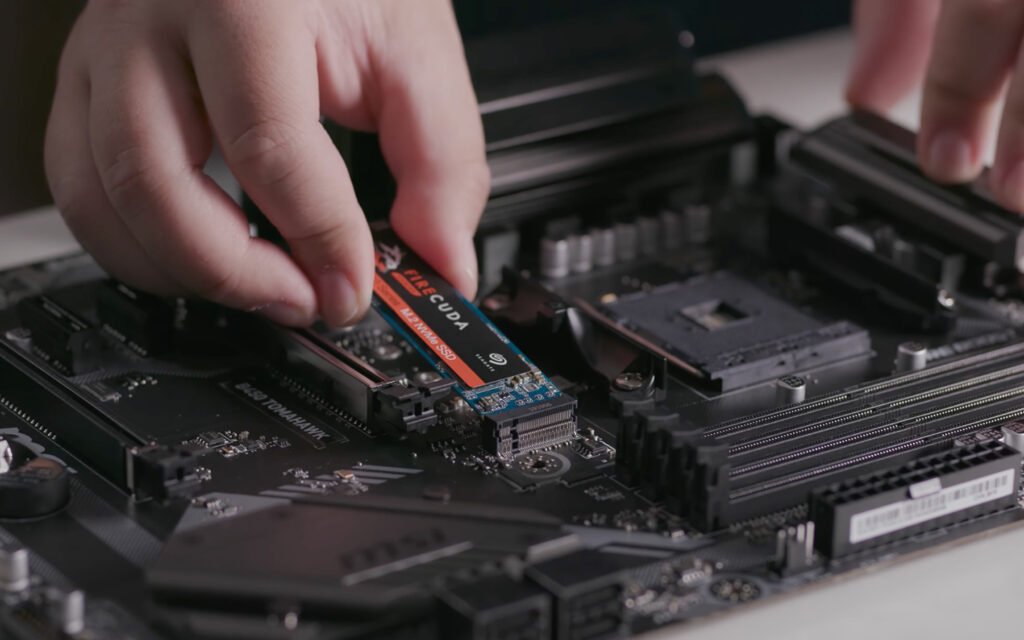
- Find the M.2 slot. It is a short connector, usually sitting between the CPU and the PCIe slots, and often labelled M2_1 or M2A. Many boards cover it with a metal heatsink held down by one or two screws. Take that heatsink off and peel the plastic film off the thermal pad underneath.
- If your board uses a screw, remove the small screw at the far end of the slot and keep it somewhere safe. If it uses a plastic latch instead, twist the latch open.
- Hold the drive at roughly a 30 degree angle and push the gold contacts into the slot until they seat. The notch in the contacts lines up only one way, so it cannot go in backwards.
- Press the free end of the drive down flat and hold it there. Fit the screw or close the latch. Snug is enough, because the screw is tiny and the thread strips easily.
- Refit the heatsink if you took one off. If your drive came with its own heatsink already attached, leave the board’s heatsink off and store it.
- Put the side panel back, reconnect the power cable, and switch the power supply back on.
- Turn the PC on and press Delete or F2 during boot to open the BIOS. Check that the storage list shows your drive, then exit and let Windows load.
If your board has more than one M.2 slot, use the one closest to the CPU for your fastest drive. On most boards that slot is wired straight to the processor and is the only one running the board’s top speed.
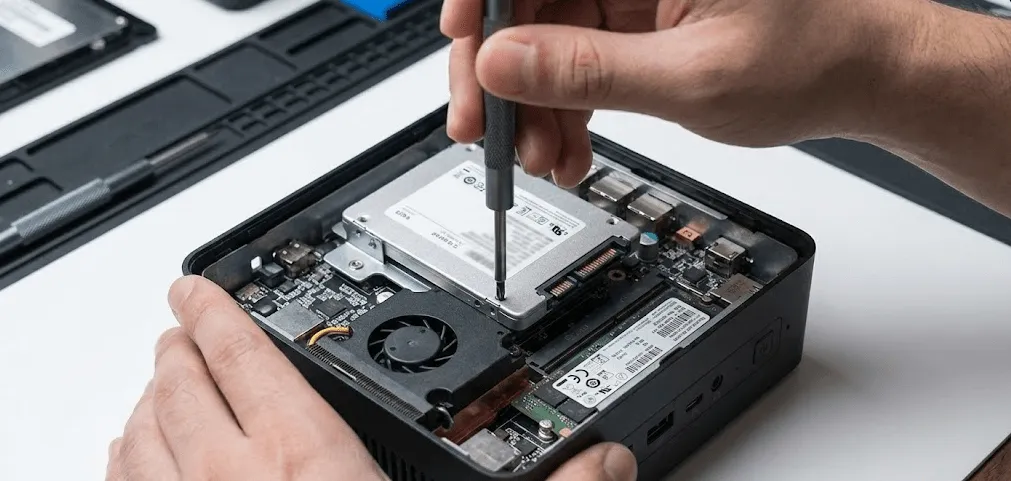
How to install a 2.5-inch SATA SSD
- Power off, unplug, and open the side panel the same way.
- Find a free 2.5-inch bay. Some cases have trays behind the motherboard, some have a cage at the front, and a few older cases only have 3.5-inch bays, which need a cheap adapter bracket.
- Screw the drive into the tray or bay with four screws, with the connector end facing out so you can reach it. Toolless trays just clip shut instead.
- Plug the flat SATA data cable into the smaller of the two connectors on the drive. It only fits one way. Run the other end to a SATA port on the motherboard, and pick the lowest numbered free port.
- Plug a SATA power connector from the power supply into the wider connector on the drive. That is the flat cable from the power supply with several black connectors spaced along it.
- Tuck the cables away from the fans, close the case, and reconnect the power.
- Boot up and check the BIOS storage list for the drive
One thing worth knowing here: on many motherboards, filling an M.2 slot switches off one or two SATA ports. If a SATA drive that used to work vanishes after you add an M.2 drive, move its cable to a different port. Your manual lists exactly which ports share lanes with which slots.
How to set up the SSD in Windows
A brand new SSD will not appear in File Explorer until you initialize and format it. It has no partitions on it yet, so Windows has nowhere to hang a drive letter.
Right-click the Start button and choose Disk Management. Windows usually pops up an Initialize Disk box on its own. Choose GPT and click OK. Then right-click the black Unallocated bar next to your new drive, choose New Simple Volume, accept the full size, pick a drive letter, and format it as NTFS with a quick format. Microsoft’s own walkthrough of initializing a new disk covers the same steps if a dialog looks different on your version of Windows.
Give it under a minute and the drive shows up in File Explorer, ready to use.
Should you move Windows onto the new SSD?
Only if you want the new drive to be your main boot drive. If you added it for games and files, you are already done.
To make it the boot drive you have two routes. A clean install is the more reliable one. Make a Windows installation USB, boot from it, and install Windows onto the new SSD with the old drive unplugged, so the installer cannot scatter boot files onto the wrong disk. You reinstall your programs afterwards, but you end up with a system carrying no old clutter.
Cloning copies your current Windows across, apps and settings included, using free software from the drive maker. It saves you the reinstall, and it also fails more often. The usual causes are BitLocker encryption on the source drive, bad sectors, or a target drive smaller than the space in use. If a clone will not boot, plug the old drive back in, start from it, and try again.
Either way, go into the BIOS afterwards and put the new SSD first in the boot order. Then keep the old drive as extra storage, or wipe it in Disk Management once you are sure everything came across.
What to do when the new SSD does not show up
Start by working out where it is missing. If the BIOS cannot see the drive, the problem is physical or a firmware setting. If the BIOS sees it but Windows does not, it almost always just needs formatting.
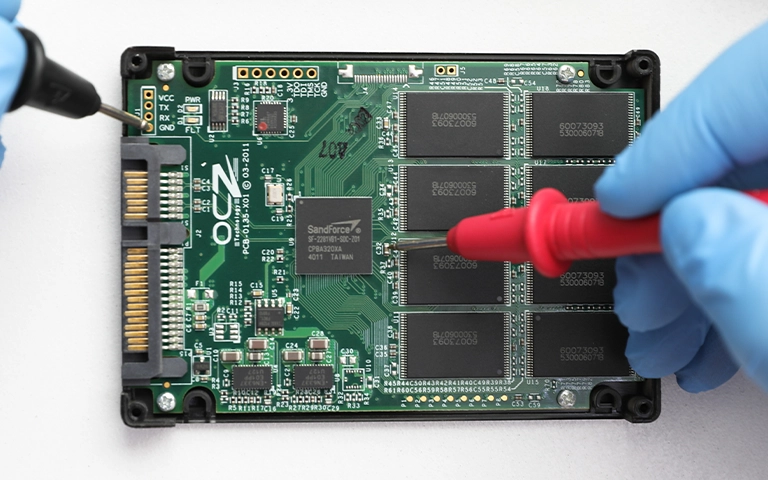
Fixes worth trying, roughly in this order:
- Reseat the drive. An M.2 stick that is not pushed fully home looks installed but makes no contact.
- Try the other M.2 slot. Some slots take only SATA M.2 drives and will not read an NVMe one.
- Check the shared lanes table in your manual. A filled M.2 slot can switch off SATA ports, and a card in a lower PCIe slot can switch off an M.2 slot.
- Set the storage mode in the BIOS to AHCI rather than RAID.
- Update the motherboard firmware. Older boards sometimes need a BIOS update before they recognise newer NVMe drives.
- Initialize the drive in Disk Management, if the BIOS lists it but Windows does not.
If none of that helps, test the drive in another slot or another machine before you decide it is faulty.
Frequently asked questions
Do I need to remove my old hard drive to add an SSD?
No. A desktop runs several drives at once, so leave the old one in as storage. You only need to pull it out if you are short on bays or ports, or if you want a clean Windows install on the SSD with nothing else connected.
How long does it take to install an SSD?
About 10 to 20 minutes for the physical install, plus roughly five minutes to initialize and format it in Windows. Moving Windows over, by clean install or by cloning, adds one to two hours on top.
Does an M.2 SSD need a heatsink?
Gen 3 and Gen 4 drives run fine under the motherboard’s heatsink, or with none at all in a case with decent airflow. Gen 5 drives run hot enough to slow themselves down, so give those one.
Can I add an SSD to a desktop with no M.2 slot?
Yes. Buy a 2.5-inch SATA SSD. It fits any desktop with a spare SATA port and a spare SATA power connector, and it is still several times faster than a hard drive for boot and load times.
Should I choose GPT or MBR when initializing the SSD?
GPT for any modern PC. It supports drives over 2 TB and works with UEFI booting, which is what current motherboards use. MBR only matters on old systems that cannot boot from GPT.
Conclusion
Adding an SSD to a desktop comes down to three things: buy the shape your motherboard takes, fit it with the power fully off, and then initialize and format it in Windows. An M.2 NVMe drive goes straight onto the board with one small screw. A 2.5-inch drive needs a bay and two cables. Done right, the drive appears in the BIOS on the very first boot and in File Explorer a minute after you format it.
Related Post:
Can You Recover Data From an SSD? What Actually Works
How to Partition an SSD: Windows, Mac, and When to Skip It
What to Do After Installing a New SSD
SSD Showing as Unallocated? What It Means and How to Fix It Safely
How to Copy an SSD to a Larger SSD Without Reinstalling Windows