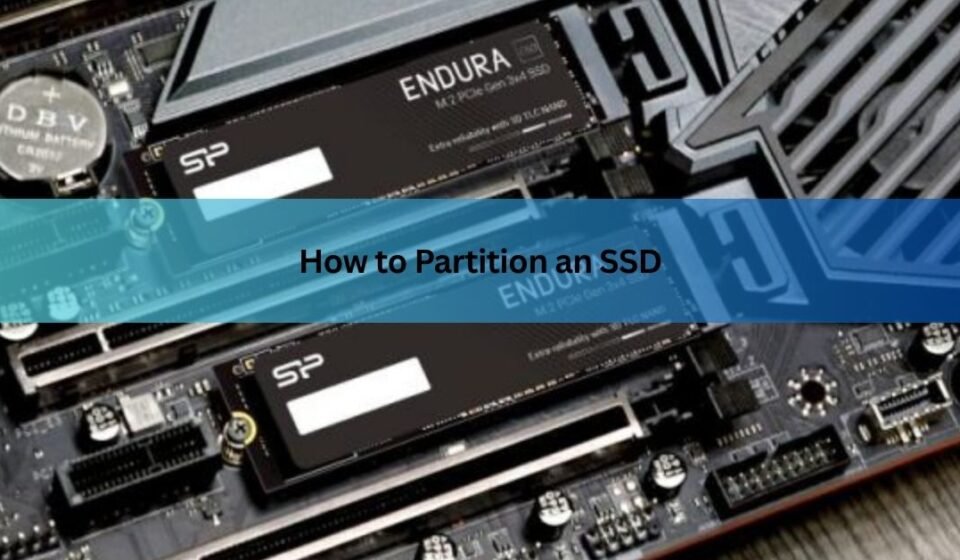

Partitioning an SSD takes about five minutes and needs no extra software. On Windows, open Disk Management, shrink an existing volume, and create a new one in the freed space. On a Mac, open Disk Utility and add an APFS volume. That is the whole job, and your files stay where they are while you do it.
The more useful question is whether you should partition at all, and how to split the space so you don’t box yourself in later. Splitting a drive won’t make an SSD faster, and it won’t wear it out either. It’s an organization tool, nothing more. This guide covers what a partition actually is, when one helps, the exact steps for Windows and Mac, how big to make each slice, and how to fix the two errors that stop most people halfway through.
What partitioning an SSD actually does
Partitioning divides one physical drive into separate sections that your computer treats as independent drives. Split a 1 TB SSD into two partitions and Windows shows two drives, say C: and D:, each with its own letter, its own file system, and its own free space. Files on one don’t touch the other.
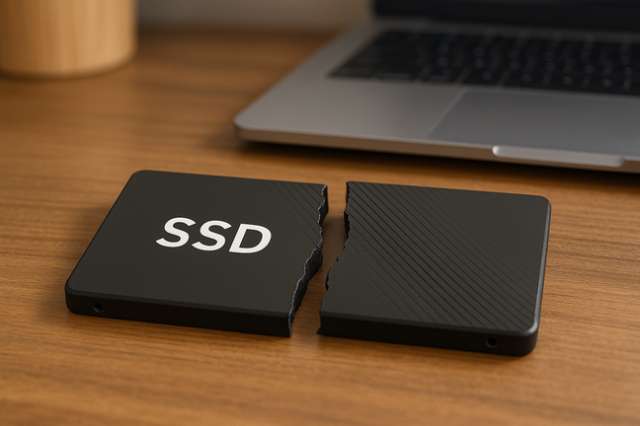
The hardware doesn’t change at all. Partitioning only rewrites a small map at the start of the disk, called the partition table, that tells the operating system where each section begins and ends. Modern PCs use the GPT format for this table (short for GUID Partition Table), which handles huge drives and up to 128 partitions in Windows. The older MBR format tops out at four primary partitions and 2 TB, so it only belongs on old machines.
Your SSD already has partitions, even if you never made one. A standard Windows install creates a small EFI partition that boots the machine, a recovery partition that holds repair tools, and the big C: partition with everything else on it. The first two are tiny, hidden, and essential. Leave them alone.
Does partitioning hurt an SSD’s speed or lifespan?
No, on both counts. A hard drive reads faster from the outer edge of its spinning platter than from the center, so partition placement changes its performance. An SSD has no moving parts. Every memory cell answers in the same fraction of a millisecond, so a file on D: opens exactly as fast as the same file on C:. There is no fast zone to claim.
Lifespan is protected by a feature called wear leveling. The SSD’s controller spreads write operations across all of its memory cells so no single spot burns out early, and it does this at the hardware level, underneath your partitions. The controller can’t even see where your partition lines sit. Hammering one partition with writes still wears the whole drive evenly.
One layout mistake can genuinely slow you down, though: a system partition that’s too small. An SSD loses speed as a partition fills up, because the controller has less empty space to shuffle data through in the background. Keep about 15 to 20 percent of each partition free and you’ll never notice the effect.
Rule of thumb: partition an SSD for organization, security, or a second operating system. Never do it for speed, because there is no speed to gain.
When partitioning makes sense (and when it doesn’t)
Good reasons to split an SSD:
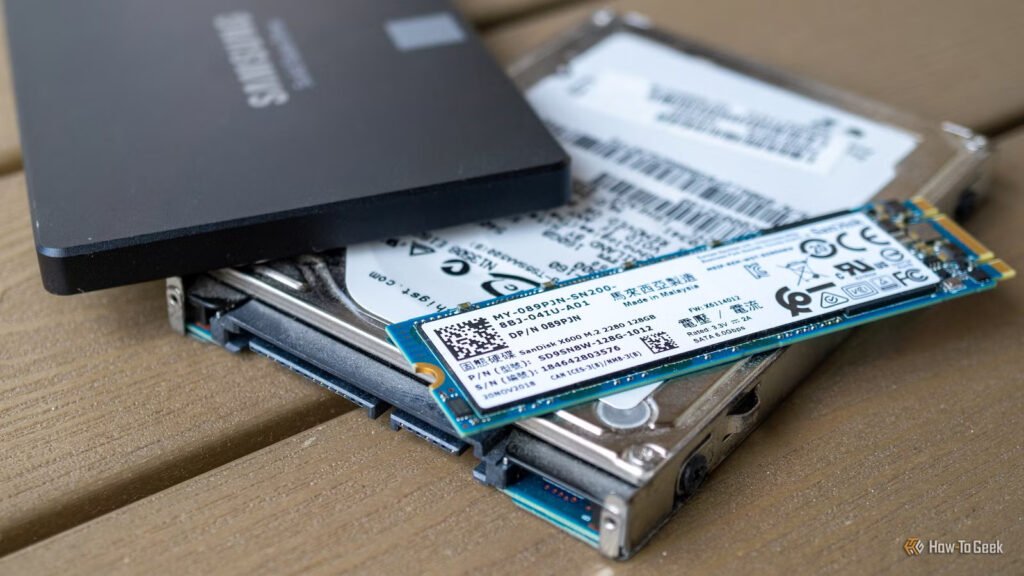
- Dual booting. A second operating system needs its own partition. Windows plus Linux on one drive is the classic setup, and it’s the one case where partitioning is required rather than optional.
- Keeping your files clear of Windows. With documents, photos, and projects on D:, you can wipe and reinstall Windows on C: without touching them. Reinstalls and major upgrades get much less scary.
- Encryption boundaries. You can encrypt one partition with BitLocker or VeraCrypt and leave the rest open. Sensitive work files get a locked box without slowing down everything else.
- Shared computers. Separate partitions give each person, or each role, a clean space with its own free-space budget. Work stays out of personal and the other way round.
- External SSDs. A portable drive split into a backup section and an everyday-files section does two jobs at once, and you can format each half differently if two operating systems need to read it.
Skip it if you run one operating system and just want tidy storage. Plain folders organize files with none of the downsides, while a split drive locks in sizes you have to guess in advance. The common failure looks like this: C: fills up while D: sits half empty, and moving the wall between them later is fiddly. One partition means one pool of free space and nothing to manage.
And know what a partition is not: a backup. Both halves live on the same physical drive. If the SSD dies, every partition on it dies together. Real backups go on a different drive or into the cloud.
Before you touch the drive
Five quick checks save most of the pain:
- Back up anything you can’t lose. Shrinking a volume normally keeps your data intact, but a power cut in the middle of a resize can corrupt the drive. Copy the important stuff somewhere else first.
- Confirm there’s room. You can only carve a new partition out of unused space, so a C: drive that’s 95 percent full has nothing to give until you clear it out.
- Use an administrator account. Disk Management refuses to run without one.
- Leave the EFI and recovery partitions alone. Deleting either one can stop the computer from booting.
- Plug a laptop into power. A resize interrupted by a dead battery is the worst-case scenario from the first point.
How to partition an SSD in Windows 10 and 11
The built-in tool for the job is Disk Management, and the steps are identical in Windows 10 and Windows 11. Microsoft’s Disk Management guide covers every feature it has, but for a simple split you only need these eight steps:
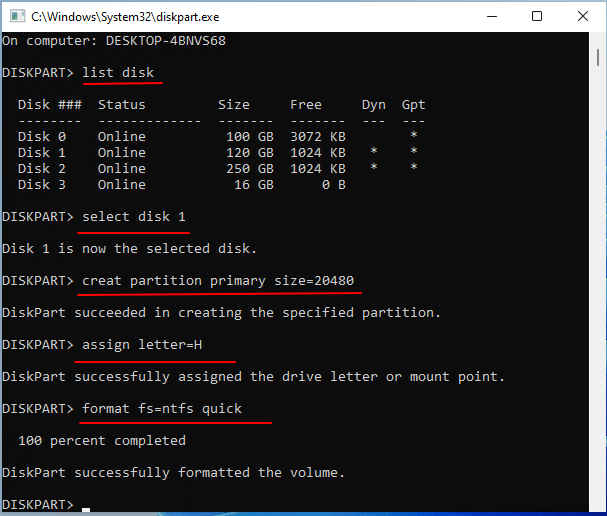
- Right-click the Start button and choose Disk Management. You can also press Windows + R, type diskmgmt.msc, and hit Enter.
- Find your SSD in the lower half of the window. Check the size to be sure you have the right disk, especially with more than one drive installed.
- Right-click the volume you want to split, usually C:, and choose Shrink Volume. Windows takes a moment to work out how much it can free.
- Enter the amount to shrink in megabytes. This number becomes your new partition, so for a 200 GB partition enter 204800 (1 GB is 1,024 MB). The box defaults to the maximum possible.
- Click Shrink. A black block labeled Unallocated appears next to the volume.
- Right-click the unallocated block and choose New Simple Volume, then click Next in the wizard.
- Accept the full size, then pick a drive letter. Any free letter works; D: and E: are the usual choices.
- Keep NTFS as the file system and the allocation unit size on Default, give the volume a name, leave Quick Format ticked, and click Finish.
The new drive shows up in File Explorer straight away, ready for files. Total time, including the wizard, is well under five minutes.
If the point of the split was to keep personal files off C:, take one more step and move your user folders across. Right-click Documents (or Pictures, Downloads, and so on) in File Explorer, open Properties, go to the Location tab, and point the folder at a matching folder on the new drive. Windows moves the contents and every program keeps saving to the right place automatically. Ten minutes of this and a future reinstall of Windows won’t touch a single photo.
Setting up a brand-new SSD
A drive fresh out of the box won’t appear in File Explorer at all, because it hasn’t been initialized. Open Disk Management and it prompts you to initialize the new disk automatically. Choose GPT as the partition style on any machine from roughly the last decade, then click OK.
The whole drive now shows as unallocated space. Right-click it, choose New Simple Volume, and either accept the full size for one big partition or enter a smaller number and repeat the wizard to create several. The process is the same for SATA and NVMe drives.
One thing that surprises on first setup: a 1 TB SSD shows up as about 931 GB. Nothing is missing. Drive makers count a terabyte in decimal (1,000,000,000,000 bytes) while Windows counts in binary, and 931 binary gigabytes is the same amount of storage.
How to partition an SSD on a Mac
On any Mac running macOS High Sierra or later, the SSD uses the APFS file system, and the better move is usually to add a volume rather than a partition. Volumes inside one APFS container share the container’s free space and grow or shrink on demand, so you never end up with a full section next to an empty one. Apple’s Disk Utility guide makes the same recommendation: on APFS disks, create volumes instead of partitions in most cases.
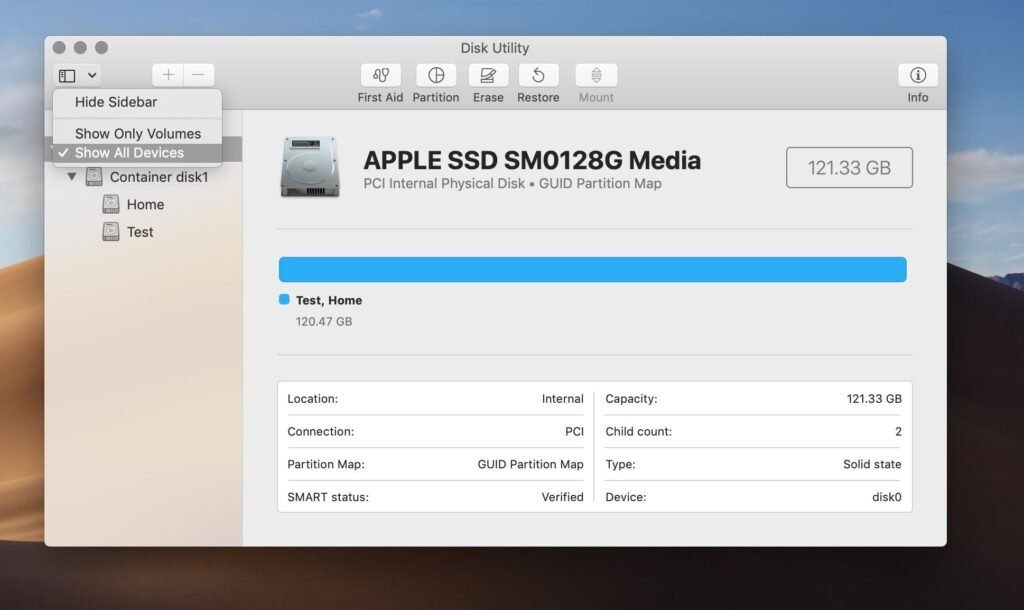
Adding a volume takes seconds:
- Open Disk Utility from Applications > Utilities, or find it with Spotlight.
- Select your drive in the sidebar and click the + (Add Volume) button in the toolbar.
- Name the volume and pick a format. Plain APFS suits most uses; APFS (Encrypted) locks it behind a password.
- Optionally set a reserve size (space guaranteed to this volume) and a quota (the most it can take), then click Add.
The new volume appears in Finder immediately and can hold files, a Time Machine target, or even a second copy of macOS for testing beta releases. Deleting it later takes one click and returns the space to the container.
A true partition still has its place on a Mac: an external drive that needs an ExFAT section readable by Windows machines, for example. For that, back up first, then select the physical disk in Disk Utility (turn on Show All Devices in the View menu), click Partition, add a section with the + button, set its size and format, and click Apply.
A quick note on Linux
Linux treats SSD partitions the same way: no speed penalty, no wear concern, and the installer handles alignment for you. Every mainstream distribution offers a guided option during setup that shrinks an existing Windows partition and creates its own alongside, which is the safest path for a dual-boot machine. For manual work after install, GParted is the standard graphical tool, and it can create, resize, and move partitions on any drive.
Two Linux-specific details matter. First, a dual-boot system shares the one EFI partition that Windows already made, so don’t create a second. Second, format Linux partitions as ext4 unless you have a reason not to; Windows can’t read ext4, so any partition both systems need should be NTFS or exFAT instead.
How big should each partition be?
The system partition is the one to be generous with. Windows 11 officially requires 64 GB of storage just to install, and a real machine with apps, updates, and a few years of temp files passes 100 GB without trying. Give C: at least 150 GB, and 250 GB on a 1 TB drive if you install games or heavy software to the default location.
Here are sensible starting points for a two-way or three-way split:
| Drive size | System (C:) | Data (D:) | Notes |
| 500 GB | 180 GB | Rest (about 280 GB) | Tight but workable for light use |
| 1 TB | 250 GB | Rest (about 680 GB) | Comfortable for most home PCs |
| 2 TB | 300 GB | 800 GB games, rest for files | Three-way split suits gaming rigs |
Whatever the split, hold to the free-space rule: every partition performs best with 15 to 20 percent of its capacity empty. On a heavily written drive, such as one used for video editing, you can also leave 5 to 10 percent of the disk unpartitioned. That unallocated space acts as extra working room for the controller, a trick called overprovisioning. Modern SSDs ship with some spare area built in, so this step is optional insurance rather than a requirement.
Fixing the two most common problems
Windows won’t shrink past a certain point. Disk Management stops at the first unmovable file it meets, and the page file, the hibernation file, and system restore snapshots all count as unmovable. The fix: turn hibernation off with the command powercfg /h off, disable the page file and system protection temporarily in System settings, restart, shrink the volume, then switch everything back on. A third-party partition manager that can relocate those files is the lazier route to the same result.
Extend Volume is greyed out. Windows can only grow a partition into unallocated space that sits directly to its right on the disk map. If the recovery partition sits between C: and the free space, the option stays disabled. Third-party partition tools can move partitions to close the gap; Disk Management itself can’t.
A third snag worth thirty seconds: a partition that exists in Disk Management but never appears in File Explorer usually just has no drive letter. Right-click it, choose Change Drive Letter and Paths, click Add, and pick a letter. It appears instantly.
Changing your mind later
Partition layouts aren’t permanent, but going backwards is messier than going forwards. To fold D: back into C:, first copy everything off D:, because merging requires deleting it. In Disk Management, right-click D:, choose Delete Volume, then right-click C: and choose Extend Volume to absorb the freed space. The delete-then-extend order matters, and the unallocated space has to sit next to C: for Extend to light up.
Resizing without deleting works in one direction easily: shrinking a partition with free space in it is a right-click away. Growing a partition into space that isn’t adjacent needs a third-party tool. This asymmetry is the strongest argument for planning sizes with the table above before you commit, and for erring on the large side with C:.
Frequently asked questions
Does partitioning an SSD make it slower?
No. An SSD reads every memory cell at the same speed, so files open just as fast from any partition. The only slowdown to watch for comes from letting a partition get nearly full, which is fixed by keeping 15 to 20 percent of it free.
Can I partition an SSD without losing my data?
Yes. Shrinking a volume in Disk Management or adding an APFS volume on a Mac leaves existing files untouched. Still back up first, because a crash or power cut in the middle of a resize can corrupt the drive.
Does partitioning reduce an SSD’s lifespan?
No. Wear leveling runs inside the drive’s controller, below the level of partitions, and spreads writes across all memory cells no matter how the drive is divided. Heavy use of one partition still wears the whole drive evenly.
How many partitions should an SSD have?
For a single-OS PC, one main partition plus the hidden system partitions Windows creates is ideal. Add a second for personal files if you reinstall Windows often, and one per operating system for dual booting. GPT disks support up to 128, far more than anyone needs.
Should I leave unallocated space on an SSD?
It’s optional. Modern SSDs include hidden spare area for the controller already. Leaving an extra 5 to 10 percent unpartitioned adds endurance headroom on drives that take constant heavy writes, but a normal home PC gains little from it.
Conclusion
To partition an SSD, shrink an existing volume in Disk Management and create a new one in the freed space, or add an APFS volume in Disk Utility on a Mac. Back up first, give the system partition at least 150 GB, and keep 15 to 20 percent of every partition free. Split a drive for a second operating system, encryption, or a clean wall between Windows and your files. If one drive letter already serves you well, keep it that way.
Related Post:
How to Tell What SSD You Have (Windows and Mac)
Macrium Reflect “Data Error (Cyclic Redundancy Check)” on an SSD: What It Means and How to Fix It
What to Do After Installing a New SSD
SSD Showing as Unallocated? What It Means and How to Fix It Safely
How to Copy an SSD to a Larger SSD Without Reinstalling Windows