
When an SSD is not detected by BIOS, the cause is almost always one of four things: a loose or bad connection, a port or slot that is disabled or being shared with another device, a storage setting such as RAID or Intel VMD hiding the drive, or a drive that has failed. The first three are fixable at home, usually in under an hour and without losing any data.
This guide works through each cause in the order that solves the problem fastest, with separate paths for 2.5-inch SATA drives and M.2 sticks, because the fixes are different. Follow the steps in order and stop as soon as the drive shows up.
Start with the five-minute checks
Before touching a single setting, rule out the simple causes. These five steps clear up a large share of detection problems on their own.
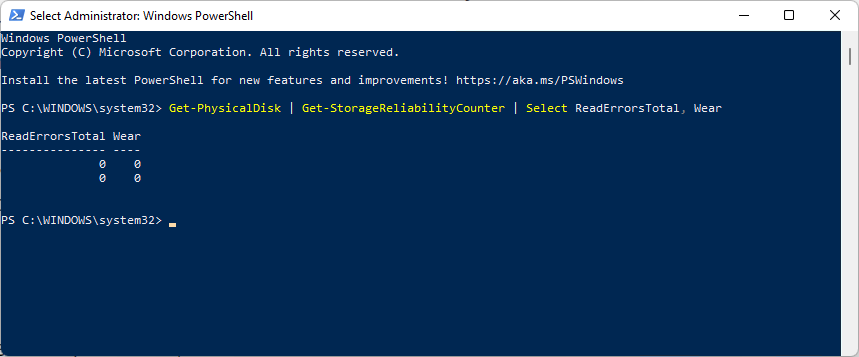
- Power off, unplug the PC, and reseat the drive. For a SATA drive, disconnect and firmly reconnect the data cable and the power cable at both ends. For an M.2 stick, remove the small screw, pull the drive out, then push it back in at roughly a 30-degree angle until the gold contacts disappear, and screw it down flat.
- Swap the SATA data cable. Cables fail more often than drives. The wires can break inside the insulation while the outside looks perfect, so testing with a known-good cable beats inspecting the old one.
- Try a different port or slot. Move the SATA cable to another port on the motherboard, or move the M.2 stick to a second slot if your board has one. A single dead port is common on older boards.
- Look in the right BIOS screen. Many boards open in an EZ Mode summary that only shows boot devices. Press the key for Advanced Mode (often F7) and open the storage or SATA configuration page, which lists every connected drive, bootable or not.
- Reset BIOS to defaults. Load Optimized Defaults from inside the BIOS (often F5 or F9), save, and reboot. This clears an unstable overclock or a stray setting that can knock a healthy drive off the bus.
Still nothing? The next step depends on what kind of SSD you have, so identify it first.
Which type of SSD do you have? The fix depends on it
SSDs reach the motherboard in two ways: over SATA or over PCIe (the protocol used by NVMe drives). The confusing part is that M.2, the small stick format, is only a shape. An M.2 drive can be either SATA or NVMe, and each one talks to the motherboard differently.
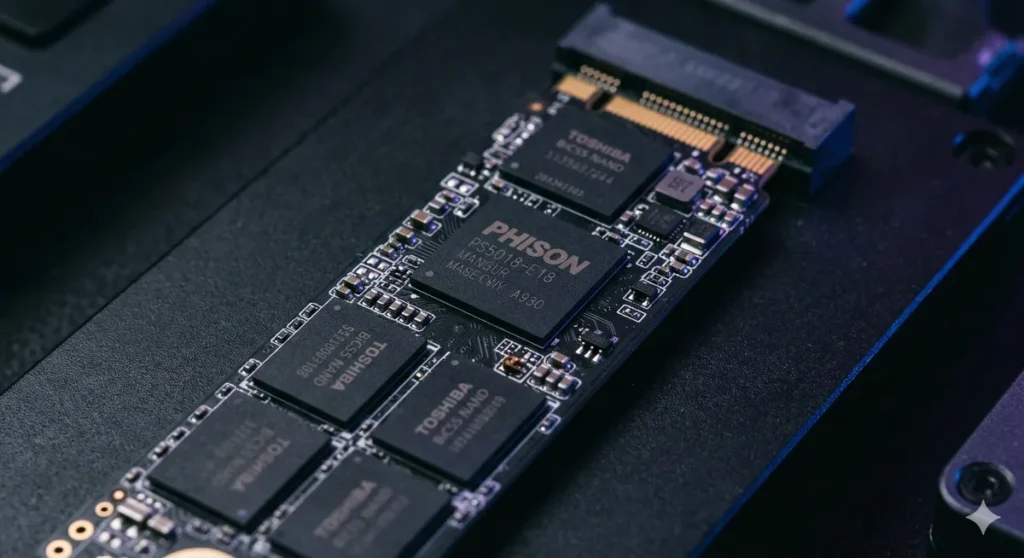
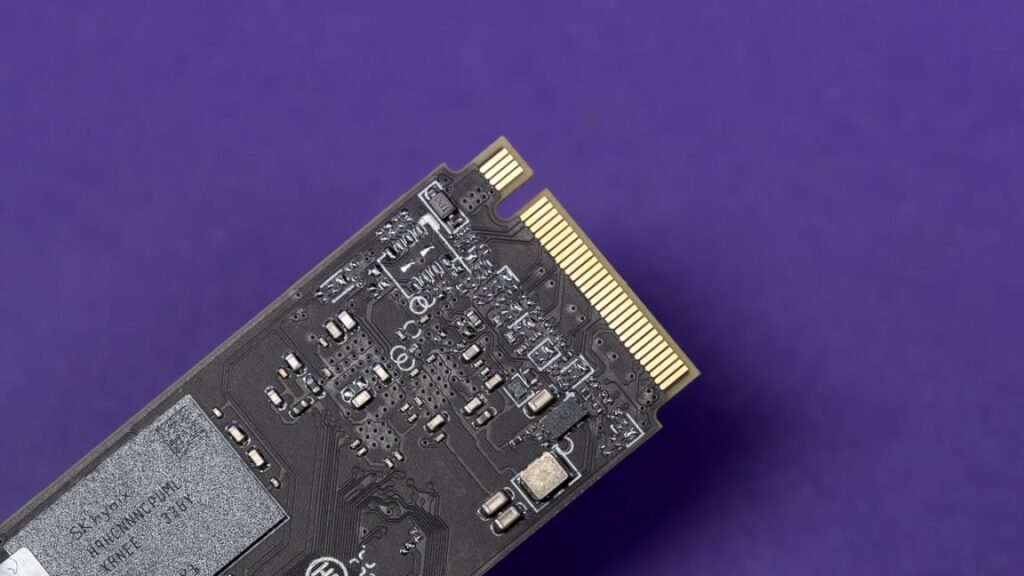
You can usually tell them apart by the notches on the connector. Most NVMe drives have a single notch (called an M key). Most M.2 SATA drives have two notches (B and M keys). The label or the model number printed on the drive settles it if you are unsure.
| Drive type | How it connects | Common reasons BIOS misses it |
| 2.5-inch SATA | SATA data cable plus a power cable | Bad cable, disabled SATA port, wrong controller mode |
| M.2 SATA | M.2 slot, using SATA lanes | Slot set to PCIe mode, slot not seated, shared SATA port conflict |
| M.2 NVMe | M.2 slot, using PCIe lanes | SATA-only slot, lane sharing, RAID/VMD mode, BIOS too old |
With the type identified, jump to the matching section below.
How do you fix a 2.5-inch SATA SSD that BIOS can’t see?
A 2.5-inch SATA SSD that BIOS can’t see almost always has a connection problem, a disabled port, or the wrong controller mode. Work through these four checks.
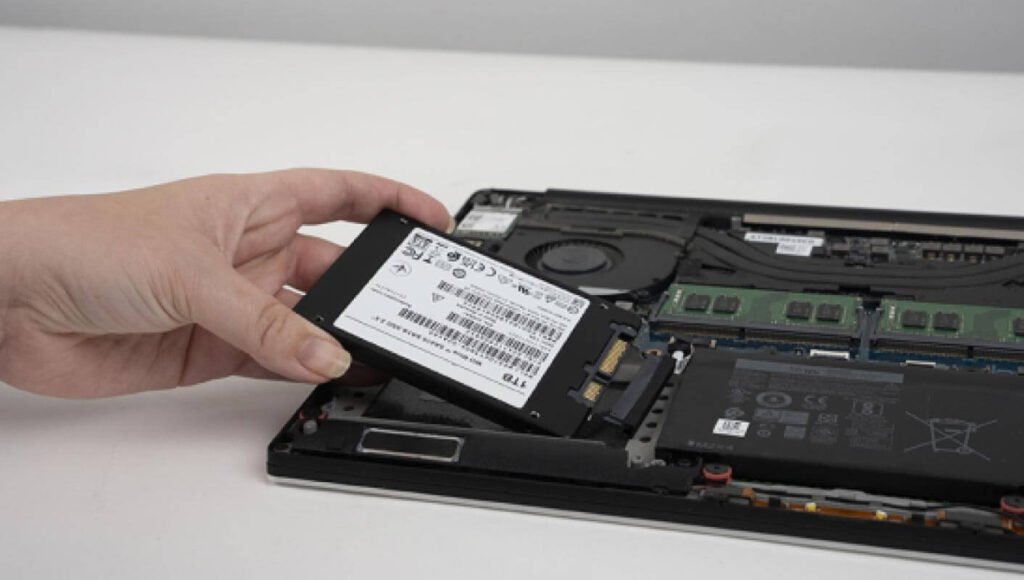
Check both cables, not just one
A SATA drive needs two working connections: the thin data cable to the motherboard and the wider power cable from the power supply. Test each one. Plug the power cable into a different connector on the same power supply line, and replace the data cable with a spare. Keep data cables under 1 meter (about 39 inches), since longer runs are less reliable, a point Seagate’s troubleshooting page makes as well. While you are in there, look at the connectors for bent pins or cracked plastic clips.
One trap worth knowing about if you have a modular power supply: the drive-power cables are not interchangeable between brands or even between models from the same brand. A cable left over from an old power supply can fit the new unit perfectly and still put the wrong voltage on the wrong pin, which can kill a drive instantly. Only use the cables that shipped with the power supply currently in the case.
Make sure the port is enabled
Motherboards let you switch individual SATA ports on and off in the BIOS. Open the SATA configuration page and confirm the port you are using is set to Enabled or Auto. If ports are numbered, note which physical port the cable is in and check that exact entry.
Set the controller mode to AHCI
The SATA controller mode decides how the board talks to drives. AHCI is the right setting for nearly every modern single-drive system. If the mode is set to RAID and you never built a RAID array, single drives can stay hidden until you switch to AHCI. One caution: if Windows is already installed on another drive under RAID mode, changing the mode can stop that drive from booting, so either change it back afterward or be ready to boot into safe mode once to let Windows adjust.
Test the SSD alone
Unplug every other drive and connect only the SSD, on the first SATA port. If it appears alone but not with the other drives connected, add the drives back one at a time until the culprit shows itself. A failing drive or a marginal power supply can drag other devices off the bus with it.
How do you fix an M.2 SSD that BIOS can’t see?
M.2 detection problems usually come from the slot and its settings, not from the stick itself. These are the checks that matter, starting with the most common.
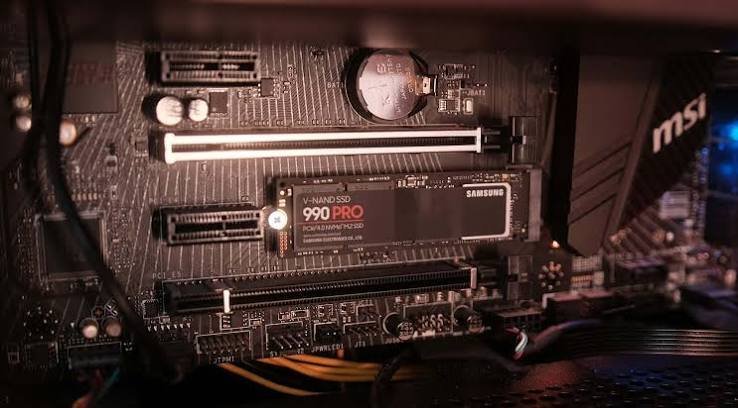
Confirm the slot actually supports your drive
Some M.2 slots only accept SATA drives, some only accept NVMe drives, and some accept both. This is the single most common reason a brand-new M.2 SSD never appears. Look up your exact motherboard or laptop model on the maker’s spec page and read the M.2 slot description. If the slot says “SATA mode only” and your drive is NVMe (or the other way around), no setting will ever make it show up. The drive is fine; it is simply in the wrong kind of slot.
Check the lane-sharing table in your manual
On many consumer boards, an M.2 slot shares bandwidth with specific SATA ports or a PCIe slot. Fill one and the other switches off. A typical example: installing an M.2 drive disables SATA ports 5 and 6, and the reverse is also true, so a hard drive plugged into port 5 can silently disable the M.2 slot.
The quick test is to unplug every SATA data cable and reboot. If the M.2 drive suddenly appears, open the motherboard manual, find the sharing table (usually in the storage or specifications section), and move your SATA cables to ports that don’t conflict. The same table covers PCIe cards; a capture card or second GPU in the wrong slot can steal the M.2 slot’s lanes.
Set the slot mode in BIOS
Some boards let you set each M.2 slot to SATA mode, PCIe mode, or Auto. Auto usually works, but a slot forced to the wrong mode hides the drive completely. Find the M.2 or onboard devices section in Advanced Mode and match the setting to your drive type.
Turn off RAID, RST, or VMD if you are not using them
Intel systems from 11th-generation Core onward often ship with VMD (Volume Management Device) enabled. VMD places NVMe drives behind a storage controller, so the BIOS and the Windows installer can’t see them without the Intel RST driver loaded. Turning VMD off in the BIOS makes the drive appear as a normal NVMe device. The same applies to a SATA controller left in RAID or “RST” mode on a system with no array.
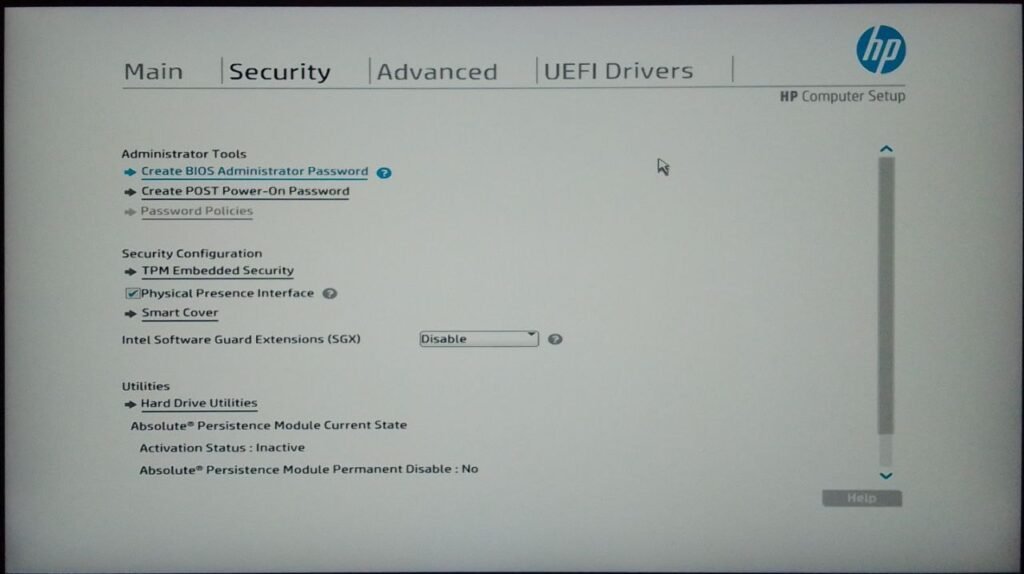
One caution here too: if Windows was installed while VMD was on, switching it off can stop that installation from booting. Turn it back on if that happens, or install the RST driver first.
Use UEFI boot for NVMe drives
NVMe drives boot through UEFI, not the old legacy BIOS path. If your board has CSM (Compatibility Support Module) or Legacy mode enabled, disable it, or at least confirm UEFI is allowed for storage. On boards from roughly 2014 or earlier there may be no NVMe boot support at all: the drive can work as a data drive once an operating system loads, yet never appear in the BIOS boot list.
Update the BIOS for a new drive
New drives on older boards sometimes need a BIOS update before they are recognized, especially recent PCIe 4.0 and 5.0 models. Download the latest BIOS from your motherboard maker’s support page and flash it following their instructions. Drive makers give the same advice; Crucial’s support article lists an up-to-date BIOS, enabled ports, and disabled RAID modes as the first things to verify when a desktop won’t recognize an SSD.
A note for laptop upgrades
Laptops follow the same rules with fewer options. Most have one or two M.2 slots and no lane-sharing table to worry about, but the slot restrictions are stricter: plenty of laptops accept only NVMe drives, some older ones accept only M.2 SATA, and a few limit the physical length to shorter 2242 sticks. Check the service manual or the maker’s upgrade page for your exact model before buying, and update the laptop’s BIOS if a supported drive still refuses to appear.
What if the SSD worked before and then disappeared?
A drive that vanishes after working fine points to a different, shorter list of causes.
- After a BIOS update: flashing a BIOS resets settings to defaults, which can re-enable VMD, switch the controller back to RAID, or change the slot mode. Re-apply your storage settings and the drive usually returns.
- The drive appears on some boots but not others: intermittent detection means a marginal connection or a drive that is starting to fail. Reseat everything, replace the SATA cable, and back up the drive the next time it shows up. Treat this as a warning, not a quirk.
- After a power cut or crash: a sudden power loss during a write can corrupt the drive’s firmware, and a drive with damaged firmware can’t announce itself to the BIOS at all. Try a power cycle first: leave the drive connected to power only (data cable unplugged) for 30 minutes, then power everything down and reconnect. This clears some SATA drive lockups.
- The drive drops out after sleep or a warm restart: an NVMe drive that survives a cold boot but disappears after resume points to a firmware or BIOS bug rather than hardware. Update the motherboard BIOS and the SSD’s own firmware, which the drive maker’s utility (such as Samsung Magician or Crucial Storage Executive) installs in a few clicks.
- After overclocking: an unstable CPU or memory overclock can corrupt the PCIe link handshake and drop an NVMe drive off the bus. Reset the BIOS to defaults before blaming the drive.
How do you tell if the drive itself has failed?
The cleanest answer comes from a cross-test, which needs a second computer or a second known-good drive.
- Put the suspect drive in a known-good computer.
- Put a known-good drive in the suspect slot or port.
- Read the result. If the suspect drive fails everywhere while the good drive works in your slot, the drive has failed. If the good drive also disappears in that slot, the problem is your board, its cabling, or its settings, and the SSD is innocent.
Two more useful tests: a USB M.2 enclosure lets you check an NVMe stick on any computer (a few enclosures don’t support every drive, so a failure there isn’t final proof), and booting from a Windows installer USB is worth trying, because the installer loads its own storage driver and can list a drive that the BIOS summary screen hides.
If the drive is invisible in every system and every enclosure, its controller or firmware has died. No software can repair a drive that never appears on the bus, so skip any tool that promises to. Check the warranty next: most consumer SSDs carry 3 to 5 years of coverage, and a drive that no computer can detect is a clear replacement case.
If the data on the drive matters, stop experimenting as soon as you suspect the drive has failed. Repeated power-ons of a dying SSD lower the odds of a successful professional recovery, and recovery labs can still pull data from drives that no BIOS will ever see.
Which path should you follow?
If you skipped to the end, here is the whole article in three lines.
- New drive, never detected: check slot compatibility and keying first, then lane sharing, then BIOS settings (slot mode, VMD/RAID, UEFI), then update the BIOS.
- Old drive, vanished suddenly: reseat and swap cables, reset the BIOS to defaults, re-check settings if the BIOS was recently updated.
- Drive comes and goes: back up immediately, then treat it as a failing connection or a failing drive.
Frequently asked questions
Why is my new M.2 SSD not showing up in BIOS?
Usually the slot, not the drive. Confirm the slot supports your drive type (SATA vs. NVMe), check the manual’s lane-sharing table in case a SATA port or PCIe card is disabling the slot, and make sure VMD or RAID mode is off in the BIOS.
Does an SSD not detected in BIOS mean it is dead?
No. Cables, disabled ports, lane sharing, and settings like VMD hide healthy drives every day. Only call it dead after a cross-test: if the drive fails in a second computer while a known-good drive works in your slot, the drive has failed.
Do I need to format an SSD before BIOS can detect it?
No. BIOS detection happens at the hardware level, before partitions or formatting matter. A brand-new, blank SSD should appear in BIOS immediately. Formatting only matters later, when Windows needs the drive initialized and partitioned to show it in File Explorer.
Should I enable Legacy or CSM mode to detect an NVMe SSD?
No, the opposite. NVMe drives boot through UEFI, so CSM or Legacy mode should be disabled. Enabling legacy support can remove an NVMe drive from the boot list entirely. Use UEFI boot mode and, if the drive is still missing, check VMD and slot settings.
Why does my SSD show in BIOS but not in Windows?
That is a Windows-side issue, not a BIOS one. Open Disk Management: a new drive needs to be initialized, partitioned, and given a drive letter before File Explorer shows it. If an old drive appears there as unreadable, recover the data before reformatting.
Conclusion
An SSD missing from BIOS is rarely a dead drive. Reseat the connections, swap the SATA cable, check that the port or slot is enabled and not sharing lanes with something else, set the controller to AHCI, and turn off VMD or RAID if you never set up an array. Do those in order and most drives reappear the same day. If a cross-test shows the drive failing in every machine, use the warranty, and call a recovery lab first if the data matters.
Related Post:
How to Tell What SSD You Have (Windows and Mac)
Macrium Reflect “Data Error (Cyclic Redundancy Check)” on an SSD: What It Means and How to Fix It
What to Do After Installing a New SSD
SSD Showing as Unallocated? What It Means and How to Fix It Safely
How to Copy an SSD to a Larger SSD Without Reinstalling Windows