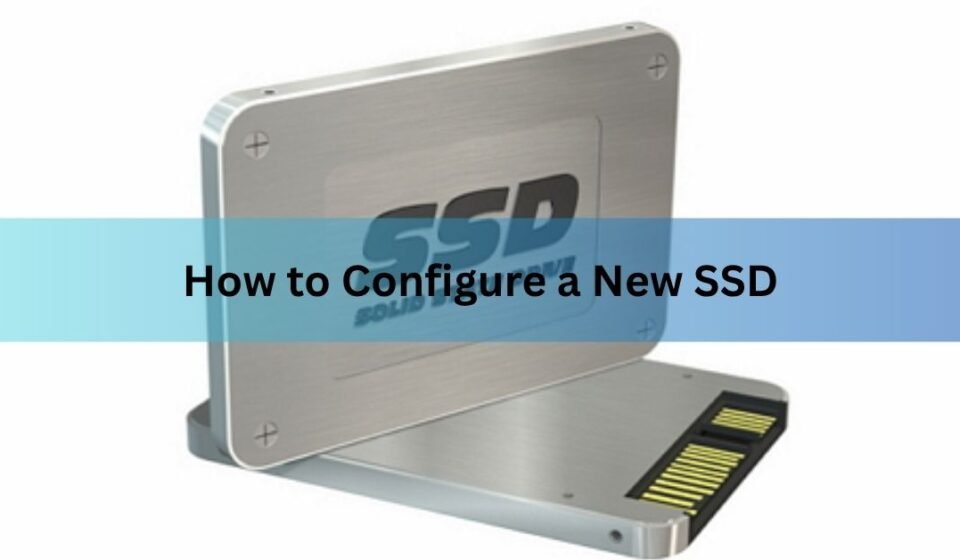

Setting up a new SSD takes four steps. Install the drive, initialize it in Windows Disk Management, create a partition, and format it. After that it shows up in File Explorer with its own drive letter and you can start saving files. The whole thing takes about five minutes once the drive is physically in your PC.
There is one fork in the road, and it decides everything else. Are you adding the SSD as extra storage next to your current drive, or do you want it to be the main drive that runs Windows? Extra storage uses the steps above. A main drive (a “boot drive”) gets set up a different way, during a fresh Windows install or by copying your old drive over. This guide covers both, plus what to do when the drive refuses to appear.
What setting up a new SSD actually means
A brand-new SSD comes blank. The hardware works the moment you plug it in, but Windows has no idea how you want the space organized, so it stays hidden from File Explorer. Three small jobs fix that.
Initialize: you tell Windows the drive exists and pick a partition style. This writes a tiny table that lets the system find data on the disk.
Partition: you carve the raw space into one or more sections. Most people make a single partition that uses the whole drive.
Format: you lay down a file system, the filing structure that tracks where each file starts and ends. On Windows that is almost always NTFS.
Skip these and the drive sits there as “unallocated” space, visible only to the disk tools and useless for everyday files. Do them, and it behaves like any other drive.
Before you start: what to check and back up
Two quick checks save the most grief. First, confirm the SSD type matches your slot. M.2 drives come in two flavors that look almost identical: NVMe (fast, uses PCIe lanes) and M.2 SATA (slower, uses the older SATA path). A slot built for one will not read the other. Check your motherboard or laptop manual, which lists exactly what each slot supports.
Second, if you are reusing an old SSD rather than opening a sealed box, back up anything on it first. Initializing or formatting a drive wipes whatever was there. A new drive has nothing to lose, so you can skip this part.
| Quick tip: only the drive that holds Windows must be powered down before you touch hardware. Shut the PC off fully and unplug it from the wall before opening the case or laptop panel. |
How to install the SSD
How you fit the drive depends on its shape. Most new SSDs are M.2 sticks; some are 2.5-inch units that look like a small laptop hard drive.
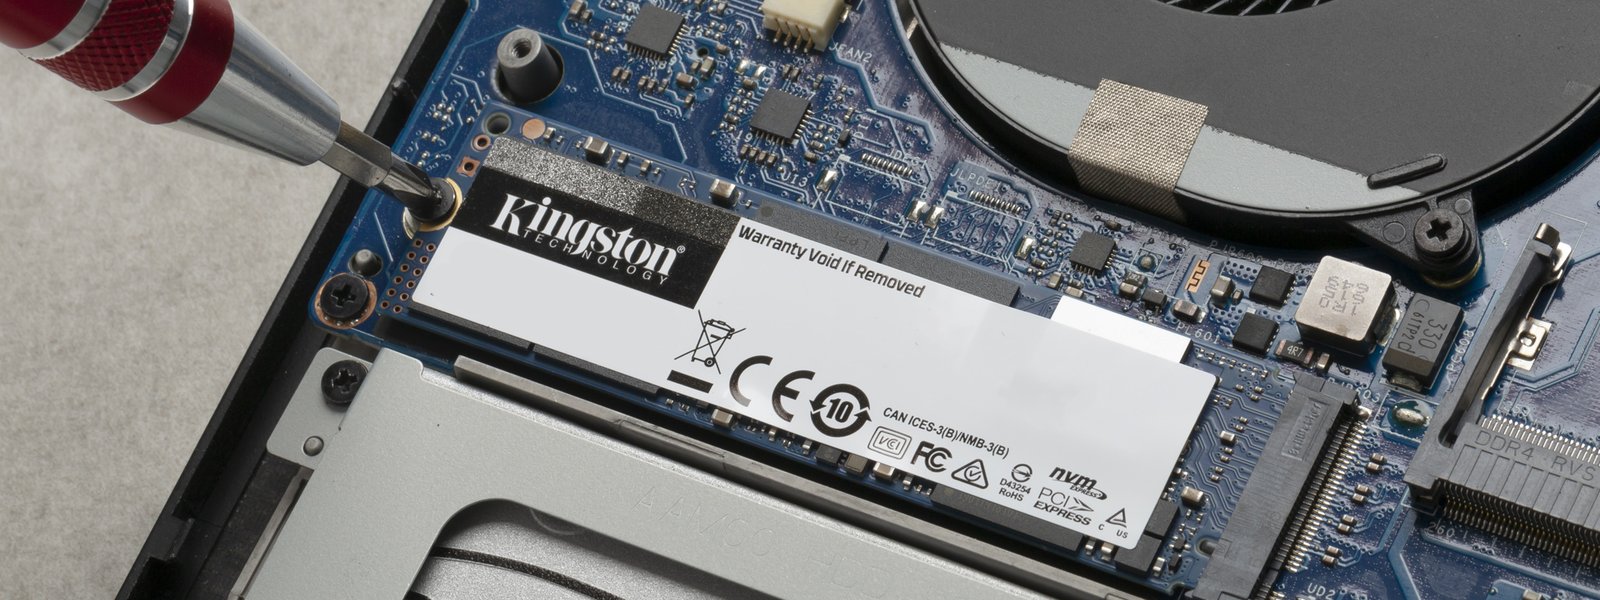
Installing an M.2 SSD
- Power off the PC, unplug it, and open the case or the laptop’s bottom panel.
- Find the M.2 slot. On desktops it sits flat on the motherboard, often near the CPU, sometimes under a small metal heatsink you unscrew first.
- Slide the SSD into the slot at a slight angle, around 30 degrees, until the gold contacts disappear into the slot.
- Press the free end down flat and secure it with the tiny mounting screw (or the toolless latch on newer boards). It should lie flat, not stick up.
| Common mistake: forcing the drive in straight or screwing it down without seating the contacts first. The stick goes in at an angle, then folds down. If it fights you, stop and recheck the angle. |
Installing a 2.5-inch SATA SSD
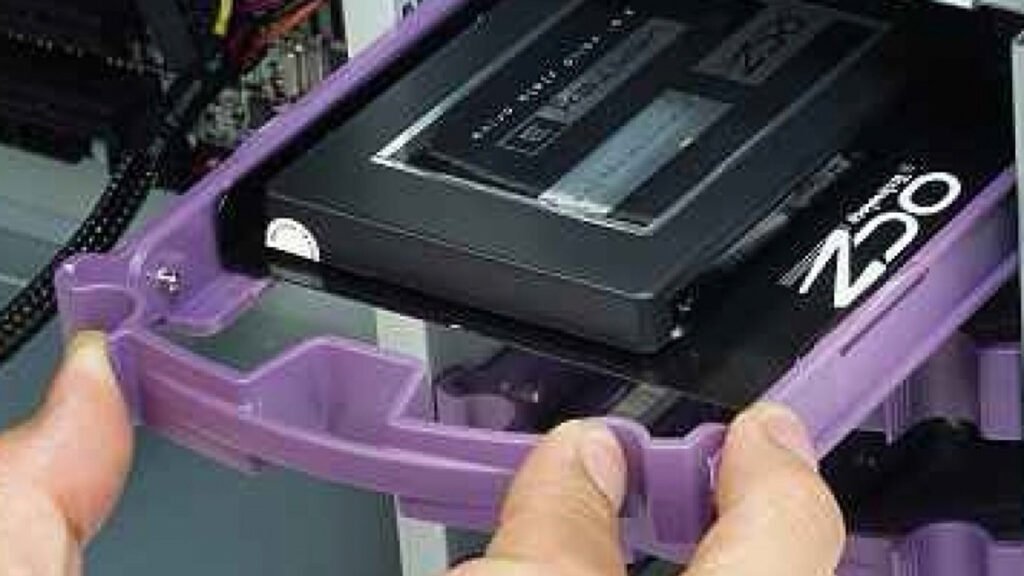
- Mount the drive in a 2.5-inch bay or bracket inside the case.
- Connect a SATA data cable from the drive to a SATA port on the motherboard.
- Connect a SATA power cable from the power supply to the drive.
- Close up, plug the PC back in, and power on.
Once the drive is in and the PC boots back into Windows, the software side begins.
How to set up a secondary SSD in Windows
Use this section when the SSD is extra storage and Windows already runs on another drive. The built-in Disk Management tool does the whole job, no extra software needed. You reach it in a couple of clicks, and it walks you through a short wizard. Have your drive letter in mind before you start so you can name and assign it in one pass.
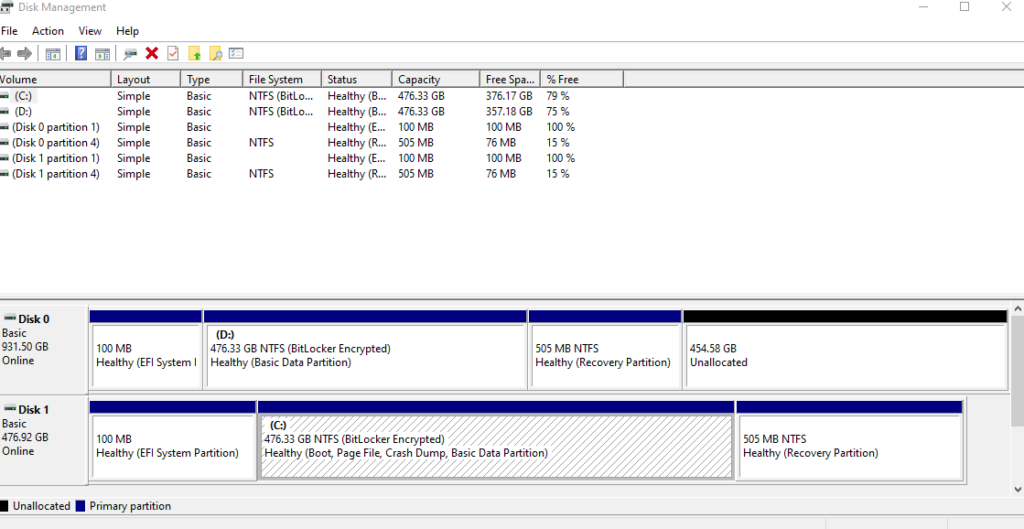
- Right-click the Start button and choose Disk Management (or press Windows key + X and pick it from the menu).
- A box usually pops up saying the new disk must be initialized. Pick a partition style (see the next section) and click OK. If no box appears, find your drive in the list, right-click it, and choose Initialize Disk.
- Right-click the black Unallocated bar for your SSD and choose New Simple Volume, then click Next.
- Leave the volume size at the maximum to use the whole drive as one partition, and click Next.
- Assign a drive letter, such as D or E, and click Next.
- Set the file system to NTFS, leave allocation unit size at Default, give the drive a name if you like, keep Perform a quick format ticked, and click Next.
- Click Finish. The bar turns blue and the drive shows up in File Explorer, ready to use.
That is the full process Microsoft documents for initializing a new disk. A quick format takes seconds because it sets up the file system without scanning every block, which is fine for a healthy new drive.
GPT or MBR, and which file system to pick
During initialization Windows asks for a partition style, and the New Simple Volume wizard asks for a file system. Two short answers cover almost everyone.
Choose GPT for the partition style. It works with modern UEFI computers, handles drives larger than 2TB, and is the default Windows picks anyway. The older MBR style caps out at 2TB and exists mainly for very old systems. Pick NTFS for the file system on any internal Windows drive.
| Choice | Pick this | Why |
| Partition style | GPT | UEFI systems, supports over 2TB, the modern default |
| Partition style | MBR | Only for old pre-UEFI PCs; 2TB limit |
| File system | NTFS | Best for internal Windows drives and large files |
| File system | exFAT | For external SSDs shared between Windows and Mac |
One more note for external drives. If you plan to move the SSD between a Windows PC and a Mac, format it as exFAT instead of NTFS so both systems can read and write to it.
How to set up an SSD as your boot drive
When you want Windows itself to live on the new SSD, the steps above do not apply. You do not pre-format the drive. There are two clean ways to do it.
Option 1: clean install of Windows
This gives you a fresh start with no old clutter. You make a Windows installer on a USB stick, boot from it, and point the installer at the new SSD.
- On any working PC, download the Windows installation tool from Microsoft and use it to create a bootable USB drive.
- Plug the USB into the PC with the new SSD installed, then start the PC and tap the boot-menu key (often F12, F2, or Esc) to boot from the USB.
- When the installer asks where to install Windows, select the new SSD’s unallocated space. Setup creates and formats the partitions for you.
- Let it finish. Windows installs straight onto the SSD, no manual initializing needed.
| Good to know: during a clean install Windows handles initializing, partitioning, and formatting on its own. The Disk Management steps are only for adding a data drive. |
Option 2: clone your old drive
Cloning copies your existing Windows, programs, and files onto the new SSD so it boots exactly like the old one. It saves you from reinstalling everything, which is the main reason people choose it. You connect both drives, run cloning software (many SSD makers give theirs away free), copy the old drive to the new one, then set the new SSD as the boot device in your BIOS.
A few things make cloning go smoothly. The new SSD should be at least as large as the used space on your old drive, not just the same model number. If your old drive is nearly full, clear out junk and large downloads first so the copy fits with room to spare. And keep the old drive untouched until you have booted from the new one and confirmed everything works; that way you always have a fallback.
After either option, enter your BIOS or UEFI setup at startup and make sure the new SSD is first in the boot order. Then your PC starts from the fast new drive every time.
New SSD not showing up? How to fix it
A drive that does not appear is the most common snag, and it almost always traces back to one of a few causes. Work through them in order.
- It needs initializing. If the drive shows in Disk Management as unknown and unallocated, it just is not set up yet. Run the steps in the secondary-SSD section above.
- Wrong M.2 type for the slot. An NVMe drive in a SATA-only M.2 slot (or the reverse) will not be detected at all. Confirm the slot supports your drive in the motherboard manual.
- Shared lanes disabled the slot. Many boards share bandwidth between M.2 slots and certain SATA ports. Filling one can switch off the other. Try a different M.2 slot or unplug a SATA drive to test.
- Not seated properly. Power down, remove the drive, and reseat it firmly. A stick that is not fully in the slot reads as missing.
- A BIOS setting. Some boards have an option to enable or switch an M.2 slot’s mode. If a drive vanished, resetting the BIOS to its default settings often brings it back.
If the drive shows in your BIOS but Windows still misses it, open Device Manager, expand Disk drives, right-click the SSD, and update its driver. For a boot drive that the BIOS sees as storage but not as a boot option, check that UEFI mode is on and the drive sits in the boot order.
Do you need to optimize or enable TRIM?
For a new internal SSD on a current version of Windows, no special tuning is needed. Windows 11 and Windows 10 turn on TRIM automatically, the command that lets the drive clear out deleted blocks so writes stay fast over time. It also runs a light maintenance pass on a weekly schedule on its own.
You can check TRIM in a few seconds. Open Command Prompt as an administrator and run fsutil behavior query DisableDeleteNotify. A result of 0 means TRIM is on, which it should be by default.
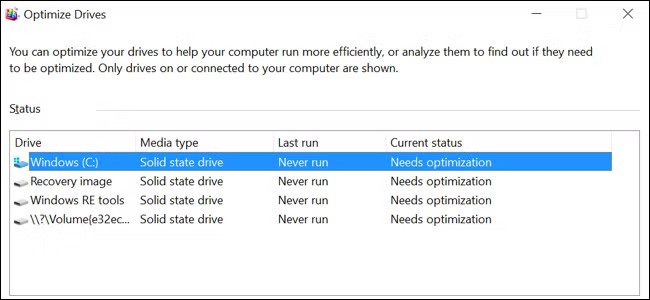
Two old habits are worth dropping. Do not defragment an SSD. There are no moving parts, so defragmenting gives no speed benefit and only burns through write cycles. And skip third-party “SSD optimizer” tools, which often bundle extra software you do not want; the maintenance built into Windows already covers what the drive needs.
If you want to confirm everything is healthy, the built-in Optimize Drives tool (search for it in the Start menu) should list your SSD with “Optimize” as its task, not “Defragment.” That tells you Windows correctly sees it as a solid-state drive. One genuinely useful habit is leaving some empty space on the drive; SSDs slow down once they pass roughly 85 percent full. A free health tool like CrystalDiskInfo can also show the drive’s temperature and overall status if you ever want to keep an eye on it.
Frequently asked questions
Do I need to format a new SSD before using it?
Yes, if you are adding it as storage. A new SSD must be initialized, partitioned, and formatted in Disk Management before it appears in File Explorer. A boot drive is formatted automatically during a Windows install instead.
Should I choose GPT or MBR for my SSD?
Choose GPT. It suits modern UEFI computers, supports drives larger than 2TB, and is the Windows default. MBR is only worth using on older pre-UEFI systems.
Why is my new SSD not showing up in Windows?
Usually it just needs initializing in Disk Management. If it is missing entirely, check that the M.2 slot matches your drive type, reseat the drive, or try another slot, since some slots share bandwidth.
Can I move Windows to a new SSD without reinstalling?
Yes. Clone your current drive onto the new SSD using cloning software, then set the new drive first in your BIOS boot order. Your programs and files carry over intact.
Do I need to optimize a new SSD for performance?
No. Windows enables TRIM and runs light maintenance automatically. Avoid defragmenting an SSD or installing third-party optimizer tools; just leave some free space on the drive.
Conclusion
Configuring a new SSD comes down to one question: storage or boot drive. For storage, install it, then initialize, partition, and format it as NTFS in Disk Management, and it appears in File Explorer in minutes. For a boot drive, clean install Windows onto it or clone your old drive, then set it first in the boot order. Pick GPT and NTFS, leave TRIM and optimization to Windows, and a good result is a drive that just works and stays fast.
Related Post:
What Is an External SSD? A Plain-English Guide to Portable Solid-State Storage
Cannot See SSD When Plugged In to USB? Here’s How to Fix It
How to Format an SSD on Windows and Mac