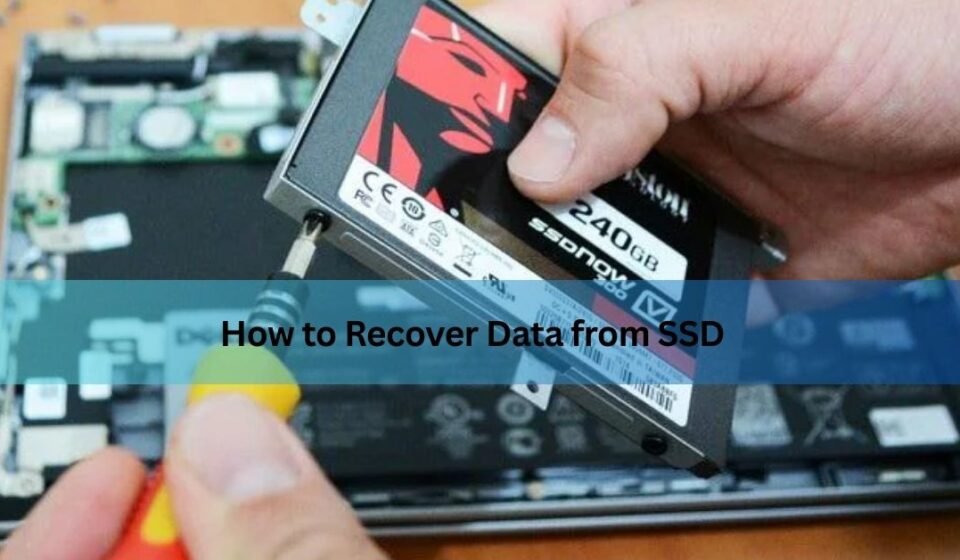

If you’re staring at a missing file, a drive that suddenly shows as RAW, or an SSD your laptop refuses to recognize, here’s the short version: you can often recover data from SSD, but only if you act in the next few minutes, not the next few days. Unlike a traditional hard drive, an SSD actively works to erase deleted data in the background, which means the clock is already running while you’re reading this sentence.
The good news is that “often” is doing a lot of work in that sentence. Plenty of SSD data loss is completely fixable — a deleted photo, a formatted drive, a partition that vanished during a Windows update. The bad news is that some SSD failures aren’t fixable with software at all, no matter how good the tool is. The trick is knowing which situation you’re actually in before you start clicking around, because the wrong first move can turn a recoverable problem into a permanent one.
Why Recovering Data from an SSD Is Different from an HDD
On a mechanical hard drive, deleting a file is almost polite. The operating system just removes the file’s address from its index and quietly leaves the actual data sitting on the platter until something else happens to need that space. That’s why HDD recovery tools have such a good track record — the data is often just sitting there, waiting.
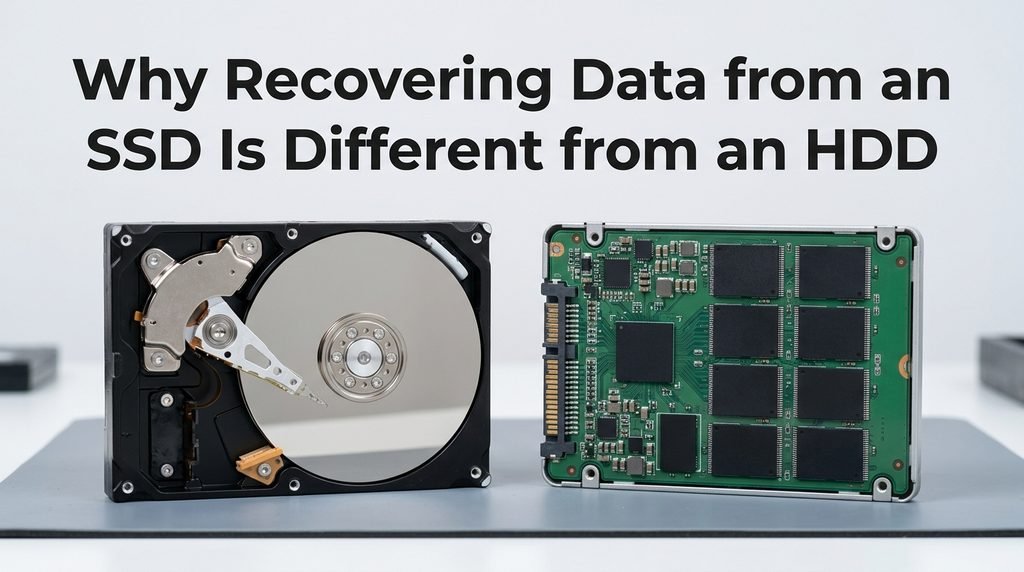
An SSD behaves nothing like that. Solid-state drives store information in NAND flash cells, and to keep write speeds fast over time, they run background housekeeping processes called garbage collection and wear leveling. The most important one for you to understand is TRIM. When you delete a file, your operating system tells the SSD which storage blocks are now free, and the drive uses idle moments to actually erase those blocks so they’re ready for new data. On a healthy SSD with TRIM enabled, this can happen within seconds to minutes of deletion — not months later like on an HDD.
This is the single biggest reason SSD data recovery has a reputation for being unreliable: it isn’t that the software is worse, it’s that the drive itself is racing to destroy the very data you’re trying to save.
The First Few Minutes: What to Do (and Not Do) Right Now
Your actions immediately after noticing data loss matter more than which recovery tool you eventually choose. The goal is simple: stop every process that could write new data to the drive or trigger TRIM before you’ve had a chance to recover anything.
- Stop using the SSD immediately — don’t save files, install anything, or keep browsing on that drive.
- Don’t run “quick fix” tools yet. Disk checks, format prompts, and firmware updates can finish erasing what’s still recoverable.
- If it’s your Windows system drive, shut down rather than restart, and plan to connect it to a second computer as a secondary drive for recovery.
- Never save recovered files back onto the same SSD — always recover to a different drive.
- Check whether the SSD still shows up correctly in Disk Management, Disk Utility, or BIOS, since that tells you which recovery path applies next.
Everything else in this guide assumes you’ve done this first. If you’ve already restarted the computer a few times or run a disk check, don’t panic — recovery may still be possible, but move faster from here.
Is Your Case DIY-Fixable or Lab-Only? A Quick Self-Diagnostic
This is the question most guides skip, and it’s the one that actually determines what you should do next. Not every SSD problem belongs in the same bucket. A deleted photo and a drive that’s disappeared from BIOS require completely different approaches, and treating them the same way wastes precious time.
| Symptom | Likely Cause | Best Path |
| Accidentally deleted files, drive still detected normally | Logical deletion, TRIM may not have run yet | DIY recovery software, right now |
| Quick-formatted drive, correct capacity still shown | File system reset, data often intact | DIY recovery software |
| Drive shows as RAW or “needs formatting” | File system corruption, not necessarily data loss | DIY partition/RAW recovery tool |
| Partition missing or shows as unallocated | Damaged partition table | DIY partition recovery scan |
| Not detected in BIOS, wrong capacity (e.g., 0MB), or renamed oddly | Controller failure or firmware corruption | Professional lab only |
| Clicking, overheating, disconnecting mid-use, or physically damaged | Hardware failure | Professional lab only |
If your situation lands in the top four rows, the rest of this guide’s DIY steps apply directly to you. If it lands in the bottom two, skip straight to the “When Software Won’t Work” section below — running software on a drive like that won’t help, and it can make a lab recovery harder.
How to Recover Data from an SSD Yourself, Step by Step
If the self-diagnostic above points you toward DIY recovery, here’s how the process actually works.
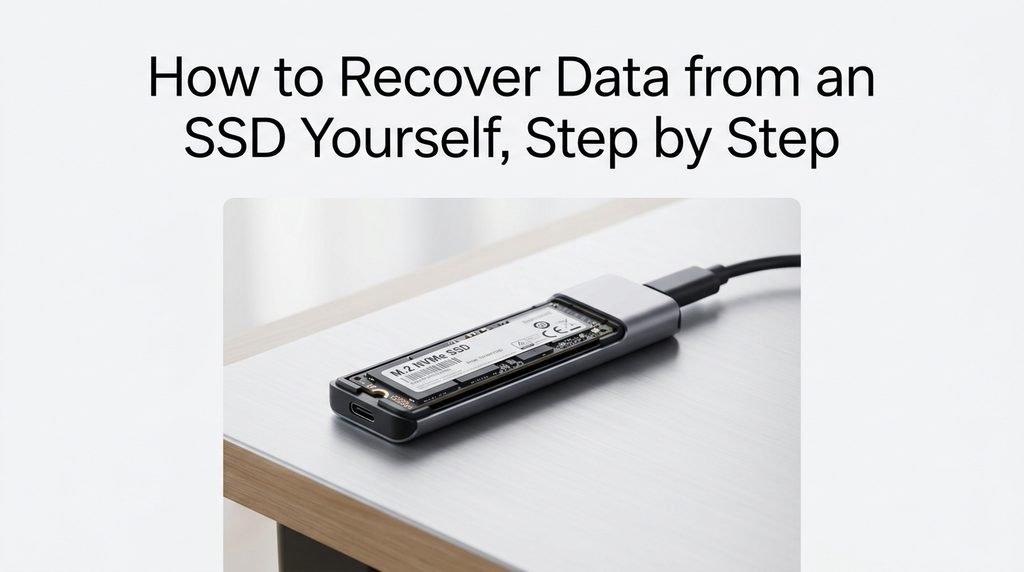
Start by connecting the SSD to a computer where it isn’t the active system drive, if at all possible. Internal drives can go into a USB enclosure or adapter; external SSDs simply need to be plugged in. This matters because every minute your operating system is actively running on the affected drive, it’s writing small amounts of background data that could overwrite what you’re trying to recover.
Once the drive is connected, open your chosen recovery software and locate the SSD in its disk list. Depending on what happened, you’ll choose a different scan type. A straightforward deleted file calls for a standard file recovery scan. A drive showing as RAW usually needs a dedicated RAW or “intelligent partition load” function rather than a basic file scan, since the software needs to reconstruct the file system structure first. A missing partition needs a partition recovery scan that searches for the partition’s original boundaries rather than looking file-by-file.
Let the scan run completely rather than stopping it early — SSD scans can surface files in stages, and the most important ones don’t always appear first. Once the scan finishes, use the preview function if your software offers one. Opening a photo or document before recovering it is the fastest way to know whether a file is genuinely intact or just a fragment with the right name. This step alone saves people from a false sense of security more than anything else in the process.
Finally, recover your files to a different physical drive — never back onto the SSD you’re recovering from. Once everything is copied over, open a sample of the recovered files to confirm they’re usable, and only then consider what to do with the original SSD.
Choosing Recovery Software Without Getting Fooled by Marketing
Every recovery software company claims to be the best option, so it helps to know what actually matters instead of which brand shouts loudest. Look for a tool that scans in read-only mode by default, meaning it never writes to the source drive during the scan itself. Preview capability before recovery is close to non-negotiable, since it’s the only way to judge file integrity before you commit. Broad file-type support matters too — a tool built mainly for photos will do a poor job reconstructing documents or video files. Free tiers are genuinely useful for testing whether your files are even visible in a scan before you pay for anything, so it’s reasonable to try a free version first and only upgrade if the preview shows your files are actually there.
NVMe vs SATA SSD Recovery: Does It Matter?
It does, and most guides skip this entirely. SATA SSDs behave closer to older drives in how the operating system addresses them, which means many recovery tools handle them without much fuss. NVMe drives, which connect directly over the PCIe bus rather than through a SATA controller, use a different command set and often more aggressive TRIM behavior because they’re built for speed above almost everything else. In practice, this means the recovery window on a failing or recently-wiped NVMe drive can close noticeably faster than on an older SATA SSD, so if your missing files are on an M.2 NVMe drive, treat the “act immediately” advice as even more literal than usual.
Recovering Data from a Mac or an Encrypted SSD
Encryption changes the recovery equation in a way that’s easy to overlook. If your SSD uses BitLocker on Windows or FileVault on a Mac, recovery software still needs the decryption key or password to turn recovered raw data into usable files — without it, even a technically successful scan just produces unreadable, scrambled data. If you know your BitLocker recovery key or FileVault password, unlock the drive first, then run your recovery scan on the now-decrypted volume rather than trying to recover encrypted blocks directly.
On a Mac, the added complication is APFS, Apple’s file system, which handles deletions and snapshots differently than Windows’ NTFS or exFAT. Not every Windows-focused recovery tool reads APFS correctly, so confirm your software explicitly supports it before you rely on the results. If your Mac uses a T2 chip or Apple Silicon with the SSD soldered directly to the logic board, treat any hardware-level failure as an automatic lab case — there’s no removable drive to connect elsewhere for a second opinion.
When Software Won’t Work: Signs You Need a Professional Lab
Some SSD problems are physical, not logical, and no amount of scanning fixes a physical problem. If your drive isn’t detected in BIOS at all, reports an impossible capacity like 0MB, disconnects randomly while in use, or makes it clear something on the circuit board itself has failed, recovery software has nothing to work with — it needs a functioning, communicating drive to scan in the first place.
In these cases, a professional lab uses specialized hardware to communicate with the drive’s controller at a level consumer software can’t reach, or in the most severe cases, reads data directly off the NAND memory chips after removing them from the board. This is genuinely different work from running a scan on your laptop, and it’s why lab recovery costs more — you’re paying for equipment and expertise that simply doesn’t exist in a downloadable program.
How Much Does SSD Data Recovery Cost, and How Long Does It Take?
DIY software ranges from free to roughly $100, and a scan typically finishes in anywhere from a few minutes to a couple of hours depending on the drive’s size. Professional lab recovery is a different scale entirely: straightforward logical cases (deletion, formatting) often run $200–$600, while hardware failures requiring firmware or chip-level work can run well over $1,000, with turnaround times from a few business days to a couple of weeks depending on complexity and how busy the lab is. If your data is genuinely irreplaceable, the cost difference is usually worth weighing against how much a partial or failed DIY attempt might cost you in lost recovery odds.
Preventing SSD Data Loss Before It Happens
The most reliable SSD recovery is the one you never have to perform. A simple backup habit does more for your data’s safety than any recovery software ever will. The widely recommended approach is the 3-2-1 rule:
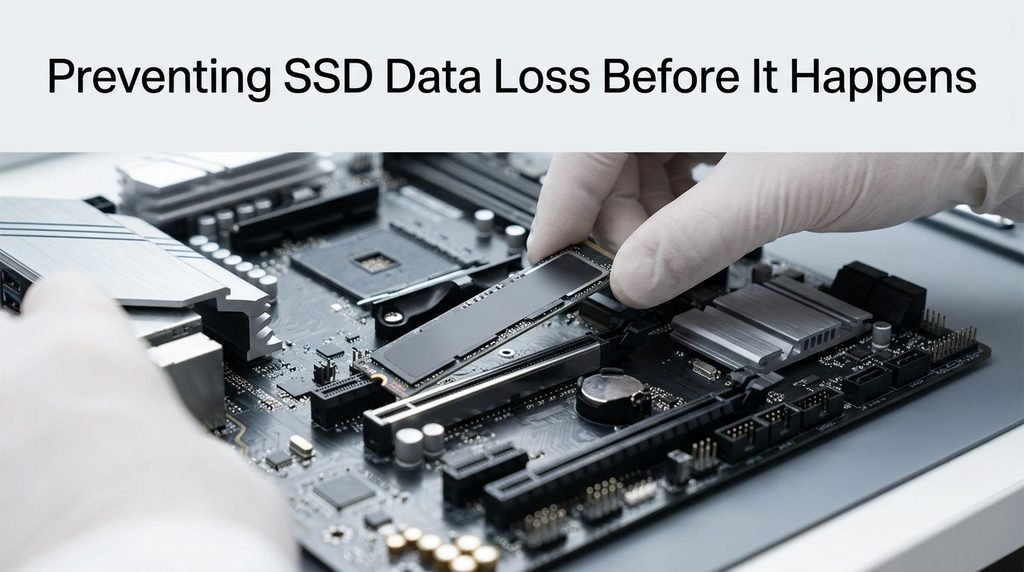
keep three copies of anything important, on two different types of storage, with one copy stored somewhere physically separate a cloud backup service alongside a local drive covers this well for most people. It’s also worth checking your drive’s SMART health data occasionally using free tools built into most operating systems, since SSDs often show early warning signs like rising reallocated sector counts before they fail outright, giving you time to back up before it becomes an emergency.
Frequently Asked Questions
Can you recover data after a low-level format, not just a quick format?
Generally, no. A quick format only removes the file system’s index, leaving the actual data intact and recoverable in most cases. A low-level format overwrites the storage blocks directly, which is specifically designed to make data unrecoverable, and no consumer or professional method can reliably reverse it.
Does encryption block recovery even if the recovery software finds the files?
Yes, effectively. Recovery software can locate and extract encrypted data just fine, but without the correct decryption key or password, what you get back is unreadable ciphertext rather than usable files. The encryption itself doesn’t stop the scan — it stops you from being able to open anything afterward.
Can a completely dead SSD still have recoverable data on its memory chips?
Sometimes, yes. If the controller or circuit board has failed but the NAND flash chips themselves are undamaged, a lab can occasionally remove and read those chips directly. This isn’t guaranteed, though, since many modern SSDs encrypt data at the controller level, meaning the raw chip data may be unusable without that specific controller’s cooperation.
Is cloning the SSD before attempting recovery actually worth the extra step?
For anything you can’t afford to lose, yes. Cloning creates a sector-by-sector copy of the drive, so if your recovery attempt goes wrong or the drive fails further during the process, you still have the original clone to try again or hand off to a professional lab.
Conclusion
The honest answer to whether you can recover data from SSD is: it depends entirely on what happened and how quickly you respond. A deleted file or a formatted drive is often genuinely recoverable with the right software if you stop using the drive immediately. A drive with real hardware or firmware failure needs a professional lab, and no software update will change that. Run through the self-diagnostic above before you do anything else, move fast if you’re in DIY territory, and don’t be afraid to stop and call a professional the moment your symptoms point toward hardware failure — that decision alone protects more data than any single recovery tool ever could.
Related Post:
Does Degaussing Work on SSD? The Complete Truth About Erasing Flash Drives
Is 512GB SSD Enough? A Complete Guide for Every User Type
1TB vs 2TB SSD: Which One Do You Actually Need?