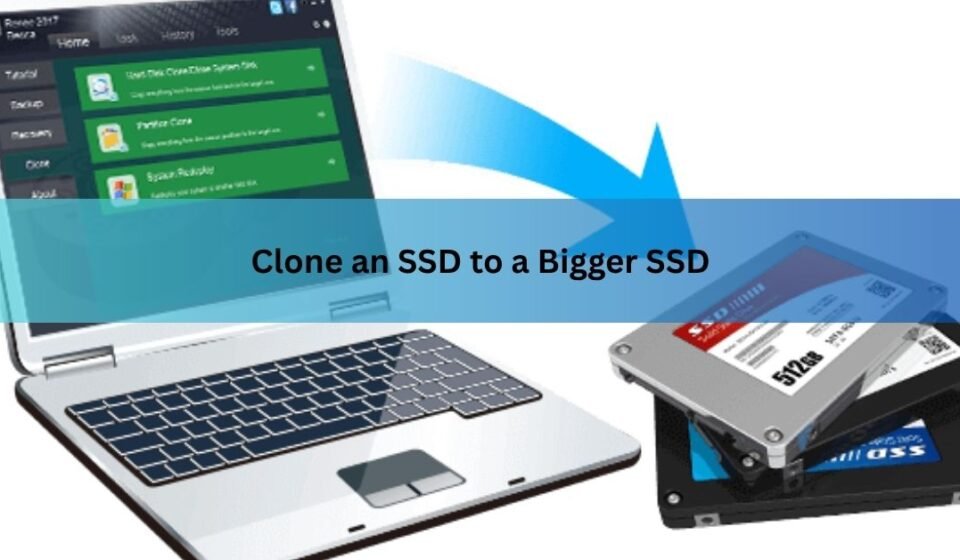

Cloning an SSD to a bigger SSD copies everything on your current drive, the operating system, your programs, your settings, and every file, onto a larger one, so the new drive boots and behaves exactly like the old one. You do not reinstall Windows and you do not set anything up again. Connect both drives, run a cloning app, swap them, and you are done. The whole job usually takes 15 to 60 minutes of actual copying.
This guide walks through the full process for Windows, the tools that still work in 2026, and the one step that trips up most people: getting the new drive to use all its extra space instead of leaving a chunk empty.
What you need before you start
You need three things: the new SSD, a way to connect it, and cloning software.
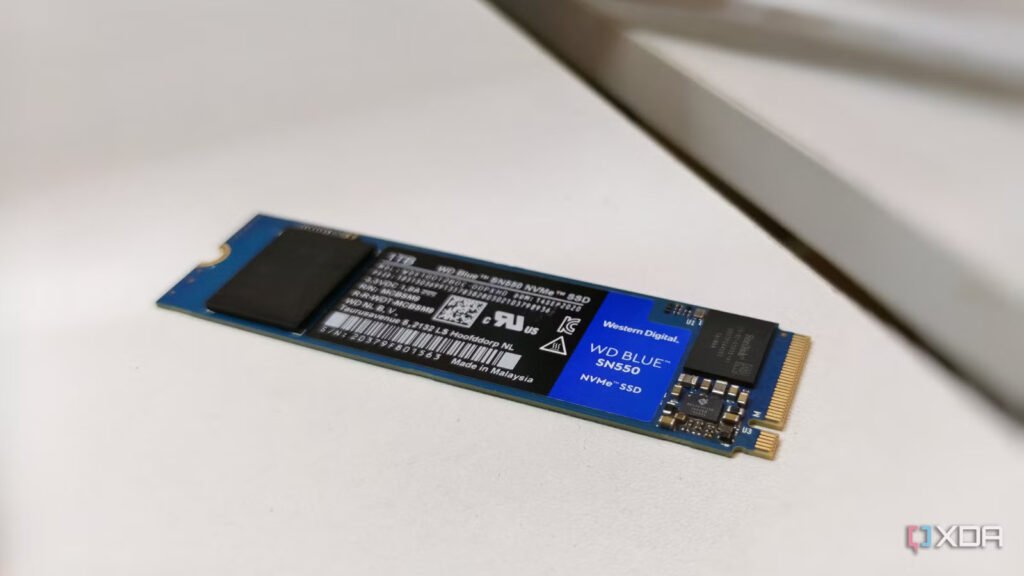
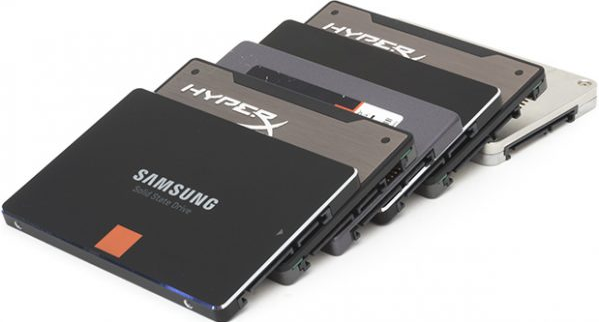
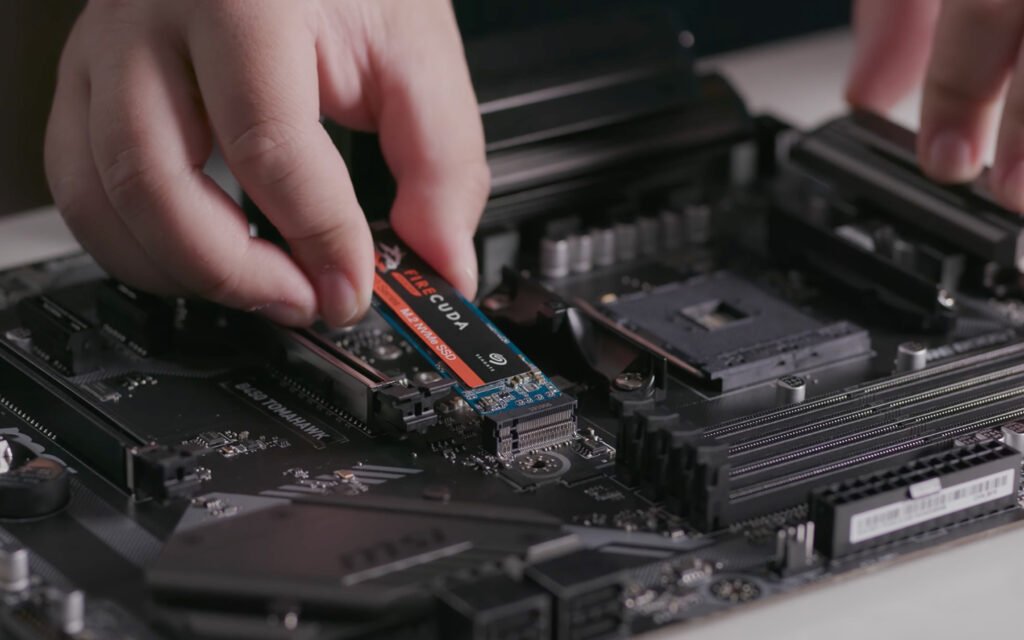
Match the new drive to your current one first. If your PC uses an M.2 NVMe stick, buy another M.2 NVMe. If it uses a 2.5-inch SATA drive, get a 2.5-inch SATA. Check your motherboard or laptop specs if you are not sure. The new drive just needs to be big enough to hold everything you are using now, not everything the old drive could theoretically hold. A 256GB drive with 180GB used fits fine on a 500GB or 1TB target.
On size, buy more than you think you need. SSDs run best with some free room to spare, and prices per gigabyte keep falling, so the jump from 500GB to 1TB is usually small money. For a machine used mainly for browsing, email, and office work, 500GB is comfortable. For gaming or photo and video work, 1TB or 2TB saves you doing this again in a year. Whatever you land on, make sure the used space on your current drive is comfortably below the new drive’s size before you start.
To connect the new drive while the old one is still running, most people use an external enclosure or adapter. A 2.5-inch SATA SSD needs a SATA-to-USB cable or dock. An M.2 drive needs an M.2-to-USB enclosure, and here you have to match the key and size, since M.2 comes in NVMe and SATA versions that are not interchangeable. Desktop owners with a spare M.2 slot or SATA port can skip the enclosure and just mount the new drive inside. Laptop owners usually have one slot, so the enclosure is the easy route.
Then you need software. Windows has no built-in drive cloning feature, so you install a third-party tool. More on which one below.
Back up anything important first. Cloning erases everything on the target drive, so if your new SSD already has files on it, move them off. It is also smart to have a copy of your key files somewhere separate before any drive swap, just in case.
Which cloning software to use in 2026
The tool landscape shifted recently, so some advice you might remember is out of date.
Macrium Reflect used to be the default free recommendation. Macrium discontinued the free version for new users in January 2024. The old free build still runs and still clones, but it gets no updates or security patches, so it is a shakier choice for a task this important. If you already have it installed and trust it, it works. For a fresh download, look elsewhere.
Your SSD maker’s own tool is often the simplest place to start, and it is free. Crucial and WD drives can use Acronis True Image editions tied to those brands. Samsung folded its old Data Migration app into Samsung Magician, so you now download Magician and use its migration feature. One catch with vendor tools: they usually only clone to their own brand of drive. Samsung Magician is built for Samsung SSDs and may not recognize a WD or Kingston target. So if your new drive matches your brand, the maker’s tool is a clean, no-cost option. If you are switching brands, you need something neutral.
For a brand-agnostic tool, the popular current picks are Macrium Reflect (paid), EaseUS Disk Copy, AOMEI Backupper, Hasleo Disk Clone, and Clonezilla. Clonezilla is free and open source and very fast, but it runs from a boot menu with a text interface and no hand-holding, so it suits confident users. The others give you a guided wizard. Note that some tools have moved their disk-clone feature into a paid tier, so check before you assume the free edition covers cloning.
Whatever you pick, download it only from the official site. Cloning software is a common target for fake download pages.
How to clone your SSD to a bigger SSD, step by step
Here is the direct clone method, which is what most Windows users want. Both drives are connected at once, and you copy straight from old to new.
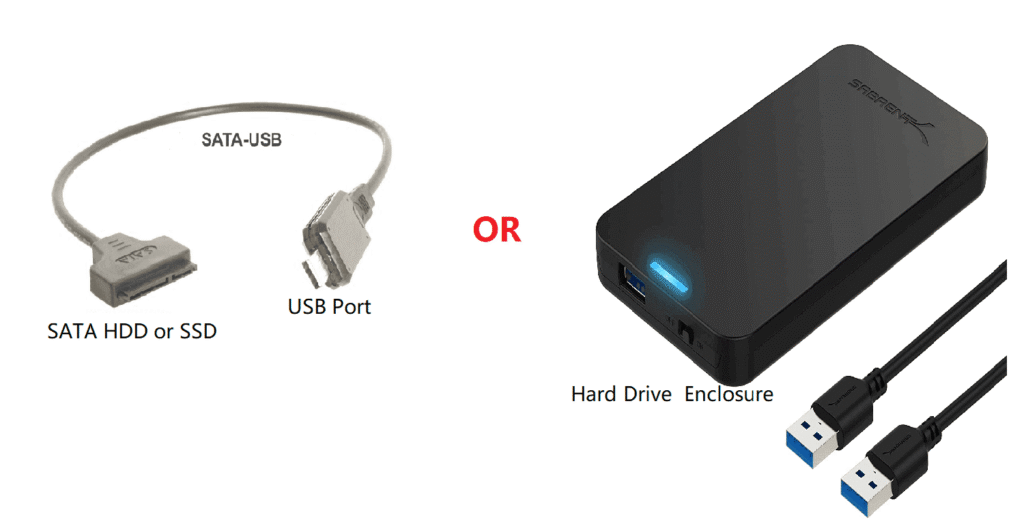
- Connect the new SSD. Plug it into your enclosure or adapter and connect that to a USB port, or mount it in a spare internal slot. Open Disk Management (right-click Start, then Disk Management) and confirm Windows sees the new drive. If it asks you to initialize the disk, choose GPT for a modern system, and do not format or create partitions. Your cloning tool handles the layout.
- Install and open your cloning software. Launch the app and find the disk clone option. It is usually labeled Clone, Disk Clone, or Disk Copy, not the file backup feature. You want to copy the whole disk, not just one folder.
- Pick the source and the destination. Choose your current SSD, the one running Windows, as the source. Choose the new, larger SSD as the destination. Read this twice. The destination gets wiped completely, so selecting the wrong drive here is the one mistake you cannot undo.
- Set it to use the full drive. This is the step that saves you a headache later. Look for an option called Auto-fit the disk, Edit Partitions, or Add unused space to all partitions, and turn it on. This tells the software to stretch your main partition to fill the bigger drive. Skip it and the clone copies your old partition sizes exactly, leaving the extra space stranded and unusable until you fix it by hand.
- Turn on SSD alignment if offered. Many tools have an SSD Alignment or 4K alignment checkbox. Tick it. Aligning the partitions to the drive’s memory layout keeps read and write speeds where they should be and helps the drive last longer.
- Start the clone and wait. Close other programs and begin. Copying takes roughly 15 to 60 minutes depending on how much data you have and how fast your drives and connection are. A USB enclosure is slower than an internal slot, so plan for the longer end if you are cloning over USB. Laptop users should stay plugged into mains power the whole time.
- Swap the drives. Shut down. Remove the old SSD and install the new one in its place. On a desktop, connecting the new drive to the same slot or port the old one used avoids boot confusion.
- Boot from the new drive. Power on. Your PC should start from the new SSD and look exactly as it did before. If it does not boot, go into your BIOS or UEFI (usually by tapping Delete, F2, or F12 at startup) and set the new drive, listed as Windows Boot Manager, as the first boot device.
Once Windows is up, take a minute to check the clone worked. Open a few programs, confirm your files are where you left them, and look at This PC to see the drive listed. Keep the old SSD untouched for a week or two before you wipe or repurpose it. If anything looks wrong on the new drive, the old one is still a working copy you can drop back in.
Does cloning between two SSDs hurt performance?
No, not if you tick the alignment option in step 5. Some people worry that a cloned SSD runs slower than a fresh install, but that only happens when partitions end up misaligned with the drive’s memory blocks. The alignment checkbox fixes that during the clone. Everyday features that keep an SSD healthy, like trim, keep working normally on the new drive once Windows is running. In practice, a properly aligned clone performs the same as a clean install, and you often feel a real speed jump anyway because the new drive is newer and faster than the one it replaced.
If you cannot connect both drives at once
Some laptops have only one drive slot and no room for the old drive during cloning. In that case, use the image and restore method instead. Create a full disk image of your old drive onto a separate external hard drive, swap in the new SSD, boot from a recovery USB made by your cloning tool, and restore the image onto the new drive. It is a few more steps and needs somewhere to park the image, but it gets the same result. Either way, finish with the space check below.
Making the new SSD use all its space
This is where people get stuck, so it is worth understanding even if step 4 above went smoothly.
After cloning, open Disk Management and look at your new drive. If your main C partition already fills it, you are done. If you see a block of Unallocated space sitting at the end, the clone copied the old layout without expanding it.
The simple fix is to right-click your C partition and choose Extend Volume, then accept the default to absorb the unallocated space. Done.
Often, though, Extend Volume is greyed out. That happens because a small recovery partition sits between your C drive and the empty space. Windows can only extend a partition into space directly to its right, and the recovery partition is in the way. A typical recovery partition is only 10 to 15GB, so it is easy to miss, but it blocks the whole operation. Crucial’s support page on why an SSD shows less space after cloning explains this layout clearly and is worth a look if your drive is behaving this way.
You have two safe ways around it. The cleaner option is a free partition tool like AOMEI Partition Assistant, which can move the recovery partition to the end of the drive so the empty space lands next to C, then extend C into it, all without touching your data or breaking recovery. The other option is to delete the recovery partition through the command line, extend C, and recreate recovery afterward, but that is riskier and only worth it if you know what you are doing. For most people, the partition tool is the answer.
One more note: doing this resize while booted from the drive you are resizing can be limited. If you keep the old drive around as a backup, you can boot from it and adjust the new drive as a secondary disk, which gives the tools more freedom.
Should you clone or do a clean install?
Cloning wins when you want your exact setup back with no effort. Every app, every setting, every saved password moves over, and you are working again in an hour. That is the whole appeal.
A clean install has its own advantages. It wipes away years of clutter, leftover software, and junk you forgot you had, and it gives you a fresh partition layout that uses the full drive automatically with no recovery-partition puzzle. The cost is time: you reinstall Windows, then every program, then sign back into everything.
If your current setup runs well and you just want more room, clone. If your PC has felt slow and cluttered for a while, a clean install is a good excuse to start over. There is no single right answer, only which trade you prefer.
A quick word on BitLocker
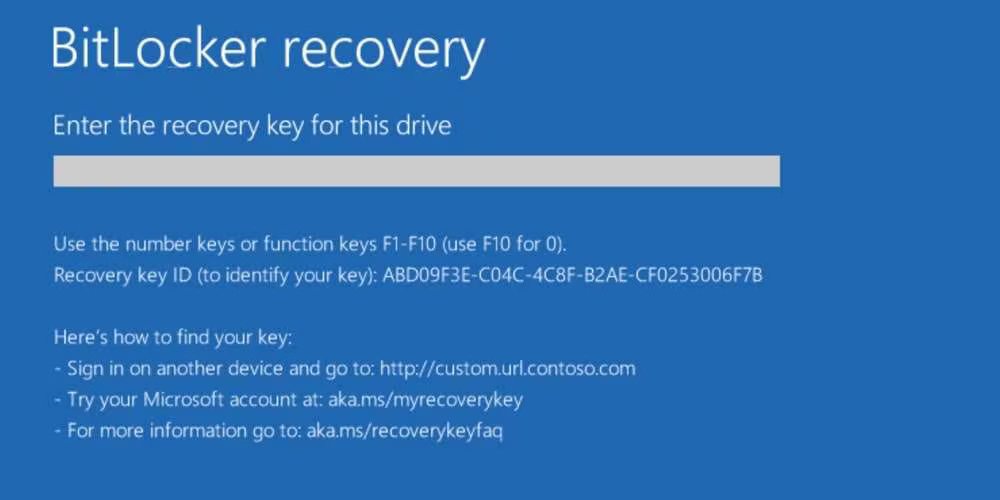
If your drive is encrypted with BitLocker, suspend or turn it off before cloning. Encrypted drives can confuse cloning tools, and after the swap Windows may demand your BitLocker recovery key to start. That key lives in your Microsoft account or wherever you saved it when encryption was turned on, so find it before you begin if you are not sure. Turning encryption back on after everything works is a two-minute job.
Frequently asked questions
Do I need to reinstall Windows after cloning to a bigger SSD?
No. Cloning copies your entire drive, including Windows, your programs, and your settings, so the new SSD boots and works exactly like the old one. You start using your PC right away with nothing to set up again.
Why isn’t my new SSD showing the full size after cloning?
The clone copied your old partition sizes and left the extra room as unallocated space. Open Disk Management and use Extend Volume on your C drive. If that option is greyed out by a recovery partition, a free partition tool can move it and reclaim the space.
Can I clone a smaller SSD to a bigger SSD from a different brand?
Yes. Any brand-neutral cloning tool like EaseUS Disk Copy, AOMEI Backupper, or Clonezilla handles mixed brands. Brand-specific tools like Samsung Magician usually only clone to their own drives, so use a neutral tool when switching brands.
How long does it take to clone an SSD?
Most clones take 15 to 60 minutes, depending on how much data you have and your drive speeds. Cloning over a USB enclosure is slower than an internal connection, so allow extra time if the new drive is connected externally.
Is cloning safe, or could I lose my data?
Your source drive is untouched during cloning, so your data stays safe. The risk is the destination drive, which gets erased completely. Double-check you picked the new SSD as the destination, and keep a backup of important files just in case.
Conclusion
Cloning an SSD to a bigger one is a quick upgrade that carries your whole system, Windows, apps, files, and all, onto more storage with no reinstalling. Connect the new drive, run a cloning tool, turn on the auto-fit or edit-partitions option so it uses the full space, then swap the drives and boot. If some space still shows as unallocated afterward, a free partition tool clears it up in minutes. Back up first, pick the right drive as your destination, and the upgrade is smooth.
Related Post:
How to Initialize a New SSD on Windows and Mac (and Fix One That Won’t Show Up)
How to Transfer an SSD to a New Computer
What to Do After Installing a New SSD
Computer Not Recognizing Your SSD? Here’s How to Find the Problem and Fix It
USB Flash Drive as an SSD: What You Can Do and Where It Falls Short