

If your BIOS can’t see your SSD, the cause is almost always one of three things: a loose or dead cable, a slot or port that’s fighting the drive for resources, or a BIOS setting that’s turned off. Each has a fix, and you can usually work through them in a few minutes. The trick is that the likely cause depends on what kind of SSD you have, so this guide sorts the fixes that way.
Work through the checks in order. Start with the drive that’s easiest to rule out, the physical connection, then move to settings, then the drive itself.
Why isn’t the BIOS seeing my SSD?
The BIOS is the small piece of firmware that starts your computer and takes stock of the hardware attached to it. Before Windows ever loads, the BIOS scans the storage ports and lists what it finds. If your SSD isn’t on that list, Windows can’t use it either, so this is the first place to look.
Here’s what tends to go wrong for each drive type. Find your row, then jump to that section.
| Drive type | What usually stops BIOS from seeing it |
| 2.5″ SATA SSD | Loose or dead SATA data cable, no power cable, wrong or dead SATA port, or SATA controller turned off in BIOS. |
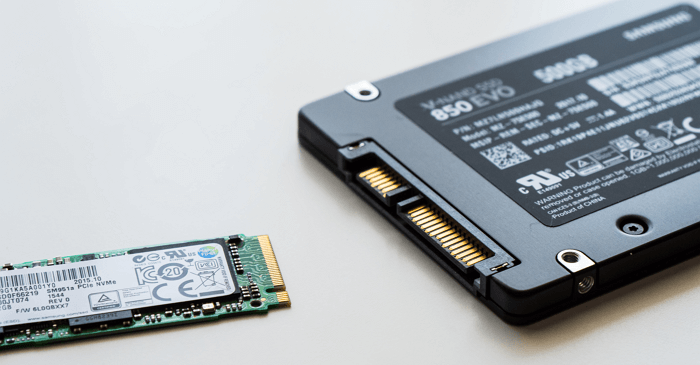
| M.2 SATA SSD | Plugged into an M.2 slot that only supports NVMe, or the shared SATA port next to it is occupied. |
| M.2 NVMe SSD | Missing standoff screw, a slot that shares lanes with other drives, an old BIOS, or the slot needs its mode set by hand. |
Notice how different M.2 drives are from plain SATA ones. That difference is why one-size lists so often miss the real cause.
First, confirm the drive really is missing
Before you open the case, make sure the drive is truly absent and not just hiding. Restart and enter BIOS by tapping the setup key during boot. On most boards that’s Delete, F2, or F10. Look under the storage or boot section for a full list of attached drives, not just the boot order.
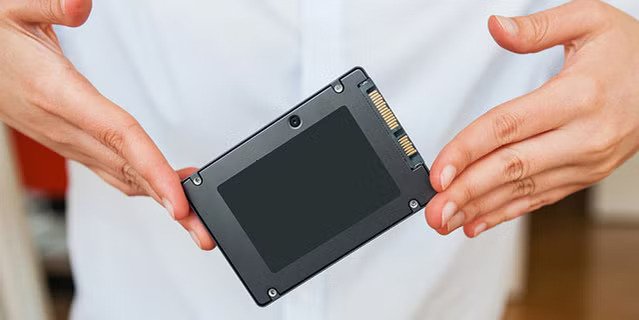
Two things worth checking here:
- Look past the boot menu. A drive with no operating system on it still shows up in the storage list even though it won’t appear as a boot option.
- Check the health tab. Some boards show SMART or drive-health info. If the drive appears there but nowhere else, it’s a settings problem, not a dead drive.
Quick tip: if the SSD shows up on a second computer or through a USB-to-SATA or USB-to-NVMe adapter, the drive is fine and the problem is your motherboard connection or settings.
Check the physical connection
Loose and damaged cables cause more no-show drives than anything else, so start here. Power the computer off fully and unplug it from the wall before you touch anything inside.
- Reseat both cables. For a 2.5″ SATA SSD, press the flat SATA data cable and the power cable firmly into the drive and the board. SATA connectors slip out easily.
- Swap the cable and the port. Try a different SATA data cable and a different SATA port on the board. A cable can look fine on the outside while a wire is broken inside the insulation.
- Inspect the pins and connectors. Look for bent pins or a crimped, pinched, or creased cable. When in doubt, replace the cable.
- Keep SATA cables short. Very long runs can cause dropouts. Under about one meter (39 inches) is a safe length.
One more thing people skip: check the power cable on its own. A SATA data cable carries no power, so a drive with a good data connection and a loose power connection will sit there silent. If you’re using a splitter or a daisy-chained power lead, try a separate lead straight from the power supply instead. A tired splitter can deliver just enough power to spin nothing and show nothing.
For guidance straight from a drive maker, Seagate’s support page on the BIOS not detecting an SSD walks through the same cable checks with photos.
Fix a 2.5″ SATA SSD that won’t show up
If cables are solid and a SATA SSD still won’t appear, the problem is usually the SATA controller setting or a specific port being switched off.
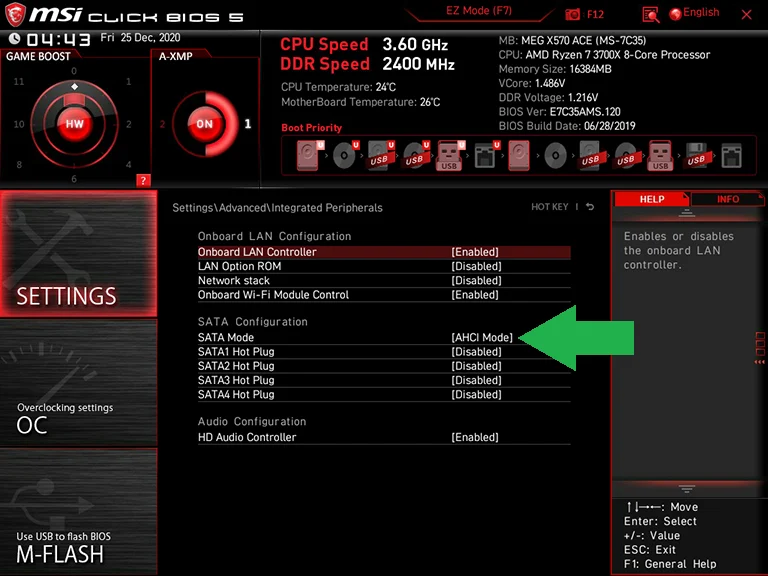
Enter BIOS and find the storage or SATA configuration section. Two settings matter:
- SATA mode. Make sure the SATA controller is enabled and set to AHCI. If a port is set to RAID and you’re not running RAID, the drive can vanish from the list. Switching to AHCI usually brings it back.
- Port state. Some boards let you disable individual SATA ports. Confirm the port your drive uses is turned on.
Also try disconnecting every other drive and leaving only the problem SSD plugged in. If it appears on its own, you had a port conflict, and you can reconnect the others to different ports one at a time to find the clash.
If the drive was already working before and suddenly vanished, think back to the last change you made. A BIOS update can quietly reset SATA mode to a default you didn’t want, and a new drive added to a shared port can knock the old one off the list. Undoing the most recent change is often faster than working through every setting from scratch.
Fix an M.2 SSD that won’t show up
M.2 drives fail to appear for reasons that never touch a SATA drive. This is where most people get stuck, so go through these carefully.
Make sure the slot matches the drive
M.2 comes in two flavors that look almost identical: M.2 SATA and M.2 NVMe. An M.2 slot may support only one, only the other, or both. Drop an NVMe drive into a SATA-only slot, or the reverse, and the board simply won’t see it. Check your motherboard manual, and confirm which type of drive you actually bought.
Watch for slot and lane sharing
This is the single most missed cause. To save cost, most boards share resources between the M.2 slots and certain SATA ports or PCIe slots. Plug a drive into a shared SATA port and the linked M.2 slot goes dark, or fill both M.2 slots and one of your SATA drives disappears.
A common example: on many boards, using an M.2 SATA drive automatically disables one nearby SATA port. On others, populating a second M.2 slot cuts the bandwidth to a PCIe slot. Your manual spells out exactly which components share lanes.
- Open your motherboard manual and search for phrases like “shared bandwidth,” “SATA ports disabled,” or “M.2 slot.”
- Temporarily unplug any SATA drive that shares lanes with your M.2 slot, then reboot and check BIOS.
- If you have two M.2 slots, move the drive to the primary one, usually the slot closest to the CPU.
Check the standoff screw
An M.2 drive needs a small standoff post under its far end so the drive sits flat and the connector makes full contact. If the standoff is missing or in the wrong hole, the drive tilts, the pins don’t seat, and it never shows up. Match the standoff position to your drive’s length: 2280 is the common one, but 2230, 2242, and 2260 exist too.
Set the M.2 mode by hand if needed
Some boards need you to tell them how to run a slot. Look in the advanced or onboard-devices section for a setting named something like “M.2 configuration” or “PCIe slot bandwidth,” and switch it to the mode that matches your drive. The exact wording changes from board to board, so lean on your manual here.
Rule of thumb for M.2: if the drive is the right type and the standoff is correct, the cause is almost always slot sharing or a manual mode setting. Check those two before anything drastic.
Change the right BIOS settings
A few general BIOS settings can hide any drive, SATA or M.2, especially right after you install a new one.
UEFI vs Legacy and CSM. Modern NVMe drives expect UEFI mode. If the Compatibility Support Module (CSM) is forcing legacy boot, an NVMe drive can drop off the list. Enable UEFI mode and, for a new NVMe boot drive, disable CSM.
Secure Boot. Occasionally a new M.2 drive won’t enumerate until Secure Boot is turned off, then re-enabled after setup.
NVMe support on older boards. Some older motherboards can use an NVMe drive for storage but not as a boot drive unless a BIOS update adds that support. The manual will say whether NVMe boot is supported.
Update or reset the BIOS
If your SSD is brand new and your board is a few years old, the BIOS may simply be too old to recognize the drive. Updating it often fixes this in one step.
- Find your exact motherboard model, then download the latest BIOS from that manufacturer’s support page. Use the file for your precise model, never a similar one.
- Follow the maker’s flashing instructions exactly. A bad flash can leave the board unbootable, so don’t interrupt it.
- If a fresh BIOS doesn’t help, reset it to defaults. Load optimized defaults from the BIOS menu, or clear CMOS by removing the coin battery for a couple of minutes or using the board’s reset jumper.
A reset wipes any bad setting you may have changed and returns storage options to their working state. Intel’s support note on an SSD not being detected in the BIOS is a good sanity check if you’re on an Intel platform.
When the drive itself is the problem
If you’ve reseated cables, ruled out slot sharing, corrected the standoff, checked BIOS settings, and updated the firmware, and the drive still won’t appear anywhere, the SSD itself may be dead. This is rare, but it happens.
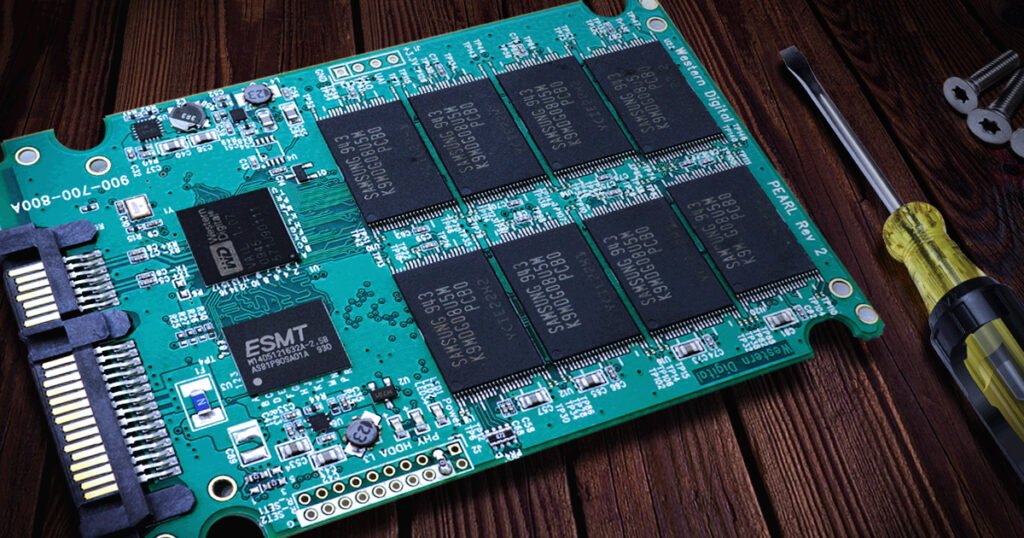
Confirm it before you give up on the drive. Put the SSD in a second computer, or connect it through a USB-to-SATA or USB-to-NVMe adapter. If it stays invisible on every machine you try, the drive has failed and should be replaced under warranty. If it works elsewhere, your original board’s slot, port, or settings are the culprit, and it’s worth another pass through the earlier steps.
SSD failure is uncommon, so don’t jump to it early. A drive that got physically knocked, took a bad power event, or came loose from its connector is far more likely than a drive that simply died on its own. Most drives carry a multi-year warranty, so if it truly is dead, keep the receipt and start a claim with the maker rather than tossing it.
Frequently asked questions
Why does my SSD show up in Windows but not in BIOS?
That combination usually means the drive is fine and connected, but a boot-mode or CSM setting is hiding it from the BIOS list. Switch to UEFI mode, and check whether a shared M.2 slot is affecting detection.
Can a new M.2 SSD disable one of my SATA ports?
Yes. Many boards share lanes between M.2 slots and specific SATA ports, so installing an M.2 drive can switch off a nearby SATA port. Your motherboard manual lists exactly which ports share resources.
Do I need to update my BIOS for a new SSD?
Sometimes. If your board is older than the drive, an out-of-date BIOS may not recognize it. Updating to the latest version for your exact model often fixes detection in one step.
How do I know if my SSD is dead or just not connected?
Test it on another computer or through a USB-to-SATA or USB-to-NVMe adapter. If it works there, your connection or settings are the issue. If it’s invisible everywhere, the drive has likely failed.
Which BIOS setting hides an NVMe drive most often?
A leftover legacy or CSM boot mode is the usual culprit. NVMe drives expect UEFI, so enabling UEFI mode and disabling CSM for a new boot drive brings most missing NVMe SSDs back.
Conclusion
A BIOS that can’t see your SSD is almost always a fixable connection, conflict, or setting rather than a dead drive. Start with cables and ports, then match the fix to your drive type: SATA drives usually need the right controller mode, while M.2 drives most often trip on slot sharing, a missing standoff, or a manual mode setting. Update or reset the BIOS if a new drive is involved. A good result is simple: the drive appears in the BIOS storage list, ready for Windows to use.
Related Post:
Can You Recover Data From an SSD? What Actually Works
How to Partition an SSD: Windows, Mac, and When to Skip It
What to Do After Installing a New SSD
SSD Showing as Unallocated? What It Means and How to Fix It Safely
How to Copy an SSD to a Larger SSD Without Reinstalling Windows