
Most SSD problems are fixable at home. The vast majority of issues, from sluggish performance to a drive that won’t mount, come down to software or firmware errors rather than hardware failure. Fix the right thing, and the drive often comes back to life in under an hour.
Before anything else, stop writing to the drive. New data can overwrite files you may want to recover, so do not save anything to it, run diagnostics on it from another device if possible, and back up whatever you can access right now.
This guide walks through every practical fix in the right order, starting with a quick diagnosis so you don’t waste time on tools that can’t help your situation.
Is It Physical Damage or a Logical Problem?
The answer to this question decides everything. Physical damage means a component inside the drive has failed, like a cracked circuit board, burned controller chip, or NAND memory cells that have completely worn out. Logical damage means the hardware is fine but the software layer, the file system, the partition table, or the firmware, has become corrupted or misconfigured.
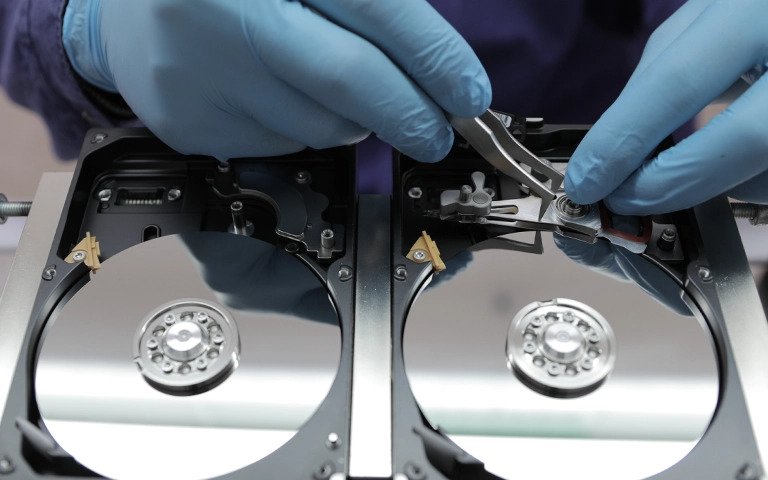
Physical damage usually makes the drive completely invisible to any computer. Logical problems tend to produce a drive that shows up but behaves strangely: slow speeds, random file errors, missing partitions, or crashes on read.
| Quick test: Plug the SSD into a different port, a different cable, and if possible a different computer. If it appears on the second machine and lets you browse files, the problem is likely with your original system’s ports or drivers, not the drive itself. |
| Type | How it appears | Can you fix it at home? |
| Logical failure | Drive detected but slow, throwing errors, or missing partitions | Yes, in most cases |
| Firmware issue | Drive detected, but unstable or rapidly degrading health | Yes, with a firmware update |
| Physical failure | Drive not detected anywhere, or recognized only briefly | No, professional recovery needed |
Step 1: Check Connections and Try a Different Port
Loose SATA cables and faulty ports cause more “dead SSD” situations than most people expect. Before running any software, do this first.
For a desktop or laptop with a SATA SSD, unplug the data cable and power cable from the drive and reseat both firmly. If you have a spare SATA cable, swap it out. Then try a different SATA port on the motherboard. A single bad port can make a healthy drive disappear entirely.
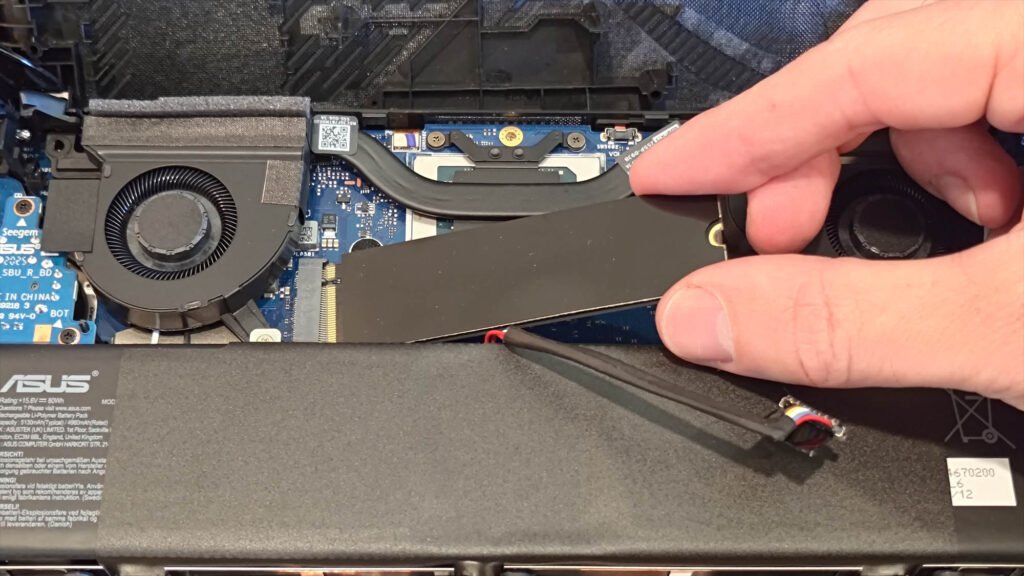
For an NVMe SSD seated in an M.2 slot, power the machine off, press out the retaining screw, pull the drive, and reseat it at the same angle. NVMe cards sometimes work loose over time, especially in laptops that get moved around.
Once reconnected, check Device Manager (right-click the Start button, then Device Manager). Expand Disk drives and look for the drive. A yellow warning icon next to it points to a driver issue rather than a hardware one.
Step 2: Run CHKDSK to Fix File System Errors
CHKDSK, which stands for Check Disk, is Windows’s built-in tool for scanning and repairing logical errors on a drive. It fixes corrupted file system metadata, marks bad blocks so Windows avoids them, and attempts to recover readable data from sectors that are struggling. It is the right first software step for any SSD that mounts but is behaving incorrectly.
How to run it:
- Right-click the Start button and select Terminal (Admin) or Command Prompt (Admin).
- Type the following and press Enter, replacing D with the letter of your SSD:
| chkdsk D: /f /r |
- The /f flag fixes errors. The /r flag locates bad sectors and tries to recover data from them. If Windows says the drive is in use and asks to schedule the scan on next restart, type Y and restart.
- Let the scan finish completely. On a large or damaged drive this can take 20 to 60 minutes.
If CHKDSK reports errors and repairs them, restart and check whether the SSD behaves normally. If it keeps throwing new errors after multiple runs, move on to the firmware check.
Step 3: Update or Reinstall the SSD Driver
An outdated or corrupt driver can make a perfectly healthy SSD show up with errors, throttle its speed, or disappear from the system intermittently.
Open Device Manager, expand Disk drives, right-click your SSD, and choose Update driver, then Search automatically for drivers. If Windows finds nothing new, try the manufacturer’s website. Most SSD makers publish their own driver packages alongside their management tools.
If updating doesn’t help, try uninstalling the driver entirely from Device Manager. Windows reinstalls a clean copy on the next reboot. This clears any corrupted driver state that an update would simply carry forward.
Step 4: Update the SSD Firmware
Firmware is the low-level software baked into the drive that controls how it reads, writes, and manages its flash memory. Bugs in firmware can cause data corruption, false health warnings, and instability that looks exactly like a dying drive but is entirely fixable.
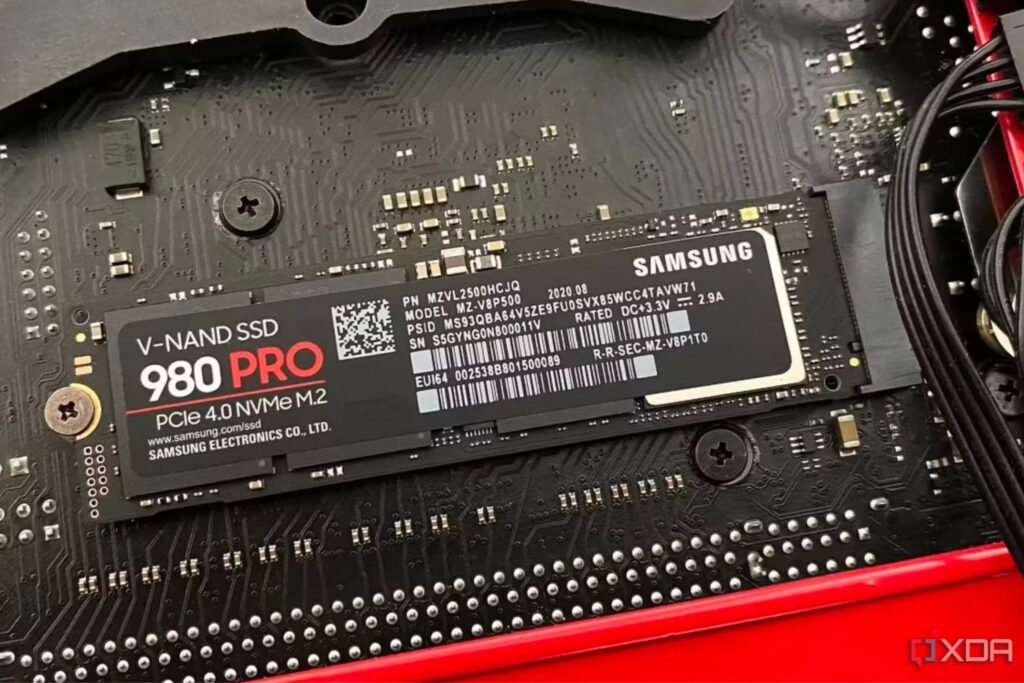
In early 2022, Samsung’s 980 Pro series shipped with firmware that caused drives to report rapidly falling health scores, dropping from 100% to under 70% in a matter of weeks. Samsung later released a corrected firmware version that stopped the problem. Western Digital drives experienced a similar wave of BSODs after the Windows 11 24H2 update in 2024, which a firmware patch resolved. These are not edge cases. Firmware bugs are common enough that checking for an update should be near the top of any SSD repair workflow.
The simplest way to check is with your drive manufacturer’s companion app: Samsung uses Samsung Magician, Crucial has Crucial Storage Executive, Western Digital ships with WD Dashboard, and Kingston offers Kingston SSD Manager. Download the tool for your brand, install it, and it will tell you whether an update is available and walk you through applying it.
| Important: Do not interrupt a firmware update. Leave the machine plugged in, do not put it to sleep, and do not force a shutdown. An interrupted firmware flash can brick the drive. |
After the update installs, restart, and recheck the drive’s health and behavior.
Step 5: Power-Cycle the Drive
When an SSD stops responding after a sudden power outage or an abrupt shutdown, a power-cycle can clear the stuck state. This works because some drives enter a frozen hold after losing power mid-write, and the controller needs to run a full power-on sequence to reset itself.
- The procedure is slightly different from a normal restartShut the computer down completely.
- Unplug the SATA data cable from the drive, but leave the power cable connected.
- Turn the computer on and let it sit in the BIOS screen for about 30 minutes. This keeps power flowing through the drive without any data traffic.
- Shut down again, reconnect the SATA data cable, and boot normally.
For NVMe drives that don’t use a separate power cable, the equivalent is to unplug the entire machine from the wall, remove the laptop battery if accessible, and let the drive sit without any power for 30 minutes before reconnecting.
Step 6: Repair the Boot Partition or Rebuild the MBR
If your SSD is your system drive and Windows refuses to boot, but the drive does appear in the BIOS, the problem is often a damaged Master Boot Record (MBR) or boot partition rather than the drive itself. The data on the drive is intact; Windows just can’t find the starting point to load itself.
You can fix this by booting from a Windows installation USB. At the setup screen, choose Repair your computer instead of Install now, then Troubleshoot, and then Command Prompt. Run these commands in order:
| bootrec /fixmbrbootrec /fixbootbootrec /rebuildbcd |
Restart after running all three. This repairs the bootloader without touching your files.
Step 7: Full Format as a Last Resort
A full format, not a quick format, rewrites every sector of the drive and forces the controller to remap bad blocks. It wipes everything on the drive, so only do this after you have recovered or backed up your data, and only when every other method has failed.
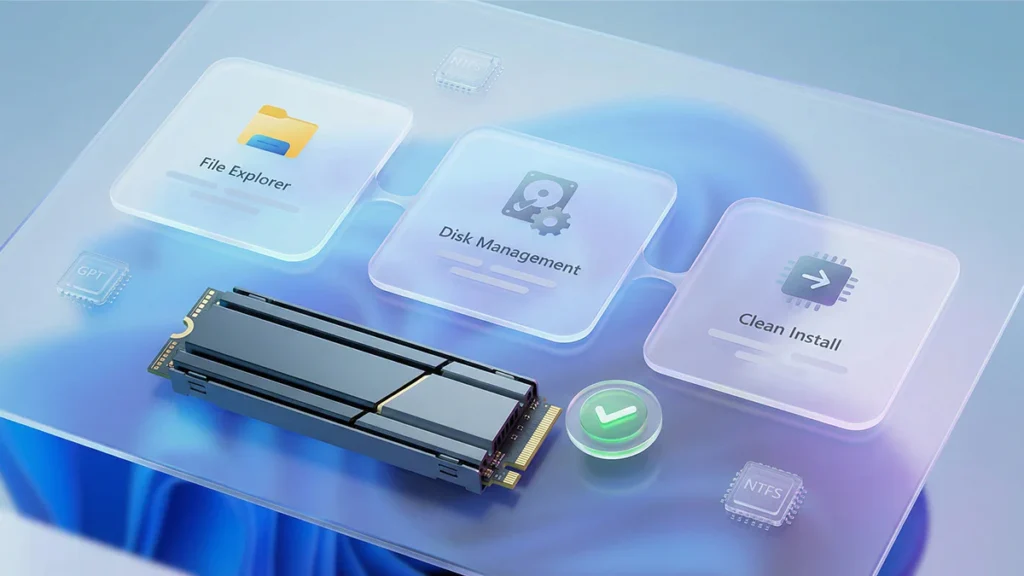
To run one, open Disk Management (search for it in the Start menu), right-click the SSD, and choose Format. Uncheck the Perform a quick format box. For file system, choose NTFS for a Windows drive. Click OK and let it run to completion.
If the format fails partway through, the drive likely has more bad sectors than it can remap on its own. At that point you are looking at a hardware problem, and replacing the drive is the practical answer.
Check the Drive’s Health Score First
Before or after any repair, it is worth reading the actual health data from your drive. Every modern SSD tracks its own wear and error counts through a built-in system called S.M.A.R.T. (Self-Monitoring, Analysis, and Reporting Technology). This data tells you how close to end-of-life the drive actually is.
CrystalDiskInfo is the most widely used free tool for reading S.M.A.R.T. data on Windows. Download it from crystalmark.info, install it, and open it. The health status appears in a colored box at the top: blue means good, yellow means caution, red means the drive is close to failure.
Pay particular attention to a few key attributes. Reallocated sectors count (sometimes called reallocated blocks) tells you how many damaged areas the drive has already moved data away from. A number above zero means the drive has some wear; a number that keeps climbing week to week means it is deteriorating actively. Percentage used, shown on NVMe drives, tells you what share of the drive’s rated write endurance has been consumed.
If the S.M.A.R.T. data shows a healthy or lightly-worn drive, the problem is almost certainly logical and fixable. If it shows heavy wear or a rapidly changing reallocated sector count, repairs are temporary and you should replace the drive soon.
When Repair Is Not Possible
Some SSDs genuinely cannot be fixed at home. If the drive does not appear in the BIOS on any machine, does not show any power-on behavior, or has visible physical damage such as burn marks or a cracked circuit board, the problem is hardware-level.
In those situations, the data may still be recoverable by a professional lab that can work at the chip level. A clean-room data recovery service can sometimes read the raw NAND flash chips directly even when the controller has completely failed. It is expensive, typically several hundred to over a thousand dollars depending on the job, but it is the only real option for irreplaceable files when the drive is physically dead.
If the data is not critical, or if you have a good backup, skip the recovery lab and replace the drive.
How to Protect Your SSD Going Forward
Once the drive is back in working order, or once you have replaced it, a few habits will significantly extend its life.
- Keep firmware current. Check your manufacturer’s app every few months. Firmware patches often fix stability and wear issues before they become visible problems.
- Back up regularly. A 3-2-1 setup works well: three copies of important data, on two different types of media, with one copy off-site or in cloud storage.
- Watch the temperature. NVMe SSDs in particular can throttle or degrade faster when they run hot. Make sure your case has decent airflow or add a heatsink to the M.2 slot if your motherboard does not include one.
- Avoid force shutdowns. Cutting power mid-write is the fastest way to corrupt a file system. Use the proper shutdown sequence whenever possible.
- Check health periodically. A quick look at CrystalDiskInfo every few months catches rising reallocated sector counts early, giving you time to back up and replace the drive on your own schedule rather than after a crash.
Frequently Asked Questions
Can a failed SSD be repaired?
It depends on why it failed. Logical failures, corrupted file systems, firmware bugs, and driver problems, are repairable at home with built-in tools. Physical failures, burned chips, broken controllers, fully exhausted NAND cells, usually cannot be fixed, though a professional recovery lab can sometimes extract the data even from a dead drive.
Does CHKDSK work on SSDs?
Yes. CHKDSK repairs file system errors and marks unusable blocks on SSDs just as it does on hard drives. Run it as administrator with the /f /r flags. It does not shorten SSD life in any meaningful way and is safe to use whenever you suspect file system corruption.
Why is my SSD not detected?
The most common reasons are a loose data cable, a faulty SATA port, an NVMe card that has worked loose, or a driver problem. Try a different cable, a different port, and a different computer. If the drive appears on the second machine, the issue is with your original system, not the drive.
How do I know if my SSD is dying?
Install CrystalDiskInfo and check the S.M.A.R.T. status. A yellow or red health badge, a reallocated sector count that is climbing, or a very high percentage used are the clearest warnings. Slowing performance, frequent file errors, and read-only mode are also signs the drive is near end of life.
Is it worth updating SSD firmware?
Yes, especially if your drive has had stability problems. Manufacturers regularly release firmware patches that fix data corruption bugs, stop abnormal wear, and resolve BSOD-causing compatibility issues. Samsung, Crucial, and Western Digital have each shipped critical fixes in the last two years that resolved problems that looked like hardware failure but were pure firmware bugs.
Related Post:
How to Format an SSD on Windows and Mac
Fujitsu Stylistic Q704 SSD Replacement: A Step-by-Step Guide
What Is a Portable SSD? A Plain-English Guide to Fast External Storage