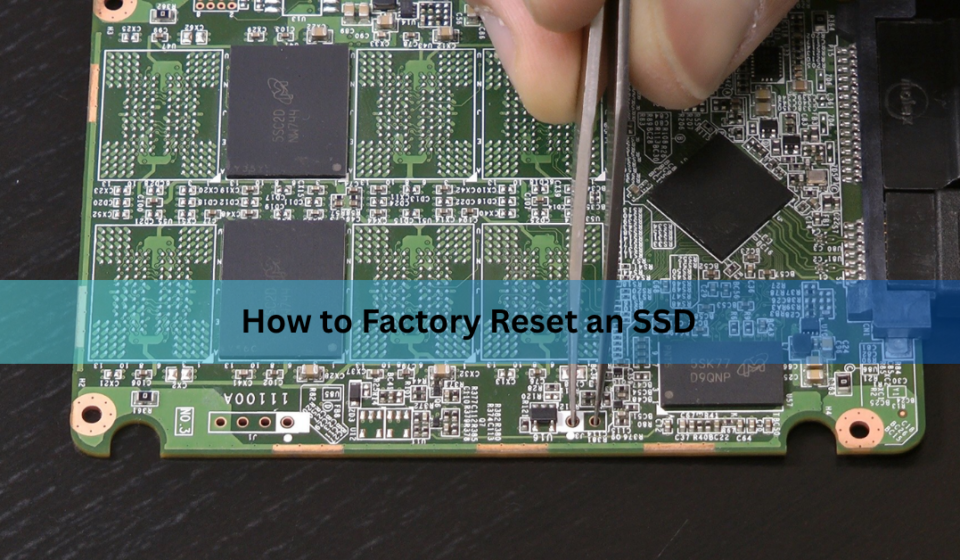

If you’re planning to sell your laptop, hand down an old desktop, or simply want to wipe your drive clean and start fresh, you’ve probably searched for how to factory reset an SSD and found a dozen conflicting answers. That’s because solid-state drives don’t behave the same way as traditional hard drives, and a plain “format” often isn’t enough to truly erase everything. This guide walks you through what a factory reset actually means for an SSD, why the process is different from resetting an HDD, and the exact methods you can use whether you’re a complete beginner or comfortable typing commands into a terminal.
By the end of this article, you’ll know exactly which method suits your situation, how to avoid the common mistakes that trip people up, and how to confirm the reset actually worked.
What Is an SSD Factory Reset?
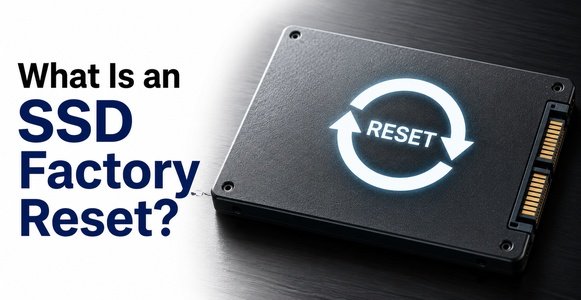
A factory reset generally means returning a drive to the state it was in when it left the factory no operating system, no personal files, no leftover data fragments that could be recovered later. For SSDs specifically, this is usually achieved through a process called Secure Erase, which is different from a regular format.
When you format a drive normally, the operating system mostly just clears the index that tells it where files are stored. The actual data often remains on the physical memory cells until it’s overwritten by something new. On a hard disk drive, this isn’t a huge problem because tools can write zeros across every sector fairly easily. SSDs work differently because of a technology called wear leveling.
Wear leveling spreads data writes evenly across all the memory cells in the drive so that no single area wears out faster than the rest. This is great for the drive’s lifespan, but it means the SSD’s controller not the operating system decides where data physically lives. As a result, a standard format can leave traces of data scattered across cells that the OS never touches again. That’s exactly why manufacturers build a dedicated Secure Erase command into SSD firmware: it tells the drive itself to reset every cell to its factory-blank state, bypassing the usual file system layer entirely.
In short, formatting clears the map; Secure Erase clears the territory.
Before You Begin: Important Precautions
Resetting an SSD is permanent, so a little preparation goes a long way. Take a few minutes to work through the following before touching any erase tool.
First, back up anything you want to keep. This sounds obvious, but it’s the step people skip most often. Copy your files to an external drive, a second internal drive, or a cloud service like Google Drive or OneDrive. Don’t rely on memory — once Secure Erase runs, recovery is extremely difficult, if not impossible.
Second, deactivate any software licenses tied to that specific machine. Programs like Microsoft Office, Adobe Creative Cloud, or certain games sometimes lock activations to a hardware ID, and wiping the drive without deauthorizing first can burn one of your limited activation slots.
Third, check your warranty status and drive health. If your SSD is showing errors or you’re resetting it because of suspected failure, it’s worth noting the SMART (Self-Monitoring, Analysis, and Reporting Technology) data beforehand using a tool like CrystalDiskInfo, in case you need it for a warranty claim later.
Once your data is safe and your licenses are handled, you’re ready to choose a method.
Method 1: Using Manufacturer Software (Easiest for Beginners)
For most people, the simplest and safest way to reset an SSD is through the free utility provided by the drive’s manufacturer. These tools are built specifically for their own hardware, so they understand the drive’s firmware and handle the Secure Erase command correctly.
Some of the most common ones include:
| Manufacturer | Software Name | Notes |
| Samsung | Samsung Magician | Includes Secure Erase and performance tools |
| Crucial | Crucial Storage Executive | Simple interface, good for beginners |
| Western Digital | WD Dashboard | Covers WD and SanDisk SSDs |
| Kingston | Kingston SSD Manager | Lightweight and straightforward |
The general process looks similar across brands: install the software, select your SSD from the list of detected drives, and look for an option labeled “Secure Erase” or “Sanitize.” You’ll typically need to boot from a USB drive if you’re erasing the SSD your operating system is currently running from, since a drive can’t erase itself while it’s actively in use. The software will usually walk you through creating this bootable USB automatically.
This route is ideal if you want a guided, low-risk experience without touching the command line.
Method 2: Secure Erase via BIOS/UEFI
Many modern motherboards include a built-in Secure Erase function directly in the BIOS or UEFI firmware, which removes the need for third-party software entirely.
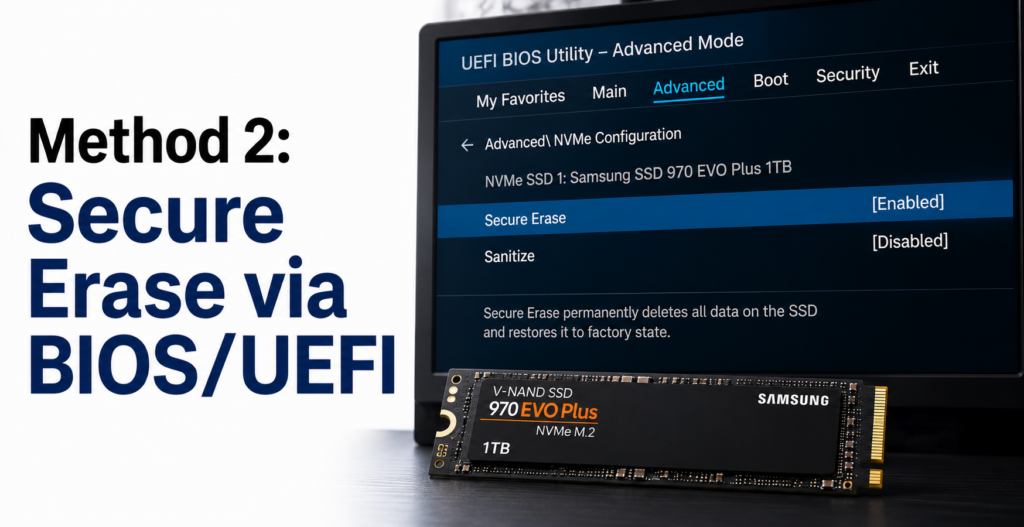
To use this method, restart your computer and enter the BIOS or UEFI setup screen — usually by pressing Delete, F2, or F12 during startup, depending on your motherboard brand. From there, look for a storage or drive management section, where compatible SSDs will show an option such as “Secure Erase” or “Sanitize Device.” Selecting your SSD and confirming the action will trigger the drive’s built-in erase routine.
This method works well because it operates below the operating system, avoiding software compatibility issues. The main downside is that not every motherboard includes this feature, so availability depends on your hardware.
Method 3: Using a Bootable Tool Like Parted Magic
If your motherboard doesn’t offer a built-in Secure Erase option, a bootable utility such as Parted Magic can fill that gap. Parted Magic is a lightweight operating system you run from a USB drive, and it includes a dedicated Secure Erase feature that communicates directly with your SSD’s firmware.
To use it, you’ll create a bootable USB drive using the Parted Magic image, restart your computer, and boot from that USB instead of your normal operating system. Inside the tool, you’ll find a Secure Erase utility that lists connected drives and lets you initiate the process safely.
This method is particularly useful when a drive is in a “frozen” state — a security lockout that some SSDs enter after the computer has been running for a while, which prevents Secure Erase commands from working until the system is put to sleep and woken up again, or power-cycled in a specific way. Bootable tools like this are built to handle that situation smoothly.
Method 4: Command-Line Reset (Advanced Users)
If you’re comfortable with a terminal, command-line tools give you precise control over the reset process. This route is best suited to users who are already familiar with basic disk utilities.
On Windows, the diskpart utility can clean a drive:
diskpart
list disk
select disk X
clean
Replace X with the correct disk number — double-check this carefully, since selecting the wrong disk will erase the wrong drive.
On Linux, SATA-based SSDs can be securely erased with hdparm:
hdparm –user-master u –security-set-pass p /dev/sdX
hdparm –user-master u –security-erase p /dev/sdX
For NVMe drives, the nvme-cli tool is the appropriate choice:
nvme format /dev/nvme0n1 –ses=1
These commands directly instruct the drive’s controller to reset its memory cells, similar to what manufacturer software does behind a graphical interface. Because there’s no confirmation dialog softening the process, it’s worth triple-checking the drive identifier before running any of these commands.
Method 5: Crypto Erase (For Encrypted Drives)
Many modern SSDs, especially those used in newer laptops, come with hardware-level encryption enabled by default. If your drive is encrypted, there’s a much faster reset option available: crypto erase.
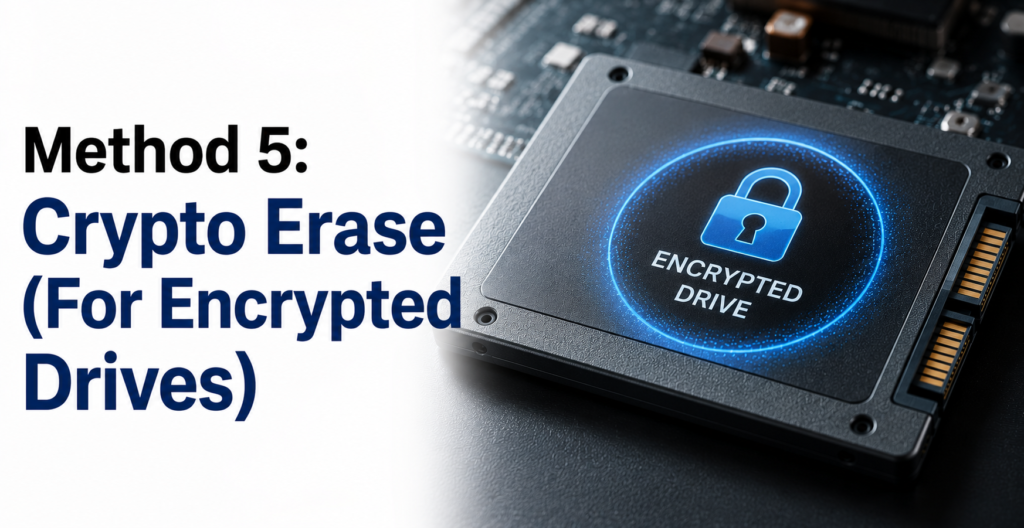
Instead of overwriting every memory cell, crypto erase simply deletes the encryption key. Without that key, all the data on the drive becomes permanently unreadable — mathematically equivalent to a full wipe, but completed in seconds rather than minutes.
On Windows, this is exactly what happens when you use “Reset this PC” and choose the “Clean the drive” option, provided device encryption (BitLocker) was active. On macOS, erasing an APFS encrypted volume through Disk Utility works the same way, discarding the key rather than rewriting the whole disk.
This method is fast, effective, and increasingly common as more devices ship with encryption turned on by default.
Resetting an SSD on Different Operating Systems
The exact steps differ slightly depending on your operating system:
- Windows 10/11: Go to Settings > System > Recovery > Reset this PC, choose “Remove everything,” then select “Clean the drive” for a more thorough wipe rather than the faster default option.
- macOS: Boot into Recovery Mode (hold Command + R during startup), open Disk Utility, select the SSD, and choose Erase, selecting APFS or Mac OS Extended as appropriate.
- Linux: Use a live USB environment and run hdparm or nvme-cli as described above, since the drive can’t be erased while your Linux installation is actively running from it.
Common Mistakes to Avoid
A few recurring mistakes cause the most frustration during an SSD reset. Relying on a regular format alone is the biggest one, since it doesn’t guarantee full data removal on an SSD the way Secure Erase does. Skipping backups is a close second — once the erase completes, there’s no undo button.
Forgetting to deauthorize software licenses can also cause headaches later, and ignoring manufacturer-specific tools in favor of generic ones sometimes leads to incomplete or slower results, since native software is built to match that brand’s firmware behavior precisely.
Troubleshooting Common Issues
Occasionally, the process doesn’t go smoothly on the first try. If your drive shows up as “frozen” in BIOS or software, put the computer to sleep and wake it up again, then retry the erase command immediately afterward. If Secure Erase seems to hang or never completes, give it more time before assuming it failed larger drives can take longer than expected. If BIOS doesn’t detect the drive at all, check the SATA or NVMe connection and confirm the drive is properly seated. And if the drive isn’t recognized after the reset finishes, that’s usually normal a freshly erased SSD has no partitions or file system, so it needs to be initialized and formatted again before it will appear as usable storage.
Frequently Asked Questions
Does resetting an SSD reduce its lifespan?
A single Secure Erase has a negligible effect on lifespan. SSDs are rated for thousands of write cycles, and one reset uses a tiny fraction of that.
Is Secure Erase the same as formatting?
No. Formatting clears the file system index, while Secure Erase resets the drive’s physical memory cells at the firmware level, offering a more complete wipe.
Can I factory reset a laptop’s built-in SSD?
Yes, though you’ll typically need to boot from an external USB drive to run the erase tool, since a drive can’t erase itself while the OS is running from it.
How long does an SSD reset take?
Most Secure Erase operations complete within a few minutes, while crypto erase on encrypted drives can finish almost instantly.
Will resetting fix a failing SSD?
Sometimes. If issues stem from software corruption or a full drive, a reset can help. If the problem is physical wear or hardware failure, resetting won’t resolve it, and the drive may need replacement.
Conclusion
Learning how to factory reset a SSD comes down to picking the right method for your comfort level and your hardware. Beginners will find manufacturer tools like Samsung Magician or WD Dashboard the most approachable, while those with compatible motherboards can use the built-in BIOS Secure Erase option for a software-free approach. Bootable tools such as Parted Magic cover situations where neither of those is available, command-line utilities offer precision for advanced users, and crypto erase provides a near-instant solution for encrypted drives.
Related Post:
Is There a Side Effect to Low Power NVMe SSD? A Complete, Easy-to-Understand Guide
Is SSD With Heatsink Worth It? A Complete Guide
How Much Free Space Should You Leave on Your SSD?
SSD Showing as Unallocated? What It Means and How to Fix It Safely