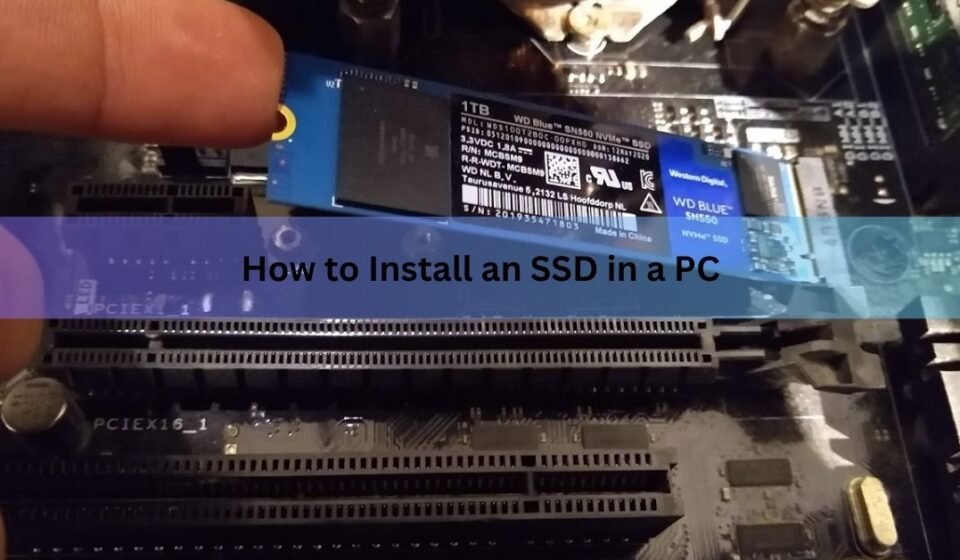

Installing an SSD in a desktop PC takes about 15 minutes and requires only a Phillips screwdriver. Seat the drive in the right slot, secure it, put the panel back on, boot the computer, and then spend a minute formatting the drive in Windows so it shows up in File Explorer. That is the full process.
The exact steps depend on which type of SSD you have. M.2 NVMe drives plug directly into a slot on the motherboard with no cables. A 2.5-inch SATA drive screws into a drive bay and connects to the motherboard and power supply with two cables. Both installs are straightforward once you know which track you are on.
This guide covers both types, so read the next section first to identify your drive, then skip to the section that matches.
What type of SSD do you have and where does it go?
Most SSDs sold today are one of two kinds.
An M.2 NVMe drive looks like a stick of chewing gum, about 80mm long and 22mm wide, with gold contacts at one end. It plugs into a dedicated M.2 slot on your motherboard, which is a small horizontal socket, usually labeled on the board. No SATA cables are involved. NVMe drives are significantly faster than SATA a Gen 4 drive reads at around 7,000 MB/s compared to roughly 500 MB/s for a SATA drive. For any PC built after 2018, an M.2 NVMe drive is almost certainly available and is the right choice.
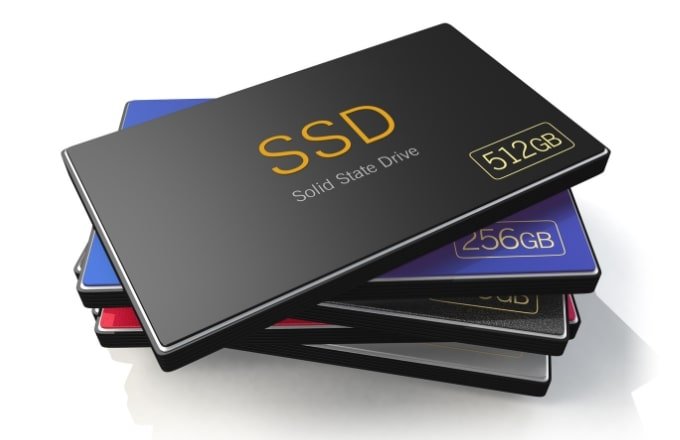
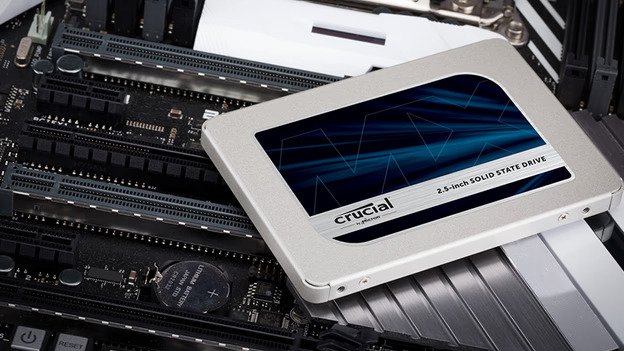
A 2.5-inch SATA SSD is a small, flat rectangular case that looks like a miniature laptop hard drive. It fits into a drive bay or bracket inside the case and connects to the motherboard via a SATA data cable, plus a SATA power cable from the power supply. SATA SSDs are a practical option for adding storage to an older system that lacks an M.2 slot, or for adding a secondary drive when all M.2 slots are already taken.
A quick way to check which type your motherboard supports: open your motherboard manual or look up the model number online and search for its specifications. Most boards made in the last six or seven years have at least one M.2 slot.
M.2 NVMe vs. 2.5-inch SATA: at a glance
| Feature | M.2 NVMe | 2.5-inch SATA |
| Connector | M.2 slot on motherboard — no cables needed | SATA data cable + SATA power cable |
| Typical read speed | 3,500 MB/s (Gen 3) to 7,000+ MB/s (Gen 4/5) | ~500–550 MB/s |
| Screw needed? | Yes — one M2×3mm screw + standoff | Four screws into drive bay or bracket |
| Cable clutter | None | Two cables per drive |
| Best for | Any modern build (2018 and newer) | Older PCs or as a secondary storage drive |
What you need before you start
Gather these before you open the case:
- A Phillips #1 screwdriver (a #0 also works for the small M.2 screw)
- Your new SSD
- A flat, clean workspace with good lighting
- An anti-static wrist strap, or at minimum touch a metal part of the case before handling the drive
You do not need thermal paste, tools to clone your drive, or any software at this stage. If you are replacing your main Windows drive, cloning is a separate step covered elsewhere. This guide focuses on adding a new SSD, either as a boot drive on a fresh build or as extra storage alongside an existing drive.
TIP Back up any important files before opening the case. The install process itself will not disturb other drives, but it is good practice any time you are working inside a PC.
Also check one thing before you start: does your motherboard have an open M.2 slot? Some boards ship with a standoff screw pre-installed in the slot. Others ship with the standoff in the accessory bag. The M.2 mounting screw is an M2x3mm size (2mm thread diameter, 3mm long) an easy one to lose. Check the motherboard box and the small labeled bags in the accessories before assuming it is missing.
How to install an M.2 NVMe SSD
These steps cover the physical installation. Once the drive is in, continue to the Windows setup section below.
- Power down completely. Shut down Windows, flip the power supply switch to off (the O position), and unplug the power cable from the wall. Press the power button once after unplugging to discharge any remaining power.
- Open the side panel. Most modern cases use thumbscrews on the rear left panel. Slide or lift the panel off and set it aside.
- Touch a metal part of the case to discharge any static from your body before touching the drive or the motherboard.
- Find the M.2 slot. It is usually labeled on the motherboard (something like M.2_1 or M2). Some slots sit under a heatsink cover. If yours does, remove the heatsink screws, lift it off, and set it aside.
- Install or locate the standoff. The standoff is a tiny brass or nylon post that screws into the motherboard at the correct length for your drive. The most common M.2 length is 2280 (80mm). Screw the standoff into the hole that matches your drive length. Hand-tight is enough.
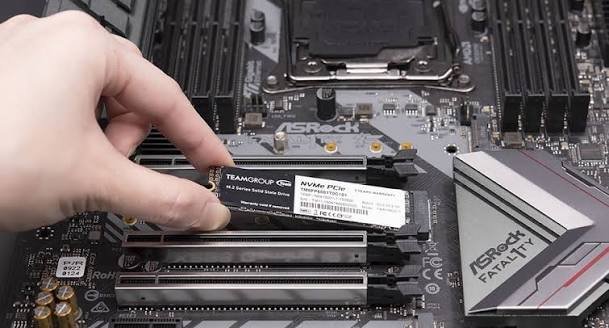
- Insert the SSD. Hold the drive by its edges, not the contacts. Line up the notch on the gold connector edge with the key in the slot (it only fits one way). Push the drive in at a slight upward angle of about 30 degrees until it clicks into the slot.
- Press it flat and secure it. Gently push the far end of the drive down until it rests against the standoff, then tighten the M2x3mm screw. Turn it until snug — do not overtighten, as the tiny screw hole strips easily.
- Replace the heatsink if your board has one. The thermal pad on the underside contacts the drive directly. Do not place the board’s heatsink over a drive that already has its own heatsink use one or the other.
- Close the case and reconnect power. Skip to “What to do after installation” below.
TIP If the drive does not seat easily, do not force it. Pull it out and check the key alignment. An M.2 slot is keyed so only the correct drive type fits forcing a mismatched drive can damage both the drive and the slot.
How to install a 2.5-inch SATA SSD
SATA installations vary more by case than M.2 installs do, but the fundamentals are the same.
- Power down, unplug, and open the case as described above.
- Find a drive bay or mounting point. Most mid-tower cases have dedicated 2.5-inch bays, usually near the bottom front. Some cases only have 3.5-inch bays; if so, you will need a 2.5-inch to 3.5-inch adapter bracket (a cheap accessory that usually ships with the SSD or the case).
- Mount the SSD. Slide the drive into the bay with the label side up and the connector end facing the rear of the case. Secure it with the four small screws that came with the drive or the case. Some cases use tool-free plastic brackets — just push the drive in until it clicks.
- Connect the SATA data cable. One end plugs into the L-shaped SATA port on the drive; the other end goes to any available SATA port on the motherboard. The connector is keyed and only plugs in one way. Firm pressure is fine just do not force or bend it.
- Connect the SATA power cable. This comes from your power supply and also has an L-shaped connector. It is wider than the data cable and plugs into the port next to it on the drive. Push until it seats firmly.
- Route and manage the cables so they do not obstruct airflow or touch the CPU fan, then close the case and reconnect power.
TIP The SATA data cable does not always ship with the SSD it usually comes with the motherboard. Check the box your motherboard came in if you do not have one.
What to do after installation: making Windows see the drive
This step applies to both M.2 and SATA installs. Boot up your PC normally. A new, blank SSD will not appear in File Explorer yet Windows needs to initialize and format it first.
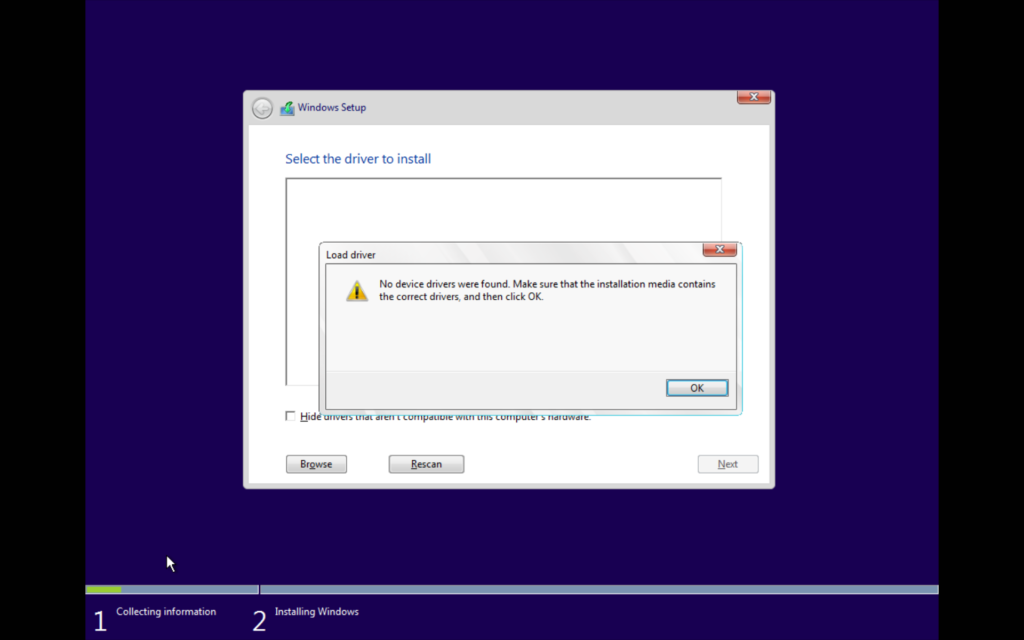
Check that the drive appears in BIOS
Before you get into Windows, it is worth a quick check in BIOS. Restart and press the key shown on your screen to enter setup (usually Del, F2, or F10, depending on your board). Look for a storage or drives section. Your new SSD should appear there with its model name or capacity. If it does, everything is physically correct and you can proceed to Windows.
If it does not appear in BIOS, power off and reseat the drive. For M.2, press the connector end firmly back into the slot and check the securing screw. For SATA, check both cables.
Initialize and format in Windows Disk Management
Once Windows loads:
- Open Disk Management. Press Windows + X and click Disk Management, or press Windows + R, type diskmgmt.msc, and hit Enter.
- A pop-up window should appear asking you to initialize the disk. If it does not, find your new drive in the lower panel (it will show as unallocated), right-click the disk label on the left, and choose Initialize Disk.
- Choose GPT as the partition style. GPT (GUID Partition Table) works with modern systems running UEFI firmware and supports drives larger than 2 TB. MBR (Master Boot Record) is the legacy option for very old hardware. For anything built in the last decade, GPT is the right choice. Microsoft’s official guidance on this is at learn.microsoft.com/windows-server/storage/disk-management/initialize-new-disks.
- Click OK. The drive will now show as unallocated space.
- Right-click the unallocated space and select New Simple Volume. Click through the wizard, leaving the volume size at the maximum (to use the full drive), assign a drive letter, and choose NTFS as the file system. Click Finish.
- Open File Explorer. Your new SSD will now appear as a drive (D:, E:, or whichever letter you chose) and is ready to use.
If you installed the SSD as your primary boot drive for a fresh Windows installation, skip the Disk Management steps above. Instead, boot from a Windows USB installer and follow the Windows Setup process, which will format the drive automatically.
Troubleshooting: SSD not showing up?
A few things can prevent a new drive from appearing, and most are quick fixes.
Not in BIOS at all:
The most common cause is a loose connection. Power off, reseat the drive, and check again. For SATA installs, try a different SATA port on the motherboard or swap the data cable. For M.2, ensure the drive is fully pressed into the slot and the screw is tightened.
Also check your BIOS settings. Some boards ship with certain M.2 slots or SATA ports disabled. Look in the storage or SATA configuration section and make sure the relevant ports are enabled. If your motherboard is more than a couple of years old, check whether a BIOS update is available for your specific model some older boards needed firmware updates to support newer NVMe drives.
Appears in BIOS but not in Windows:
This almost always means the drive needs to be initialized. Open Disk Management and look for a disk showing as unallocated or not initialized. Right-click and follow the steps in the section above.
SATA drive not detected AHCI vs IDE mode:
If your BIOS runs SATA in IDE or legacy mode, some drives will not appear. In BIOS, find the SATA configuration or storage mode setting and switch it to AHCI. Modern SATA SSDs are designed for AHCI and work best in that mode. Note: if Windows is already installed on another drive in IDE mode, switching to AHCI can cause a boot issue. Changing this setting is usually only advisable before installing Windows, or with care if you know what you are doing.
TIP If a drive appears in BIOS but vanishes after Windows loads, the most likely culprit is that it needs to be brought online in Disk Management. Find the drive in the lower pane, right-click its label, and select Online.
For a deeper look at SSD compatibility, Crucial’s SSD compatibility tool lets you enter your PC model and shows exactly which drives will work useful if you are not sure your board supports a particular M.2 standard.
Frequently asked questions
Do I need to format an SSD before using it?
Yes, if it is a brand-new drive. A new SSD arrives blank and unformatted. Windows will not show it in File Explorer until you initialize it and create a volume in Disk Management. The process takes about two minutes and is covered step by step in the guide above.
Can I install an M.2 SSD without turning off the PC?
No. M.2 drives are not hot-swappable. Always shut down Windows fully, flip the power supply off, and unplug the power cable before inserting or removing an M.2 or SATA SSD. Installing a drive while the system has power can damage the drive, the motherboard, or both.
How do I know if my motherboard has an M.2 slot?
Look up your motherboard model number (printed on the board itself, usually between the RAM slots) and search for its specifications online. Any motherboard made after roughly 2017 is likely to have at least one M.2 slot. You can also physically look for a small horizontal slot on the board, often labeled M.2 or M2.
Why is my SSD installed but not appearing in Windows?
A new SSD will not appear in File Explorer until it is initialized. Open Disk Management (Windows + X, then Disk Management), right-click your new drive, and select Initialize Disk. Choose GPT, then right-click the unallocated space and create a new simple volume. After that it will appear in File Explorer with a drive letter.
Will installing a second SSD slow down my existing drive?
No. Adding a second drive has no effect on the speed of your existing one. Each drive operates independently. In some cases, using two M.2 slots at the same time can disable certain PCIe lanes shared with other components like a second GPU slot, but this is board-specific and only relevant in niche multi-GPU setups. For a normal desktop, adding a second SSD is straightforward and risk-free.
Conclusion
Installing an SSD in a desktop PC is a short job: pop the panel off, seat the drive, secure it with a screw or a pair of cables, put the panel back, and spend a minute in Windows Disk Management to initialize and format the drive. M.2 NVMe drives go in without cables and are the right pick for any modern build; 2.5-inch SATA drives need two cables but work on virtually any PC. Once the drive shows up in File Explorer, it is fully ready — and the speed difference over a spinning hard drive is immediately obvious.
Related Post:
Macrium Reflect Cyclic Redundancy Check Error on SSD: How to Fix It
How to Repair an SSD Drive: Step-by-Step Fixes That Actually Work
How to Format an SSD on Windows and Mac
Fujitsu Stylistic Q704 SSD Replacement: A Step-by-Step Guide
What Is a Portable SSD? A Plain-English Guide to Fast External Storage