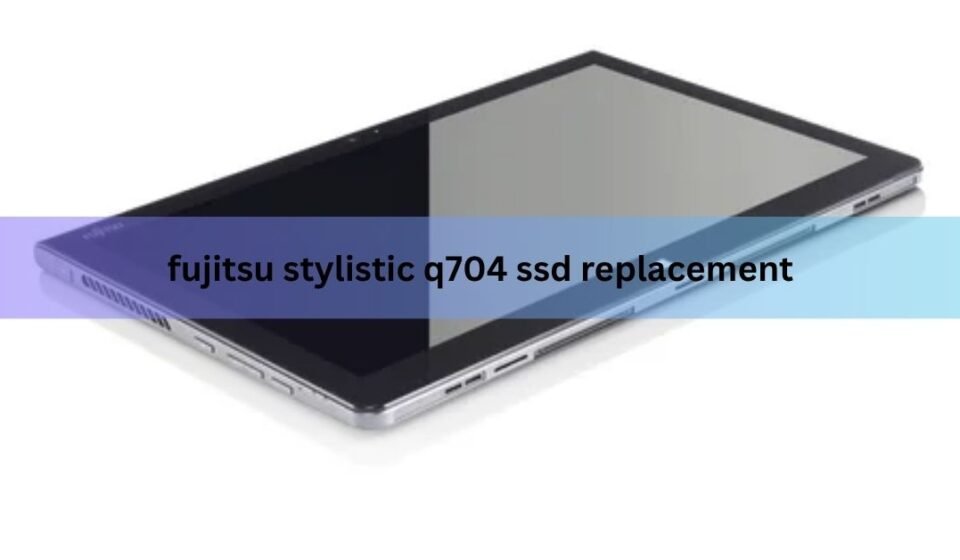

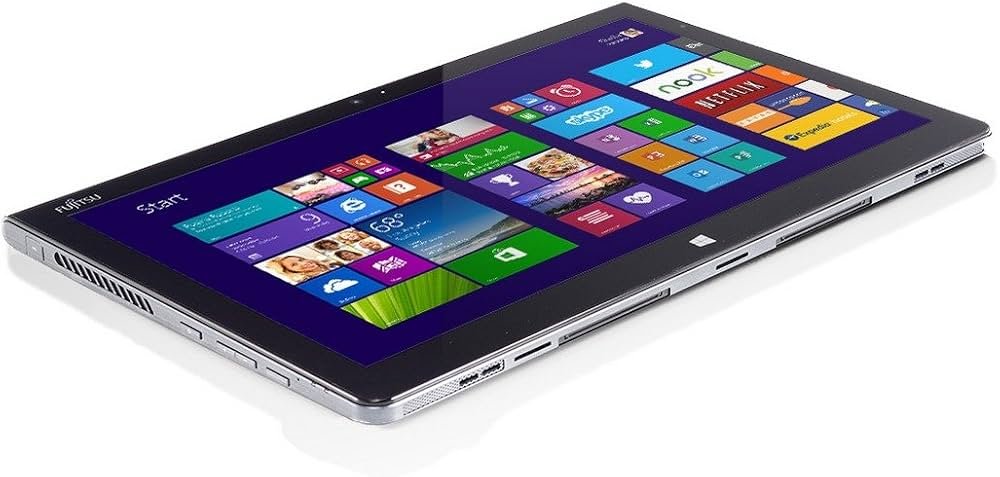
The Fujitsu Stylistic Q704 uses a removable mSATA SSD that sits behind a single clip-on back cover. That means you can replace it. Swapping in a bigger or healthier drive takes about 20 minutes with a plastic pry tool and a small screwdriver, and you do not need to send the tablet anywhere.
This guide walks you through the whole job: the exact drive to buy, how to open the tablet safely, how to fit the new SSD, and how to get Windows back on it. There is one catch with the factory drive that trips people up, and we cover that too.
What kind of SSD does the Q704 use?
The Q704 takes a full-size mSATA SSD on a SATA 6Gb/s connection. This matters more than anything else in this guide. An mSATA drive is a small bare circuit board, not the 2.5-inch metal box you find in most laptops, and not the longer M.2 stick used in newer machines. If you buy the wrong shape, it will not fit the slot.
From the factory, the Q704 shipped with a 64GB, 128GB, or 256GB mSATA drive, depending on how it was ordered. The bigger two sizes used self-encrypting drives. You can read the original Fujitsu Q704 operating manual to confirm the exact build your unit came with.
| Spec | Fujitsu Stylistic Q704 |
| Drive type | mSATA SSD (not 2.5-inch, not M.2) |
| Interface | SATA 6Gb/s (SATA III) |
| Form factor | mSATA, full size (about 50.8 x 29.85 mm) |
| Factory sizes | 64GB, 128GB, or 256GB |
| Encryption | TCG Opal self-encrypting (128GB / 256GB), FDE (64GB) |
| Access | Single clip-on back cover, no screws to remove the cover |
| Buy this: a full-size mSATA SSD with a SATA 6Gb/s interface, in the capacity you want (240GB and 480GB are common and cheap). Avoid anything labelled M.2, NVMe, or 2.5-inch. |
One detail to check when buying: mSATA comes in two physical lengths, full-size and half-size. The Q704 uses the full-size card, which is the more common one, so most mSATA SSDs you find will fit. Brands like Samsung, Crucial, and Kingston all made full-size mSATA drives, and any of them works as long as the listing says mSATA and SATA, not M.2. A 480GB drive is the sweet spot for this tablet: cheap, far roomier than the original, and easily enough for Windows plus your everyday files.
What you need before you start
Gather a few cheap tools and you are set. None of this is specialist gear, and most of it you may already own.
- A plastic pry tool or an old guitar pick. Avoid metal, which scratches the case and can crack the plastic.
- A small Phillips screwdriver for the tiny screw that holds the mSATA card down.
- Your new mSATA SSD, the right shape and interface (see above).
- A USB mSATA enclosure or adapter, only if you plan to clone the old drive. This lets you connect the bare card over USB.
- A USB stick of 8GB or more, if you plan to do a fresh Windows install instead Back up anything important first. A drive swap should be safe, but a backup means a slip never costs you your files.
How to open the Q704 and reach the SSD
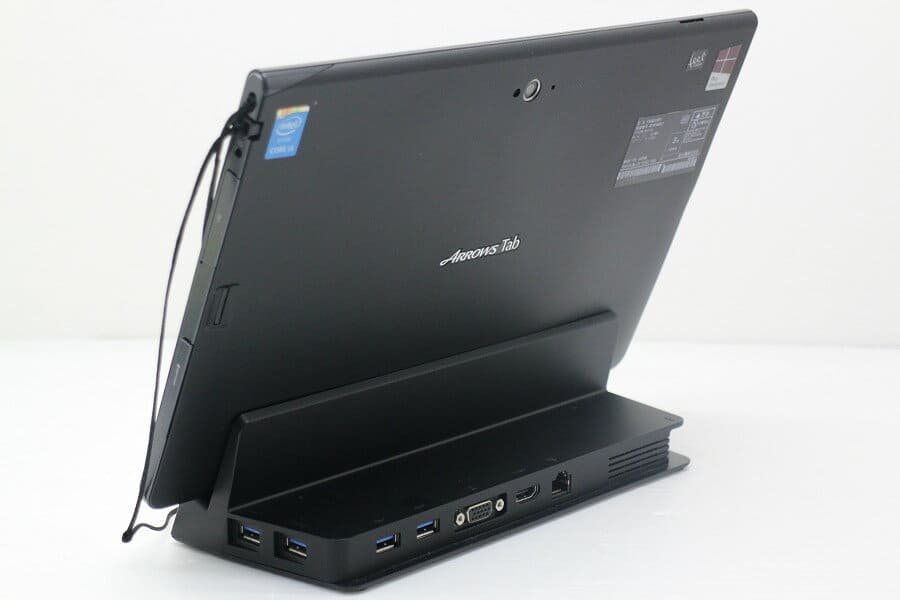
The back of the Q704 is a clip-on cover, much like a phone. There are no visible screws holding the cover itself; it is held by clips and a little double-sided tape. Take it slowly and work around the edge.
- Power down fully and unplug. Hold the power button to make sure it is off, not asleep, then remove the charger and detach the keyboard dock if you have one.
- Find the starting notch. Look at the top-right edge of the back for a small rectangular indent. That is where the cover lifts most easily.
- Pry from the corner. Slide the plastic tool into the notch and gently pop the cover at the corners first, then run the tool around the seam. Expect a few spots of sticky tape to give way.
- Lift the cover off. Once the clips release, the back comes away. Set it aside.
- Locate the drive. On waterproof units the SSD sits under a thin plastic film. Peel it back carefully to reach the mSATA card.
| Tip: Pull at the corners, not the middle. Forcing the centre of the cover is the most common way people crack the Q704’s case. |
How to remove and fit the new mSATA drive
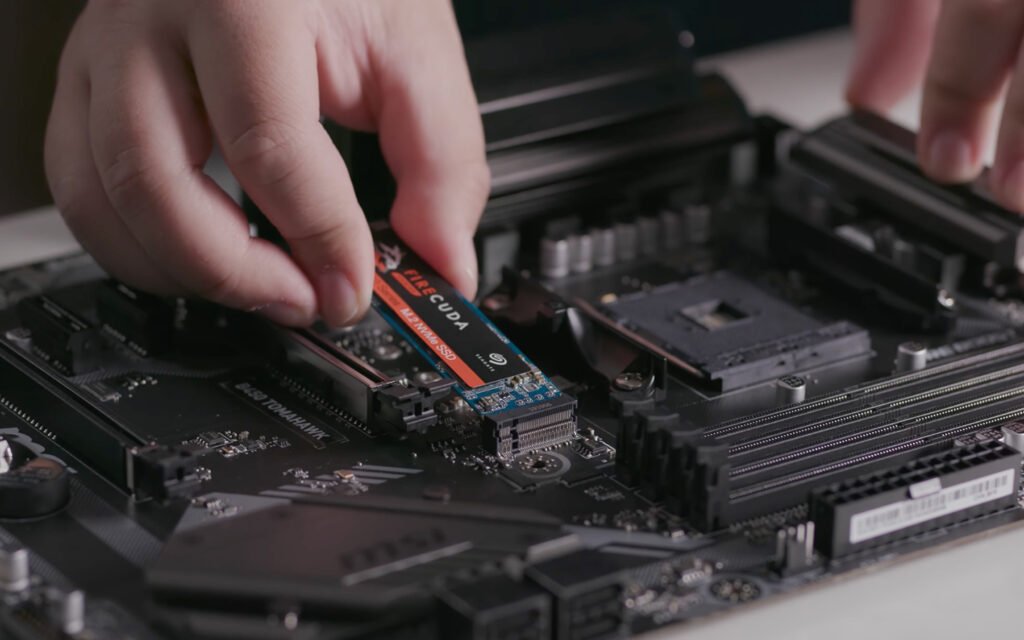
With the cover off, the swap itself is quick. The mSATA card sits flat in its slot, angled slightly up, held by one small screw at the far end.
- Remove the retaining screw. Undo the single Phillips screw at the end of the card. Keep it somewhere safe; it is easy to lose.
- Release the card. Once the screw is out, the free end of the mSATA board pops up to a slight angle on its own.
- Slide the old drive out. Pull it straight out of the slot at that shallow angle. Do not bend it.
- Insert the new drive. Line up the notch in the gold contacts with the key in the slot, then slide it in at the same angle. It only fits one way.
- Screw it down. Press the free end flat and refit the small screw to hold it in place.
- Refit the cover. Press the back cover on around the edges until the clips snap home. Do not power on yet if you still need to set up the new drive.
That is the hardware done. The new drive is now installed, but it is empty, so the next step is getting an operating system onto it.
Clone your old drive, or do a fresh install?
You have two ways to make the new SSD bootable. Cloning copies your current Windows setup, apps, and files across exactly as they were. A fresh install gives you a clean system that often feels faster but means setting things up again. Here is how they compare.
| Clone the old drive | Fresh Windows install | |
| Best when | You want your apps and files kept as-is | You want a clean, fast, clutter-free system |
| Extra gear | USB mSATA enclosure or adapter | USB stick (8GB+) for the installer |
| Watch out for | Encryption can block the clone | You reinstall apps and drivers |
To clone: put the new SSD in the USB enclosure, connect it to the still-running Q704, and use disk-cloning software to copy the old internal drive onto it. Then power off, swap the cloned drive into the slot, and boot. Free tools like Macrium Reflect handle this well.
To do a fresh install: on another PC, download the Windows installer to your USB stick using Microsoft’s Media Creation Tool. Fit the empty SSD first, boot the Q704 from the USB stick, and install Windows onto the new drive. Modern Windows usually re-activates on its own using the licence stored in the tablet’s firmware.
Dealing with the encrypted factory drive
Here is the catch. The 128GB and 256GB Q704 drives are self-encrypting, using a standard called TCG Opal. On these, the data is locked at the hardware level, so a normal clone of the old drive can fail or refuse to start. Your brand-new mSATA SSD is not affected; this only concerns reading the old one.
If a straight clone will not work, you have a clean way around it. Do a fresh Windows install on the new drive instead, then copy your personal files back from a backup. Because the new drive is not encrypted out of the box, the install behaves normally and boots without a pre-boot password.
If you want encryption again afterwards, you can turn on BitLocker in Windows. Drive makers such as Crucial explain the Opal and BitLocker setup if you are using a self-encrypting replacement and want hardware-level protection rather than software.
| Short version: a new mSATA SSD always installs cleanly. Only the original encrypted drive can resist cloning. When in doubt, do a fresh install and restore your files. |
If the Q704 won’t boot from the new drive
Most swaps just work, but if the tablet does not start after fitting the new SSD, the fix is almost always in the firmware settings rather than the hardware. Do not assume the drive is faulty straight away.
Switch the Q704 on and tap the firmware key during the Fujitsu splash screen (usually F2 to enter setup, or F12 for the one-time boot menu). From there, check two things. First, make sure the new SSD is detected and listed as a drive; if it shows up, the hardware is seated correctly. Second, point the boot order at it. After a fresh install this is what gets the tablet to start from the new drive instead of the USB stick.
If the drive is not detected at all, power down and reseat it. Slide the card fully into the slot, press the free end flat, and refit the small screw so the contacts make a firm connection. A card that sits a fraction proud is the usual reason a new SSD does not show up.
Frequently asked questions
Does the Fujitsu Q704 use mSATA or M.2?
The Q704 uses a full-size mSATA SSD on a SATA 6Gb/s connection, not M.2. They look similar but the connectors differ, so an M.2 drive will not fit the slot. Always buy an mSATA drive.
What is the biggest SSD the Q704 supports?
It shipped with up to 256GB, but the mSATA SATA slot is not capped there. Larger mSATA drives such as 480GB or 1TB work fine, giving you far more room than the factory options.
Do I have to remove screws to open the back?
No screws hold the back cover itself. It is a clip-on panel with a little tape. Start at the top-right notch with a plastic pry tool and work around the edge. One small screw inside holds the SSD.
Will Windows still be activated after I swap the SSD?
Yes, in most cases. Modern Windows stores the licence in the tablet’s firmware, so a fresh install on the new drive usually re-activates by itself once the Q704 is online.
Why won’t my old Q704 drive clone properly?
The 128GB and 256GB factory drives are self-encrypting (TCG Opal), which can block a clone. The simplest fix is a fresh Windows install on the new drive, then copy your files back from a backup.
Conclusion
Replacing the Q704’s SSD is a genuine DIY job. Buy a full-size mSATA SATA drive in the size you want, pop off the clip-on back from the top-right notch, swap the card held by one screw, and refit the cover. Then either clone your old setup or do a clean Windows install, and restore your files from backup. A good result is a Q704 that boots from a roomier, healthier drive in well under an hour.