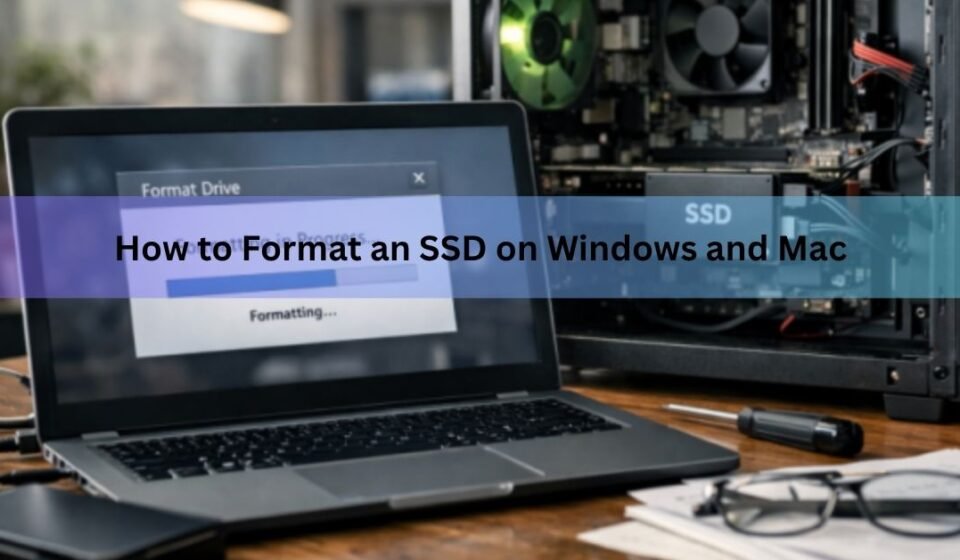

To format an SSD, back up anything you want to keep, open Disk Management on Windows or Disk Utility on Mac, pick a file system, and run a quick format. The whole thing takes a couple of minutes. The part that trips people up is not the clicking. It is choosing the right settings and making sure you are pointing at the correct drive.
This guide walks through every common case: a brand-new SSD that does not show up yet, an old SSD you want to reuse, the drive your operating system lives on, and an external SSD on a Mac. Pick the path that matches your situation and follow the steps.
What does formatting an SSD actually do?
Formatting sets up a fresh filing system on the drive so your computer can store and find data on it. It clears the old index and makes the SSD look empty and ready to use.
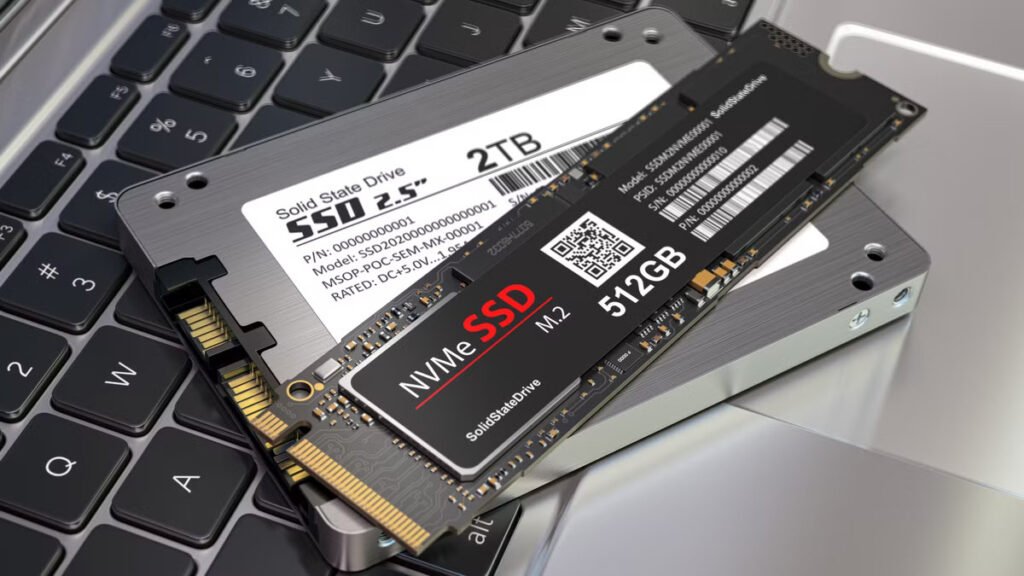
Here is the catch worth knowing up front. A normal format removes the map to your files, not always the files themselves. On a hard drive, much of the old data sits there until something writes over it. SSDs behave differently, and that difference matters later when we talk about wiping a drive for good.
If the drive is staying with you, a regular format is all you need. If it is leaving your hands, you want a secure wipe instead. More on that near the end.
Before you start: back up and check the connection
Formatting erases what is on the drive, and there is no undo button. Copy anything you care about to another drive or the cloud first. Do this even if you think the SSD is empty, because it is easy to format the wrong disk.
Next, make sure the SSD actually shows up. For an internal 2.5 inch SATA drive, check that both cables are firmly seated. For an external SSD, plug it straight into a port on the computer rather than through a hub or dock, which can hide a drive that is otherwise fine.
One more thing for the long run: keep TRIM switched on. TRIM is the feature that lets an SSD tidy up deleted data in the background so it stays fast over time. Modern versions of Windows and macOS turn it on by default for internal SSDs, so for most people there is nothing to do here.
Which file system should you pick?
This is the one choice that actually matters during a format. The right answer depends on which devices need to read the drive, not on the SSD itself.
The short version: choose NTFS for an internal Windows drive, exFAT for an external drive you share between a Windows PC and a Mac, and APFS for a drive you only ever use with a Mac. The table below covers the rest.
| File system | Best for | Watch out for |
| NTFS | Internal drives in a Windows PC, and any drive you only use with Windows. | A Mac can read it but cannot write to it without extra software. |
| exFAT | External drives you move between Windows, Mac, and other gear. No real file size limit. | Some older consoles and devices do not support it. |
| FAT32 | Older devices and small drives that ask for it specifically. | Single files are capped at 4GB, so it is a poor pick for video. |
| APFS | Drives used only with a Mac, especially other Apple devices. | Windows cannot read it without extra software. |
A note for gamers: if the SSD is for a PlayStation or Xbox, do not format it on your computer at all. Plug it into the console and let the console set it up its own way.
MBR or GPT: what to choose
When you set up a fresh SSD, Windows may ask for a partition style, either MBR or GPT. This is just how the drive lays out its storage map. Pick GPT. It is the modern standard, it handles drives larger than 2TB, and it works with any current PC.
MBR only makes sense for very old hardware or a specific legacy setup. If you are not sure, that is a sign you want GPT. On a Mac the equivalent choice is called GUID Partition Map, and it is the right pick for the same reasons.
How to format an SSD on Windows (File Explorer)
Use this quick route when the SSD already has a drive letter, like D: or E:, and you just want to wipe it and start over.
- Open File Explorer and find the SSD under This PC.
- Right-click the drive and choose Format.
- Set File system to NTFS for a Windows-only drive, or exFAT if you also use it on a Mac.
- Leave Allocation unit size on Default. For everyday use this is the correct setting and avoids wasting space.
- Type a short name in Volume label so you can recognise the drive.
- Keep Quick Format ticked, click Start, then confirm.
In a few seconds the drive is clean and ready. If you do not see a Format option, or Windows says the disk needs formatting but the attempt fails, the drive is in an odd state. Use the Disk Management method below instead.
How to format a new or unallocated SSD (Disk Management)
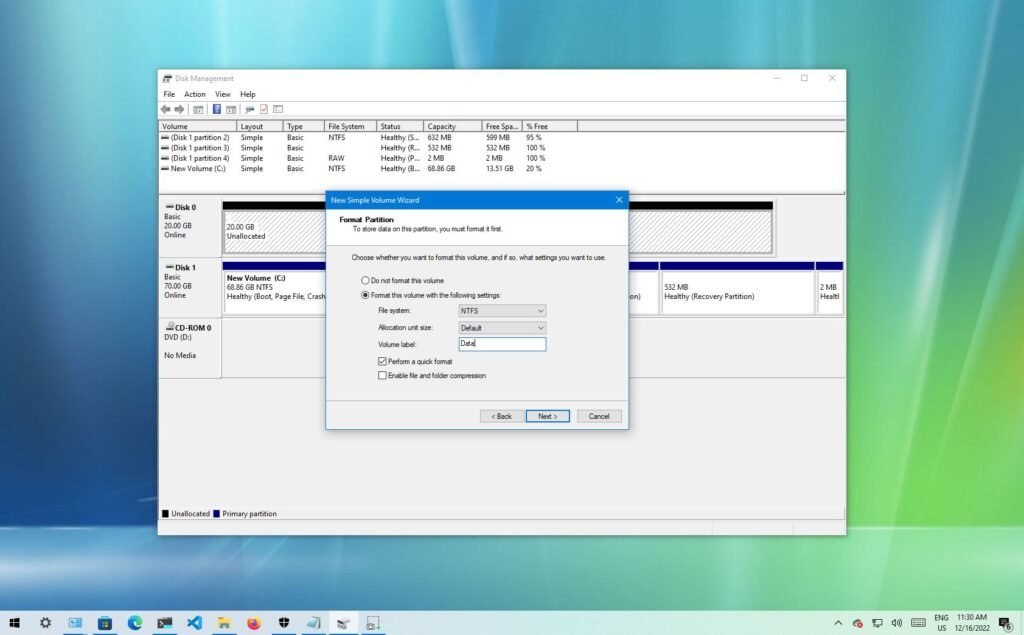
A brand-new SSD often has no drive letter and shows as Unallocated or Not Initialized. It will not appear in File Explorer yet, so you set it up here first.
Press Windows key + X and choose Disk Management.
- Find your SSD in the lower pane, shown as Disk 1, Disk 2, and so on. Check the capacity matches so you have the right disk.
- If it says Offline, right-click the disk label on the left and choose Online.
- If a pop-up asks to initialize the disk, select your SSD and choose GPT, then OK. If there is no pop-up but it reads Not Initialized, right-click the disk label and choose Initialize Disk.
- Right-click the black Unallocated bar and choose New Simple Volume, then click through the wizard.
- Keep the default volume size to use the whole drive, assign a drive letter, set File system to NTFS or exFAT, leave allocation size on Default, and tick Perform a quick format.
- Click Finish. The SSD now appears in This PC with its new letter.
Take ten seconds before you confirm: match the capacity, the connection type, and the disk number to your SSD. If one detail looks wrong, stop and recheck so you do not wipe the wrong drive.
If Disk Management still will not let you initialize or format, reseat the drive, try a different cable or port, and confirm the SSD is detected in your system BIOS. A drive that never shows up anywhere is usually a connection or hardware problem, not a formatting one.
How to format the drive Windows is installed on
You cannot format the system drive from inside Windows, because Windows is running from it. To wipe it you format during a fresh install instead.
- On a working PC, use Microsoft’s official Media Creation Tool to put Windows on a USB stick.
- Boot the target PC from that USB. You may need to pick the boot device from a startup menu.
- In Windows Setup, choose Custom: Install Windows only (advanced).
- Select each partition on the SSD and delete it until the whole drive shows as one block of unallocated space.
- Select that unallocated space and click Next. Setup creates fresh partitions and installs a clean copy of Windows.
You can grab the USB tool and full instructions from Microsoft’s Windows installation media page. A clean install like this wipes the drive and sets it up in one go, so you do not need a separate format step.
How to format an SSD on Mac
- On a Mac you format with Disk Utility, the built-in tool for managing drives. The same steps work for an external SSD or one you want to wipe before reinstalling macOS.
- Open Finder, go to Applications, then Utilities, and open Disk Utility.
- Click View in the top left and choose Show All Devices.
- In the sidebar, select the SSD. Pick the top entry for the drive, the one that names the device, not the indented volume under it.
- Click Erase in the toolbar.Give the drive a name, then set Format. Choose APFS for a Mac-only drive, or ExFAT to share it with a Windows PC.
- Set Scheme to GUID Partition Map, then click Erase.
Disk Utility wipes the drive and applies the new format in under a minute. If the Erase button is greyed out, make sure Show All Devices is on and that you selected the top device entry. A drive already formatted as APFS may need its existing APFS container deleted before you can switch it to exFAT.
You can follow Apple’s own walkthrough on the Disk Utility support page if you want screenshots for each step.
Quick format or full format on an SSD?
For an SSD, a quick format is the right choice almost every time. It sets up the new file system in seconds and barely touches the drive. A quick format writes only a few megabytes of structure, so there is no meaningful wear.
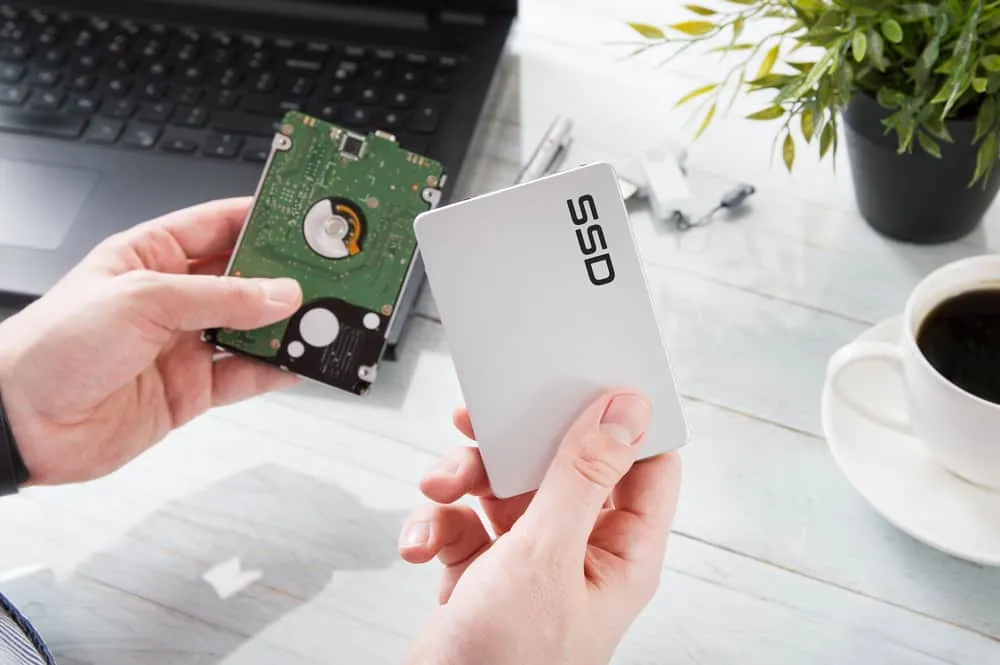
A full format adds a long pass that writes across every cell and checks for bad spots. That made sense on old hard drives. On an SSD it mostly just adds write activity you do not need and makes you wait far longer for the same usable result. Skip it unless a tool specifically asks for it.
There is also an SSD quirk worth knowing. After you wipe an SSD and TRIM kicks in, the drive’s controller clears the old data from its cells on its own, often within minutes. So a quick format on an SSD tends to leave very little behind anyway, which is great for everyday reuse and exactly why the slow full format earns its keep so rarely.
When you need a secure erase instead
A regular format is fine when the drive stays with you. When the SSD is going to someone else, being sold, or holding sensitive data, you want a proper wipe so nothing can be pulled back.

The best tool for this is the maker’s own software, such as Samsung Magician or Crucial Storage Executive. These send a built-in Secure Erase command to the drive that resets its cells to a factory-clean state. It is thorough and gentle on the SSD, since it works the way flash storage is meant to be cleared.
If your SSD is encrypted, turning on encryption from the start is the simplest safety net. On a Mac, switching on FileVault when you begin using the drive ties your data to a key, so wiping that key makes the contents unreadable. That is why Disk Utility does not show extra secure-erase passes for SSDs; with encryption in place, you do not need them.
Frequently asked questions
Does formatting an SSD shorten its life?
Not in any way you will notice. A quick format writes only a tiny amount of data. Repeated full formats add more write activity, which is one more reason to stick with quick formats.
Will I lose all my data when I format?
Yes. Formatting clears the drive’s file index and prepares it for new data, so back up anything you want to keep first. There is no undo once you confirm.
Should I choose NTFS or exFAT for my SSD?
Use NTFS for an internal drive used only with Windows. Use exFAT for an external drive you move between Windows and a Mac, since both can read and write it.
How long does it take to format an SSD?
A quick format finishes in a few seconds to a minute. A full format can take much longer, which is why it is rarely worth running on an SSD.
Can I format the SSD that has Windows on it?
Not from inside Windows. Boot from a Windows USB stick, delete the drive’s partitions in Setup, and install a fresh copy. That wipes and sets up the drive in one pass.
Conclusion
Formatting an SSD comes down to four steps: back up your files, point at the correct drive, choose the right file system, and run a quick format. Use Disk Management or File Explorer on Windows and Disk Utility on Mac. Pick NTFS or APFS for a single-system drive and exFAT to share across both. Stick with a quick format, and reach for a maker’s secure-erase tool only when the drive is leaving your hands. Done right, your SSD is clean and ready in a couple of minutes.